Rustic Italian Bread Recipe
If you’re looking for an easy Italian bread, this rustic Italian bread recipe is just the ticket. This loaf bread is perfect for beginners.
Go back to basics and bake a rustic style bread that is soft inside with a crisp crust.
This post has been updated from its original publish date of April 2, 2020. It has been updated to provide better photos, additional helpful information and step by step instructions.
Easy rustic Italian bread recipe
This crusty Italian bread loaf is incredibly versatile and makes a great sandwich bread.
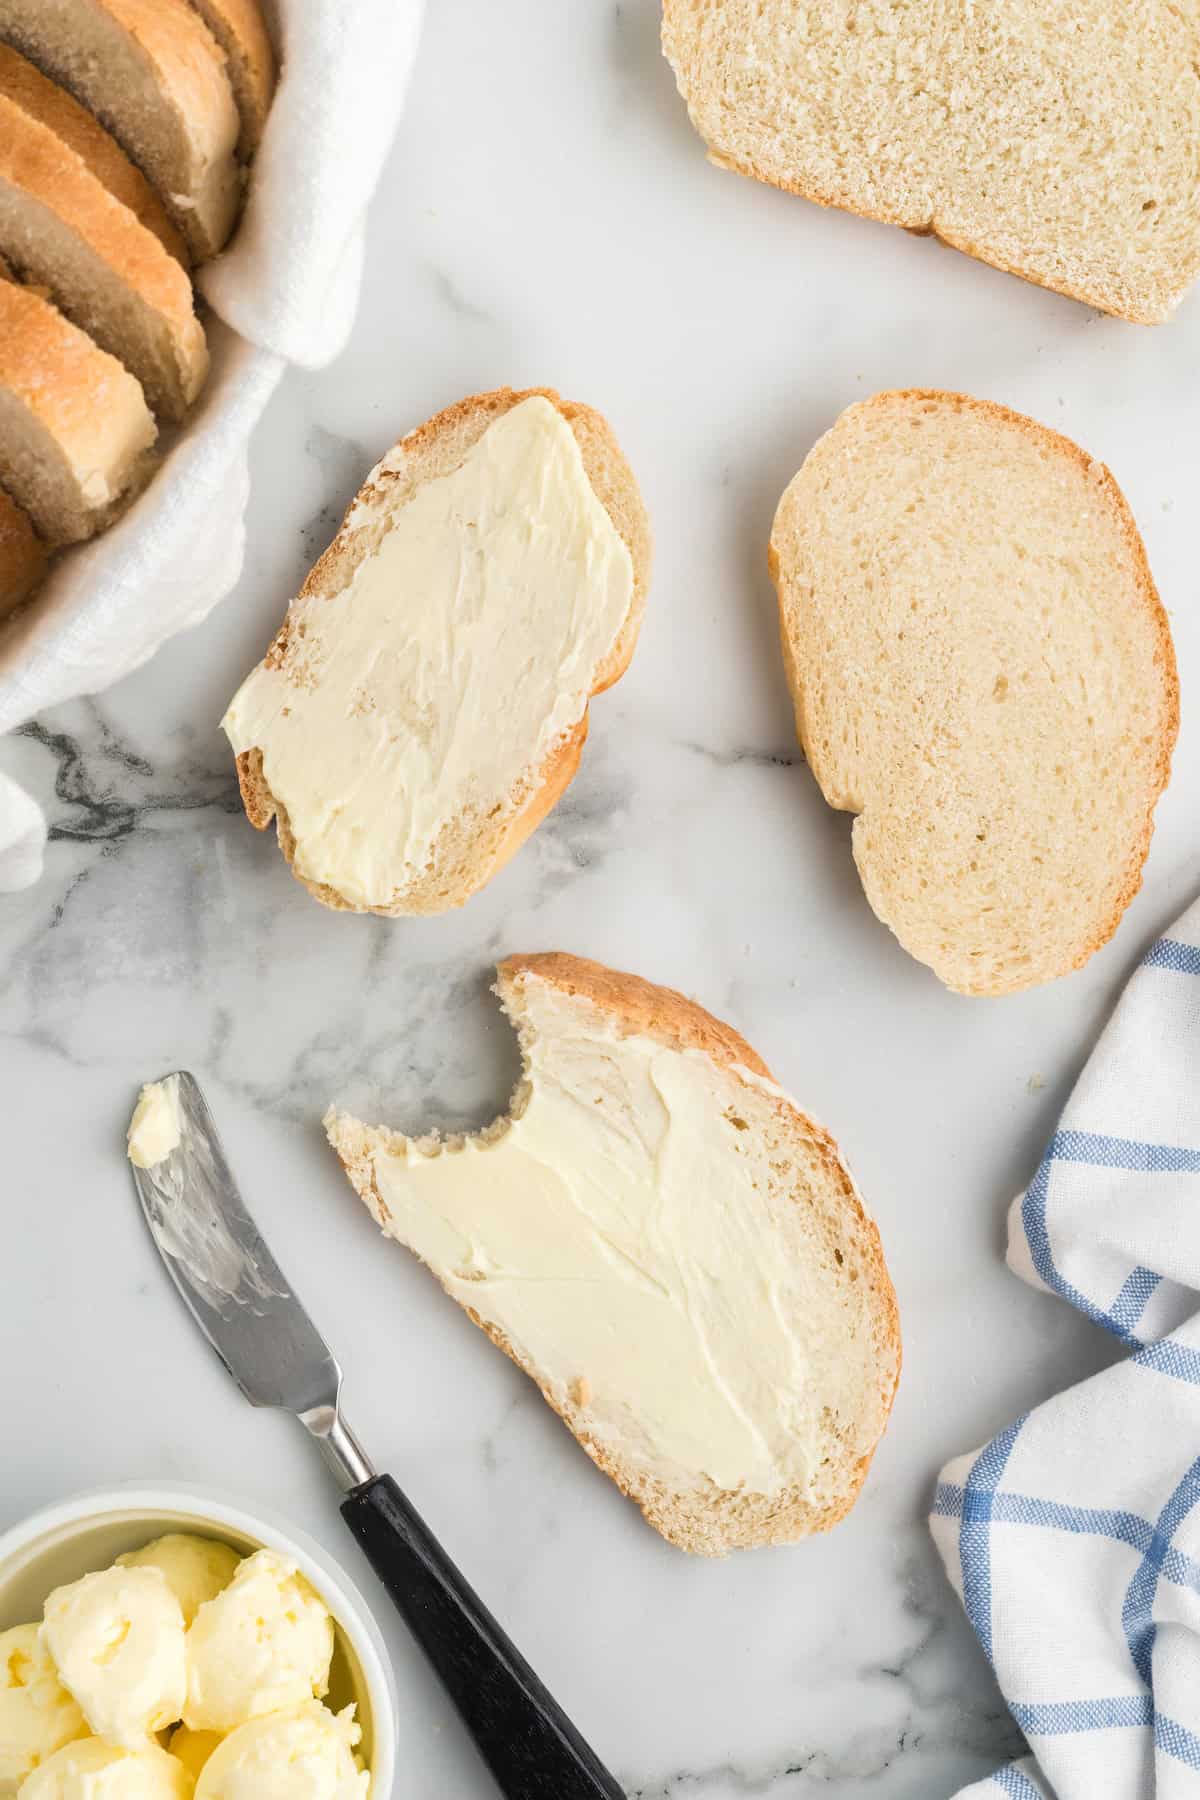
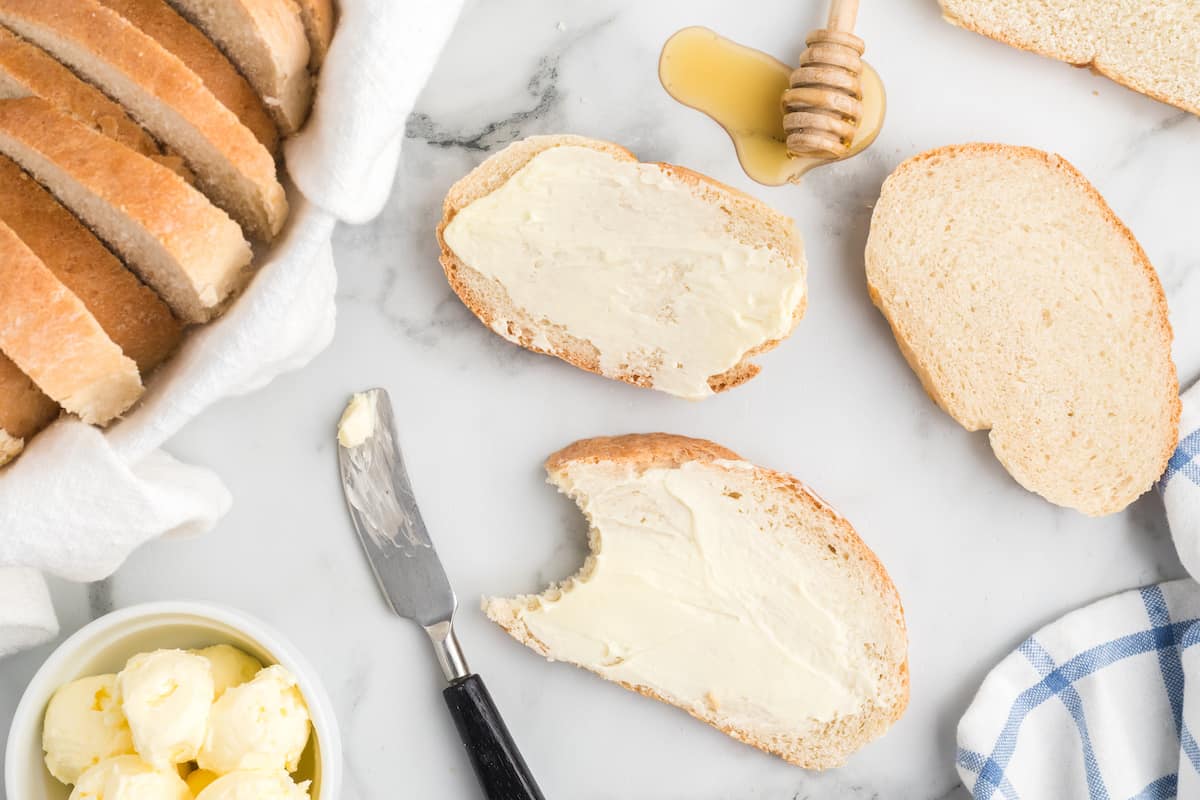
Eat as it is with a pat of butter. Or try it with your favorite family dinner as a delicious side.
Serve it with a hearty soup soup or make a cold cut with your favorite meats and cheeses. But it really can be paired with just about anything!
Try it with our favorite Creamy Pasta Fagioli Soup or pair it with this Creamy Pomodoro Pasta for your next family dinner or gathering.
Ingredients
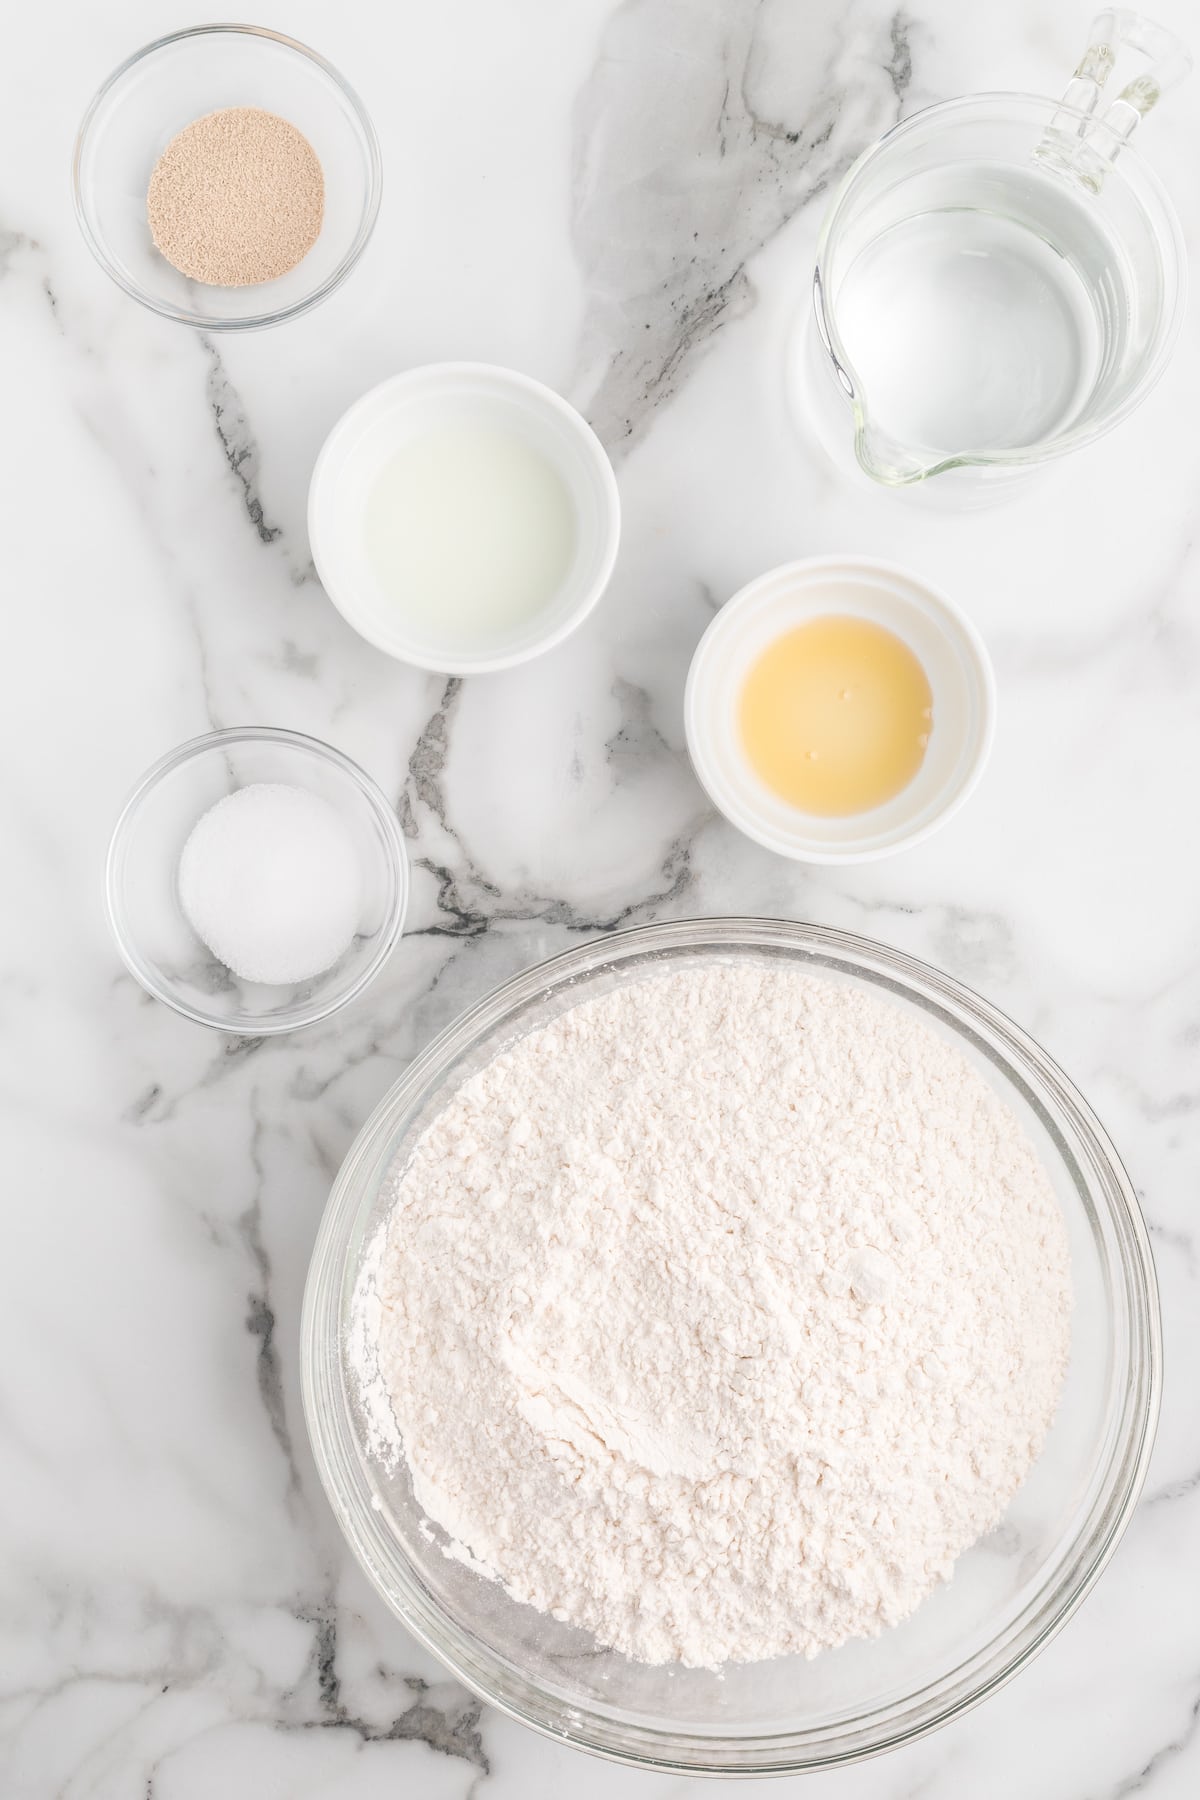
You’ll need a handful of basic pantry staples for this recipe.
It saves a lot of time and energy when making any recipe, to prepare all ingredients before following the rest of the instructions.
Here’s what you’ll need:
- all purpose flour
- active dry yeast
- warm water
- salt
- honey
- milk
For extra flavor, try mixing in fresh herbs with butter for a scrumptious spread over warm slices of the bread.
Instructions
This recipe is fairly simple to put together. But it does require some effort – kneading & rise time are a part of the bread making process.
And it is a bit therapeutic for me. There’s something a bit satisfying about making a loaf of bread from scratch!
Kneading properly is super important to create a great loaf of bread.
Want to save this?
Here’s some more helpful tips. And the complete recipe is found at the end of this post. If you are new to bread making, I have a great list of tips for beginners. Find it here: Bread Making for Beginners.
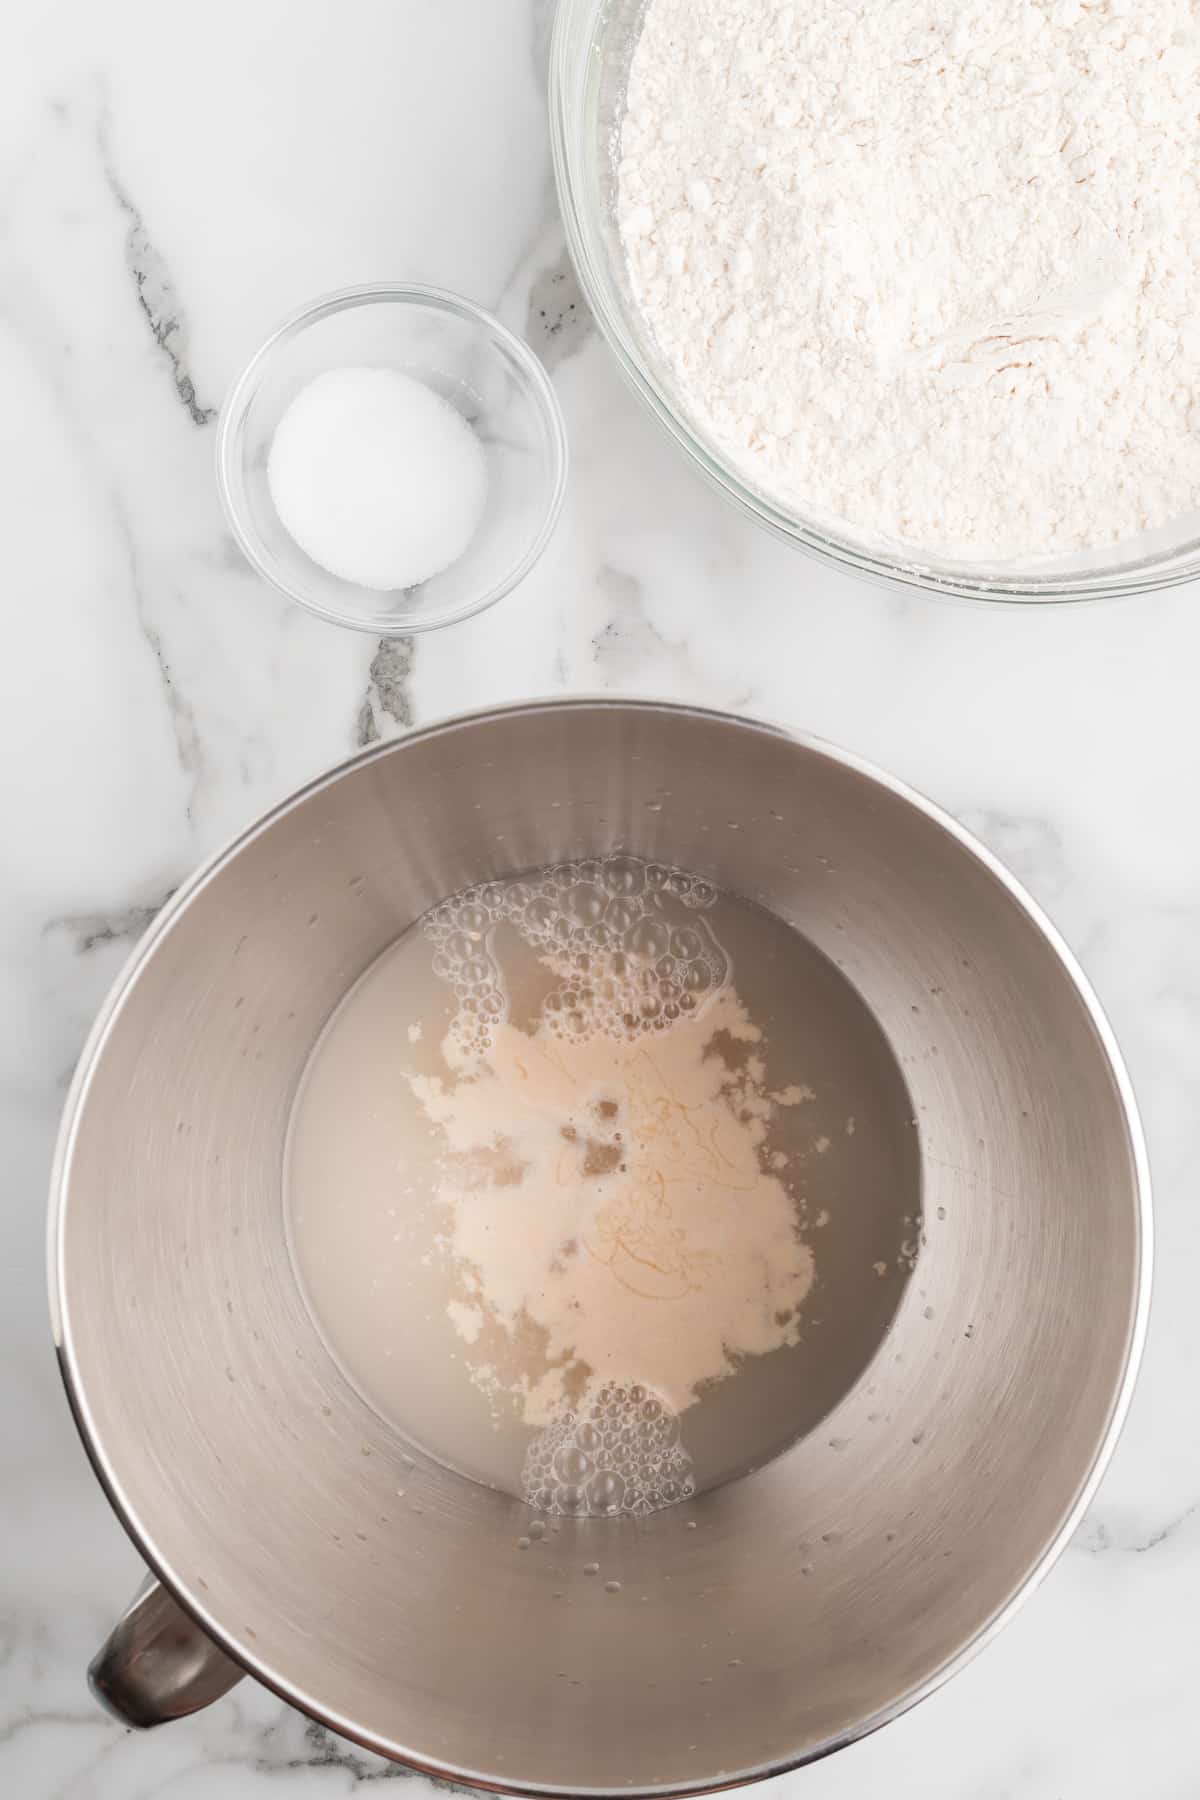
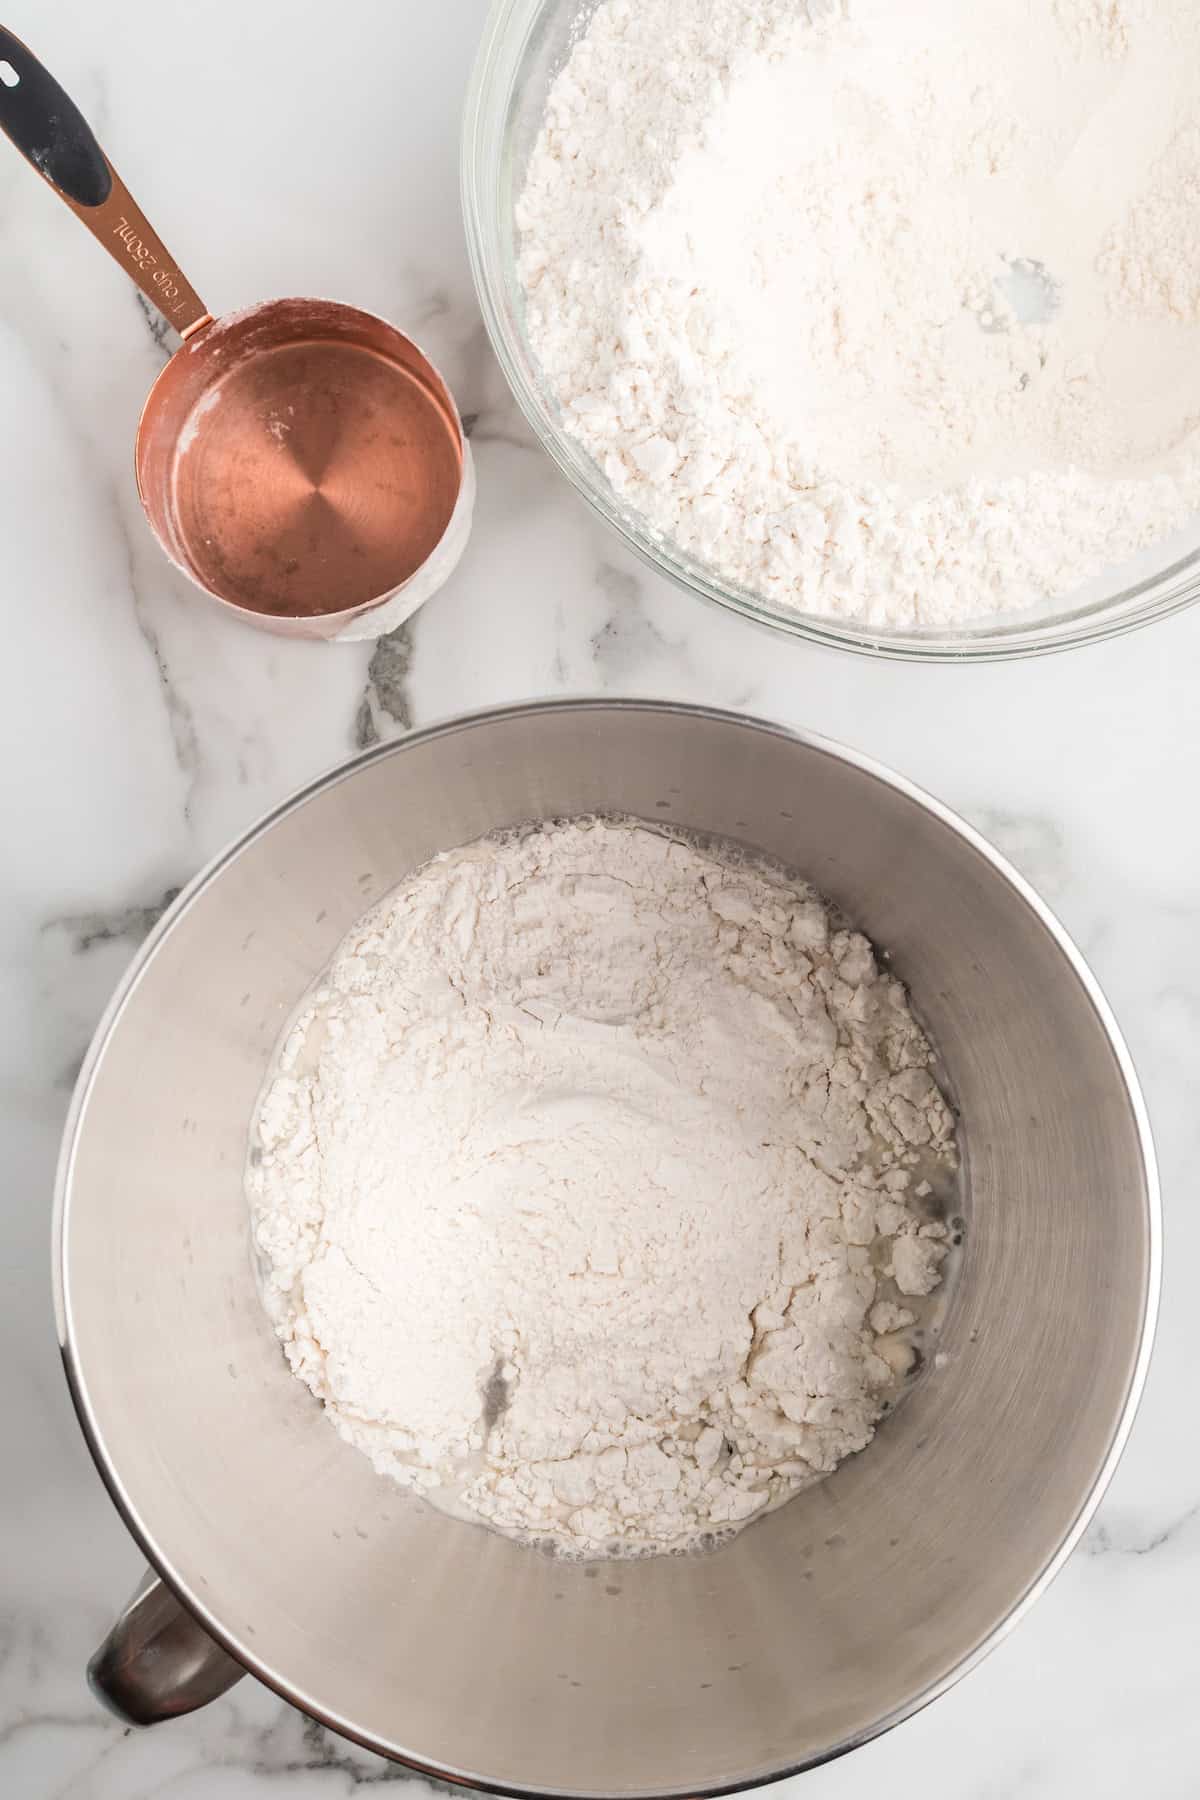
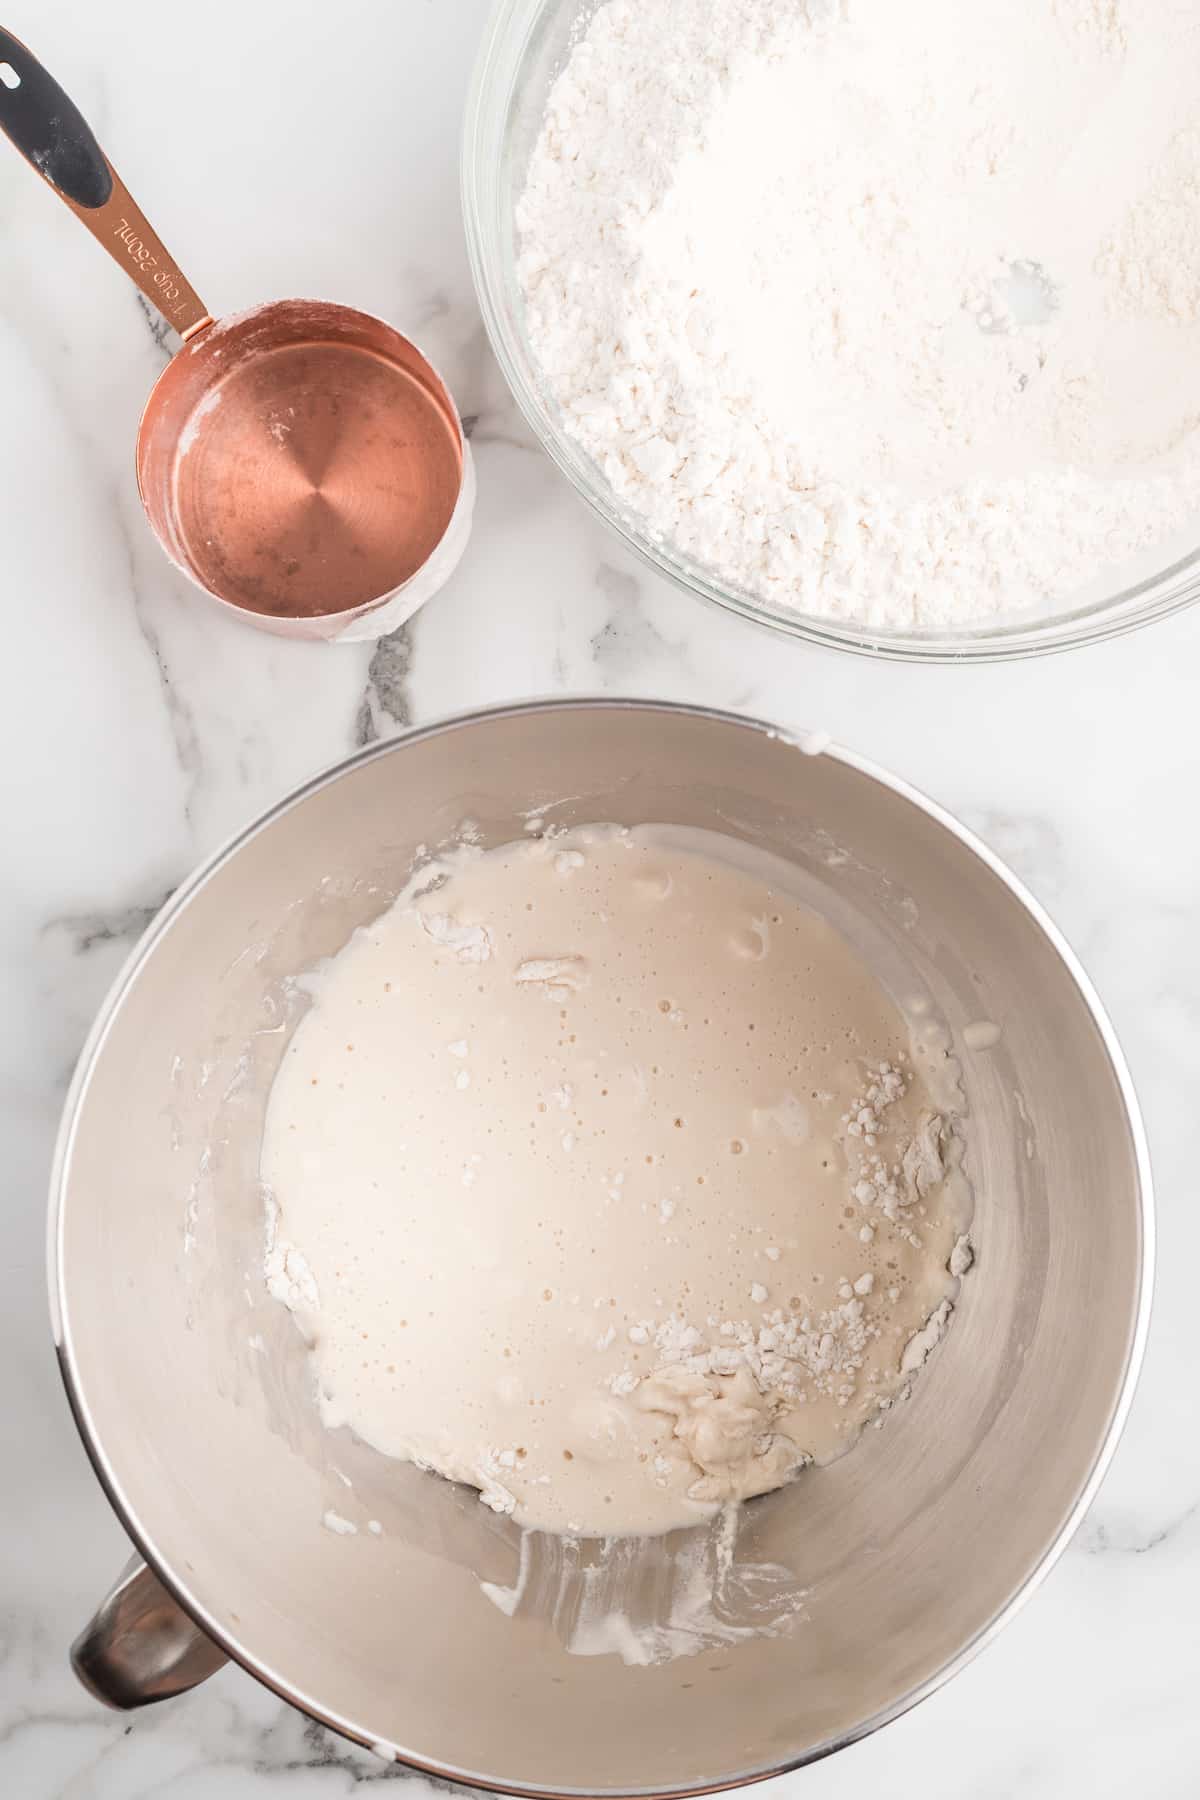
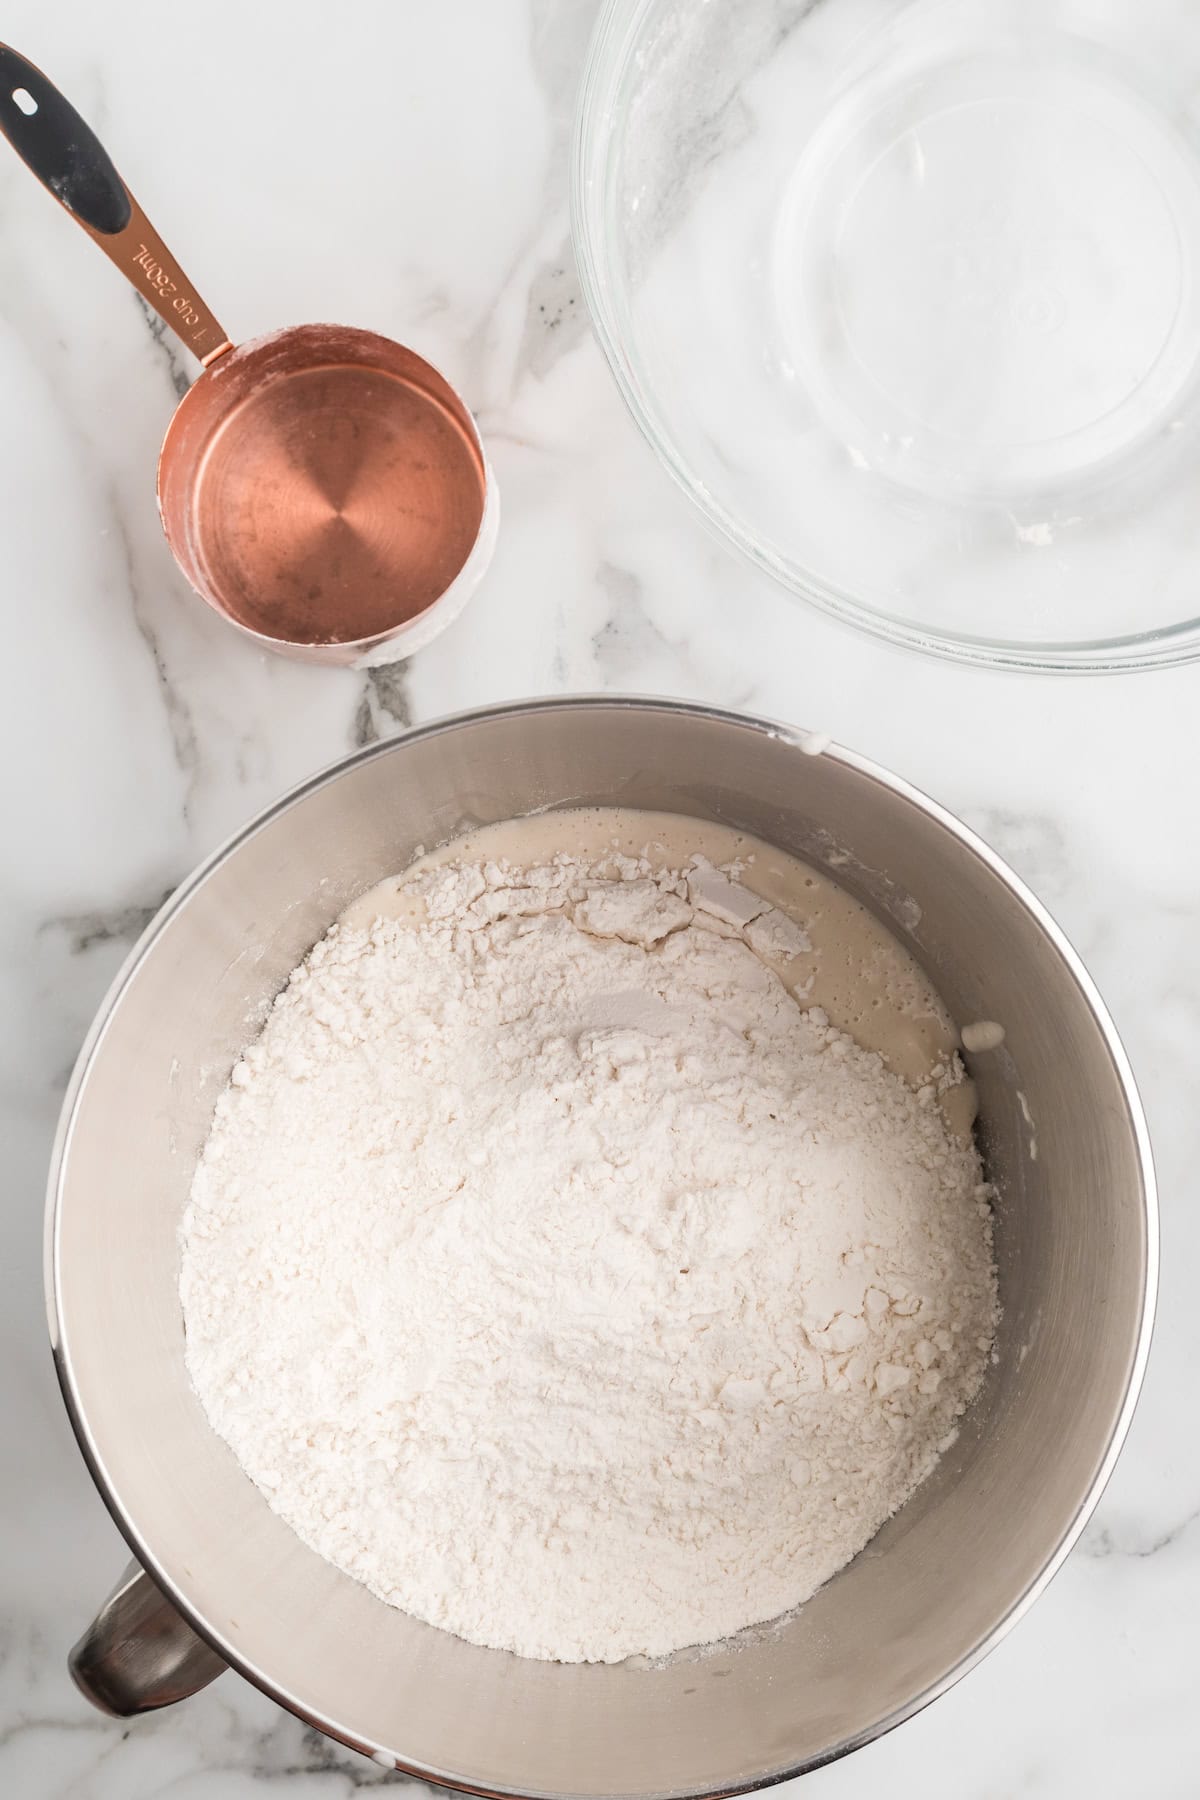
After creating the yeast mixture & combining with half of the flour, you’ll add the remaining flour. Be sure to scrap the sides of the bowl.
Knead by hand or you may use a stand mixer on the dough setting / dough hook for convenience.
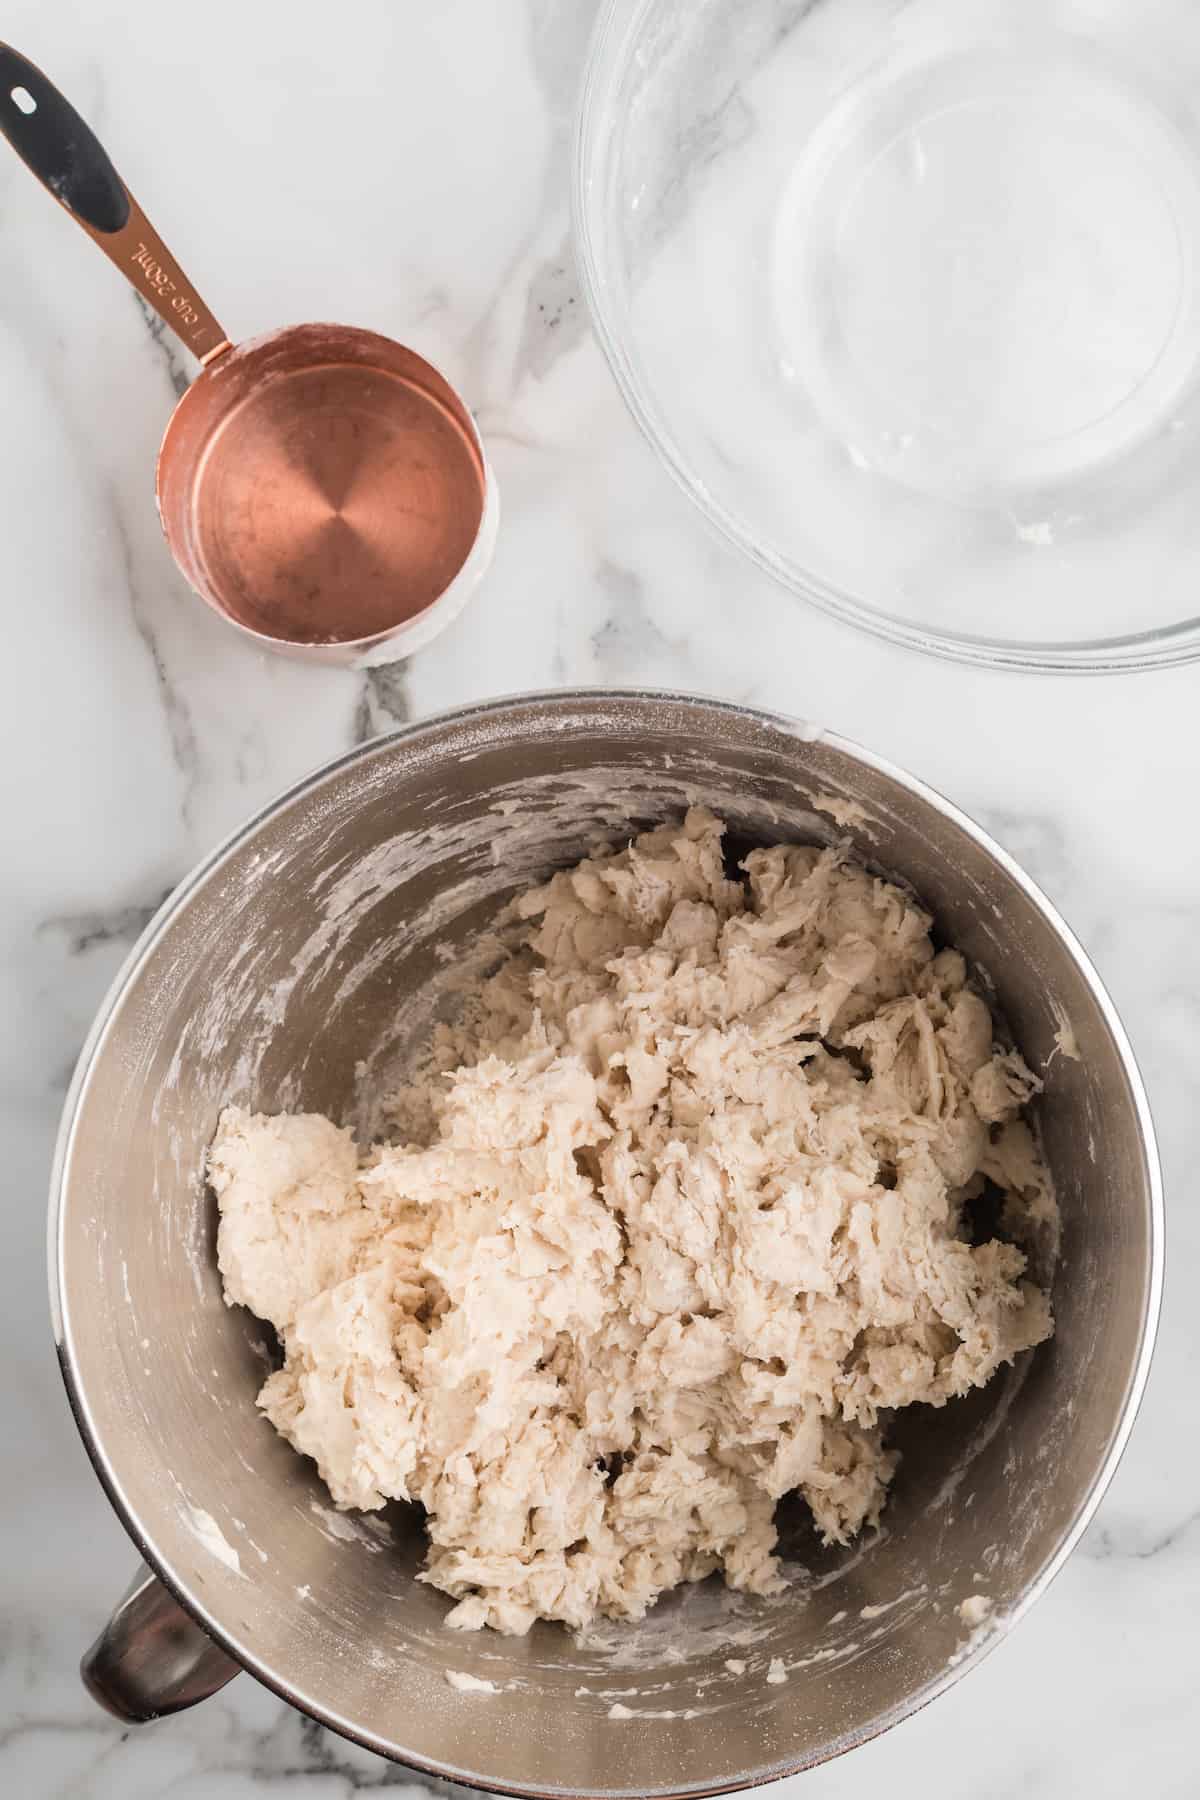
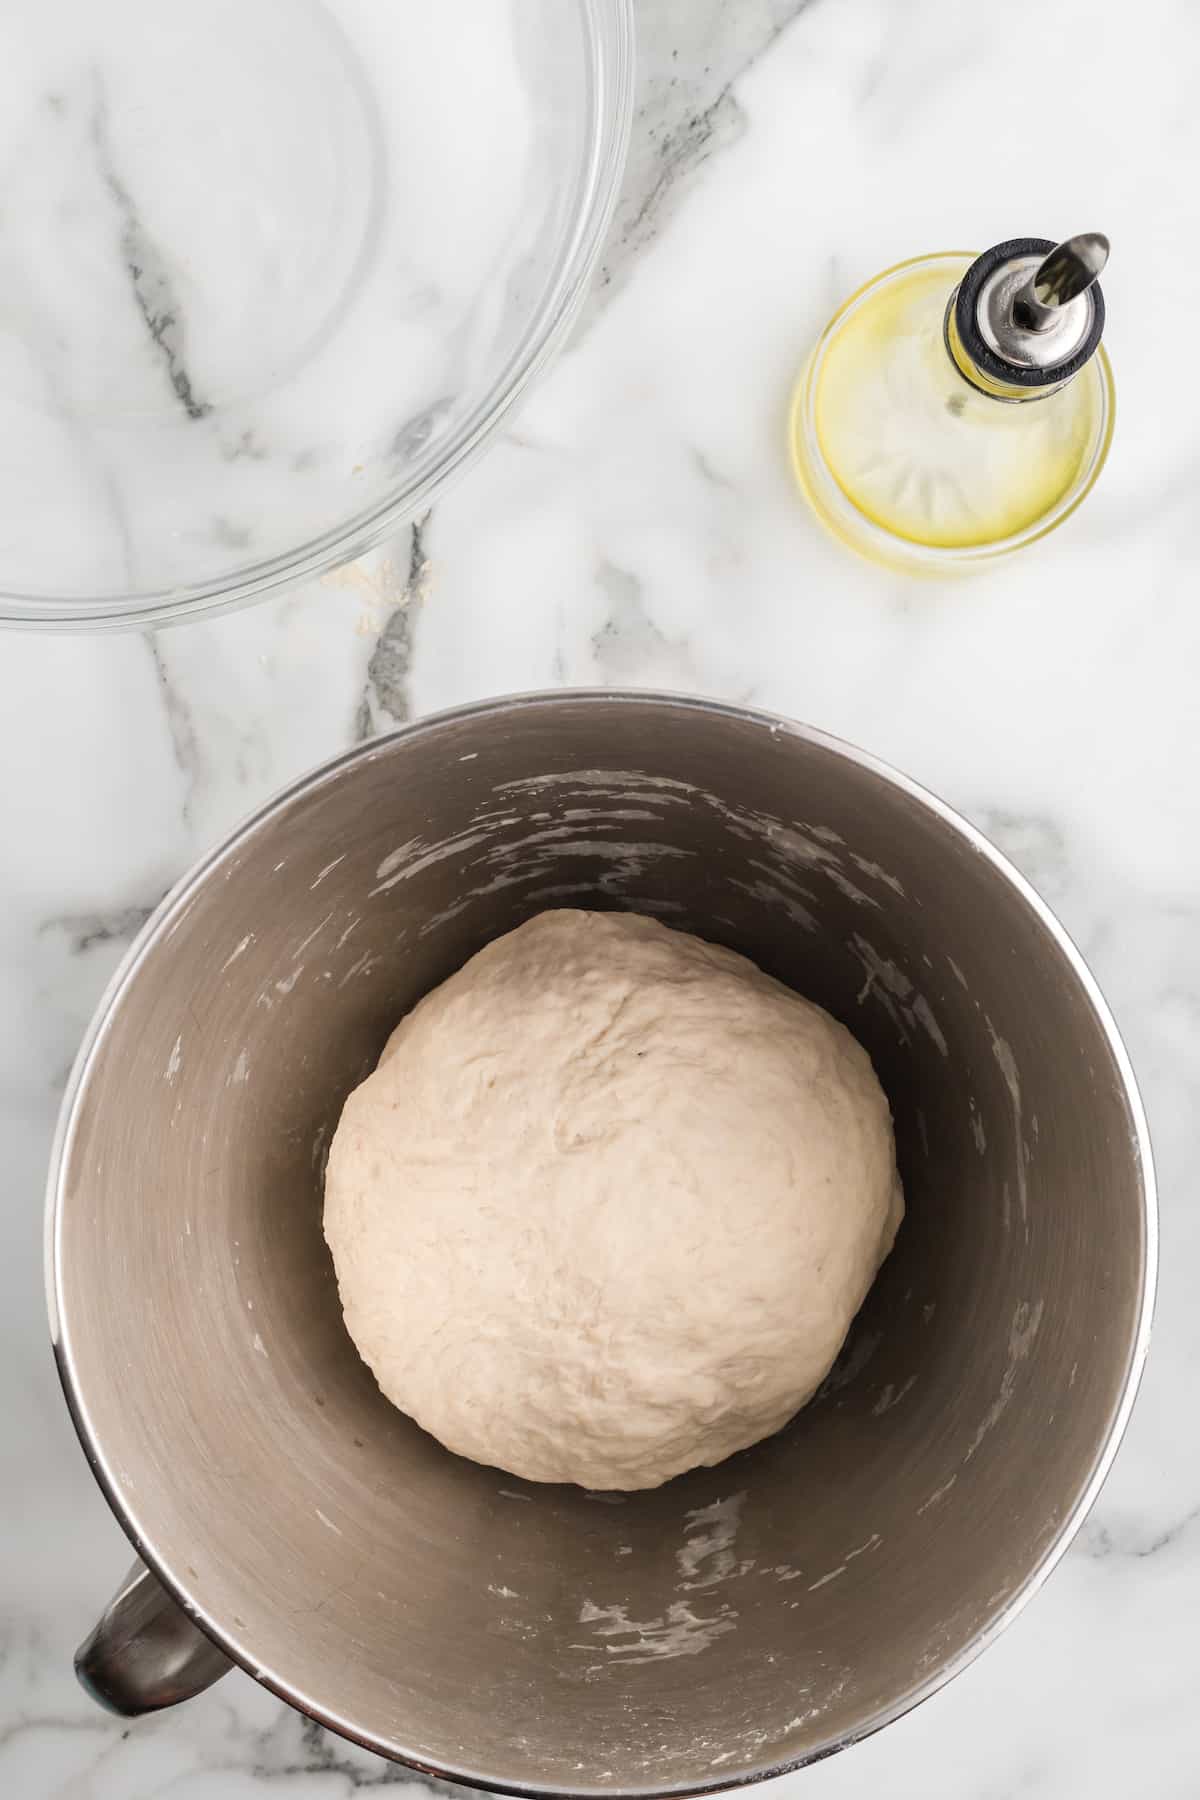
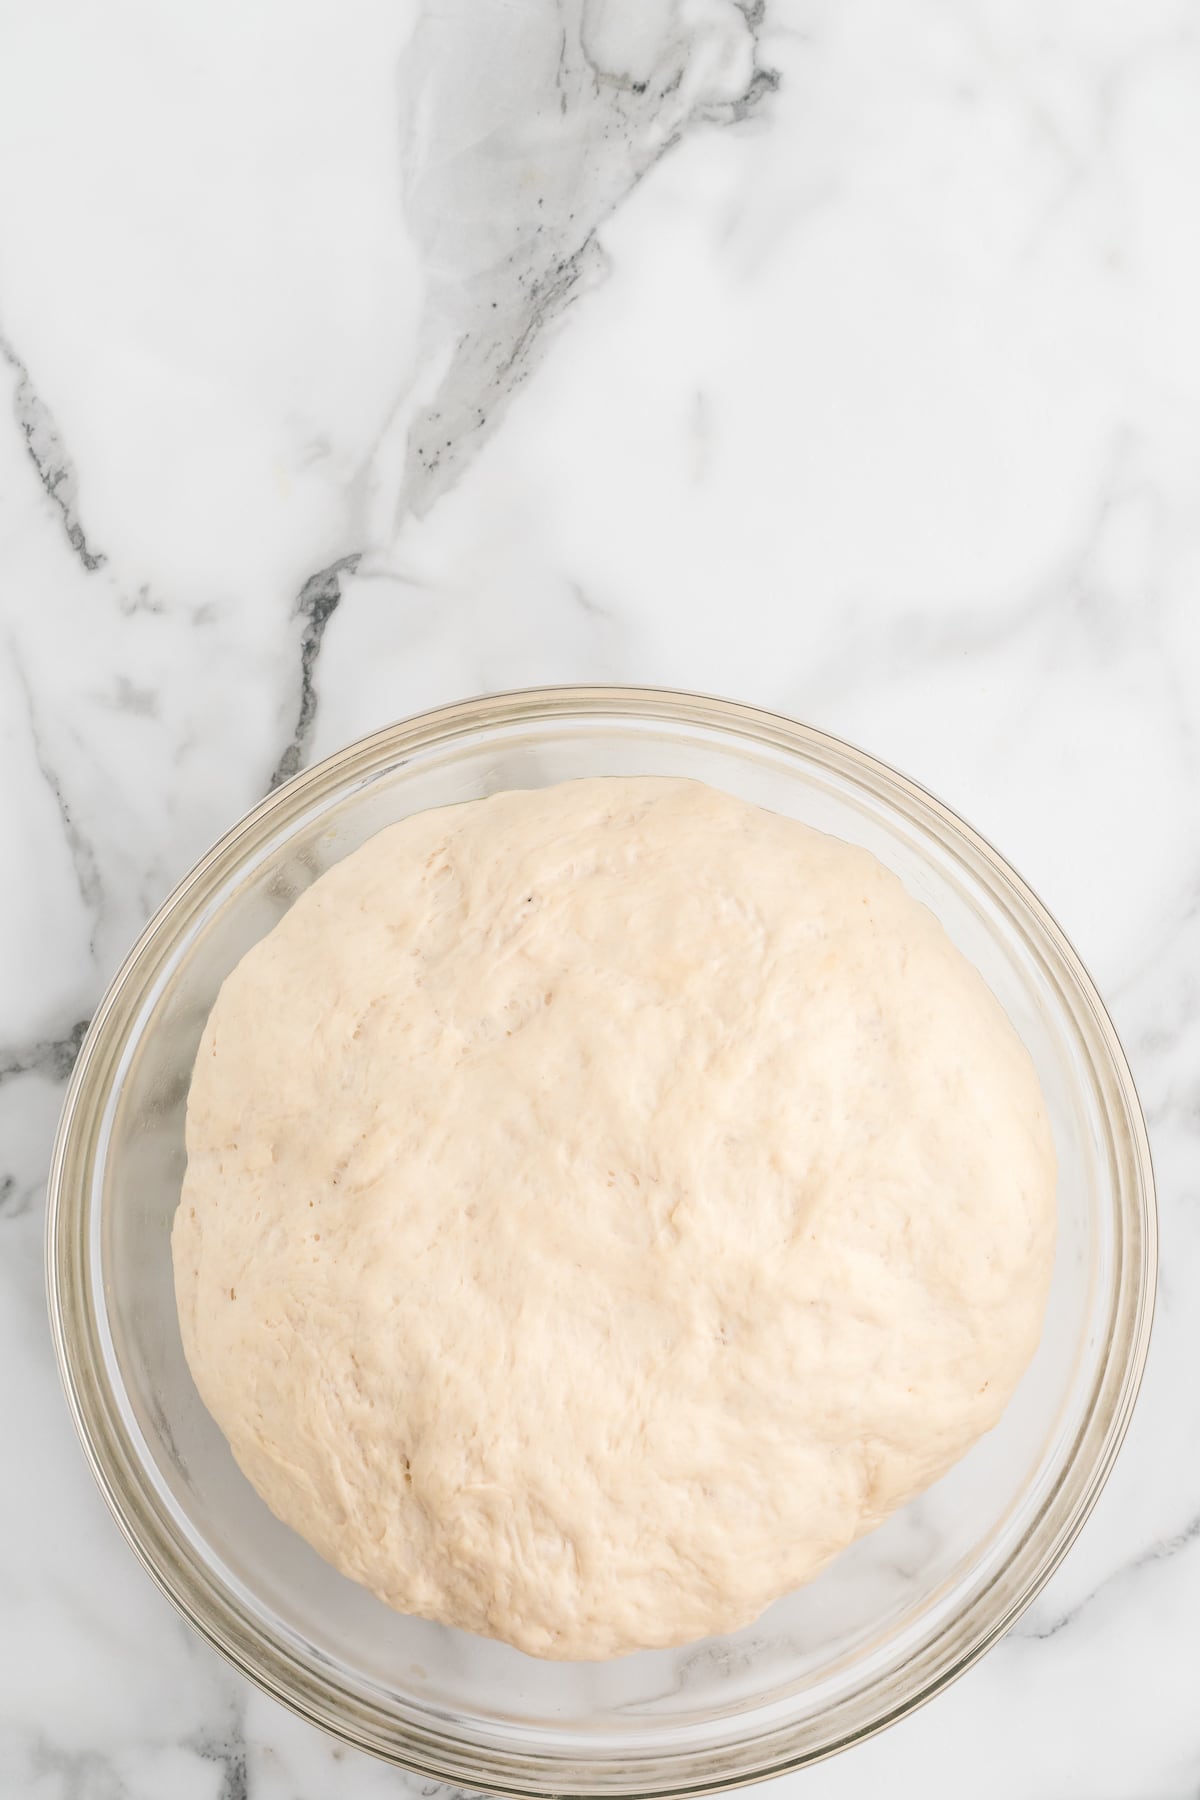
Sprinkle a little drizzle of olive oil into a large glass bowl. And lightly coat the dough bowl in the oil. Cover with a tea towel or plastic wrap and allow to rise.
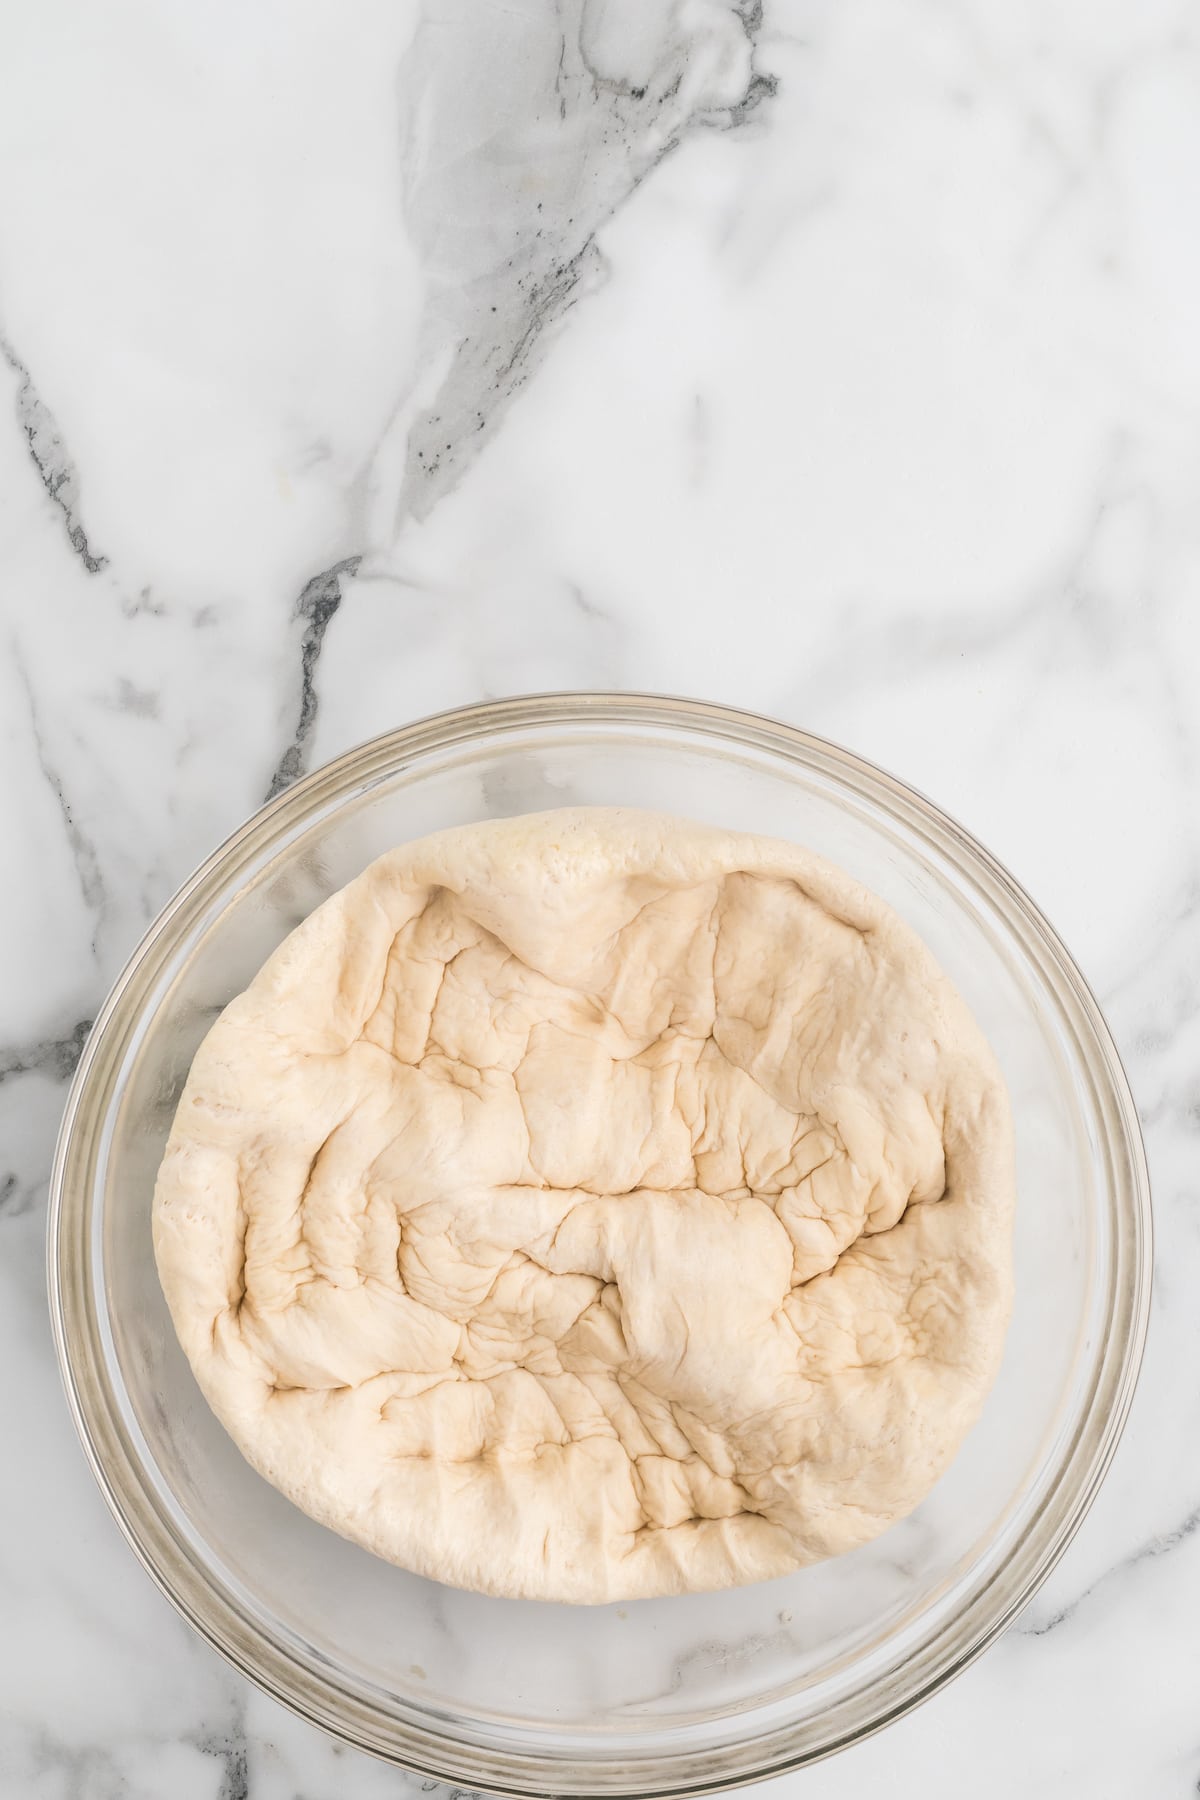
Once rise, punch the dough ball down and move to a lightly floured surface and knead the dough. After kneading the bread dough ingredients, allow to rise until double in size.
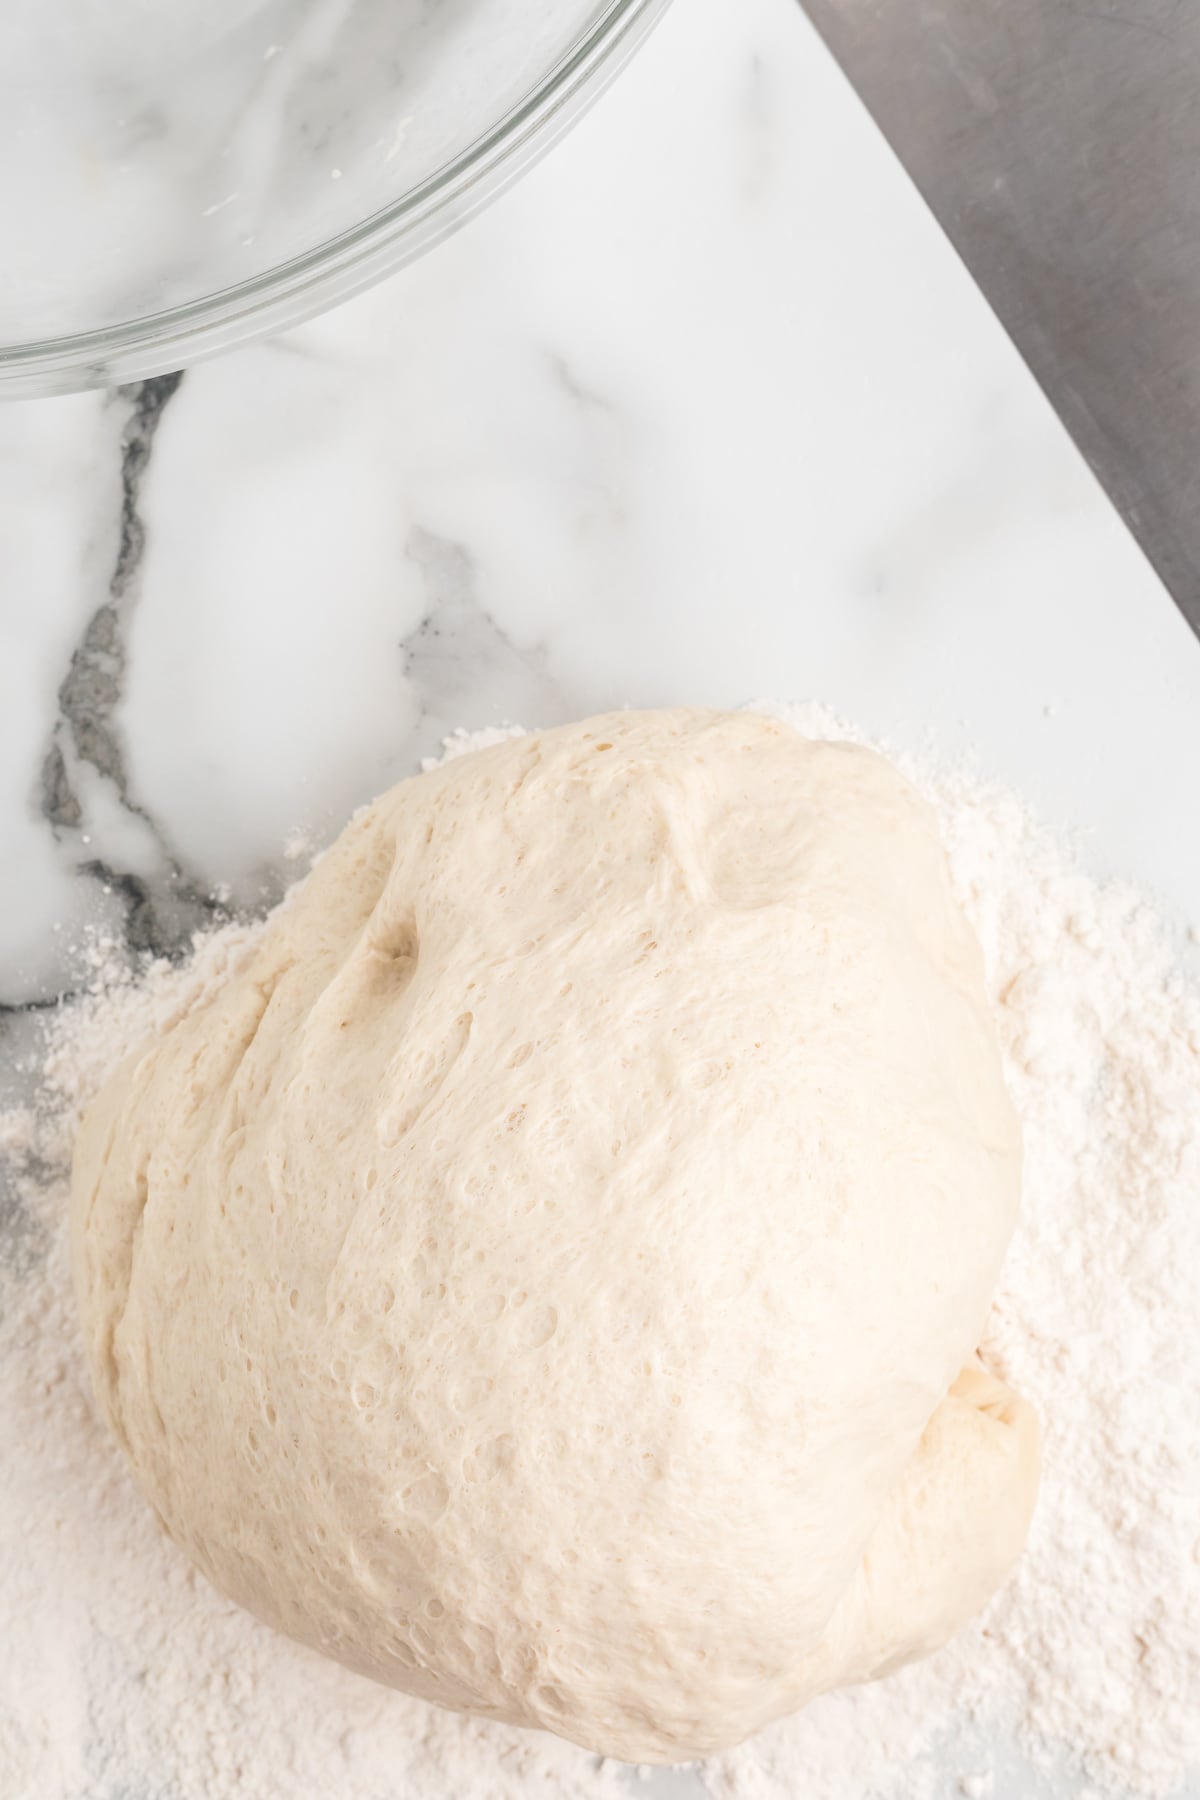
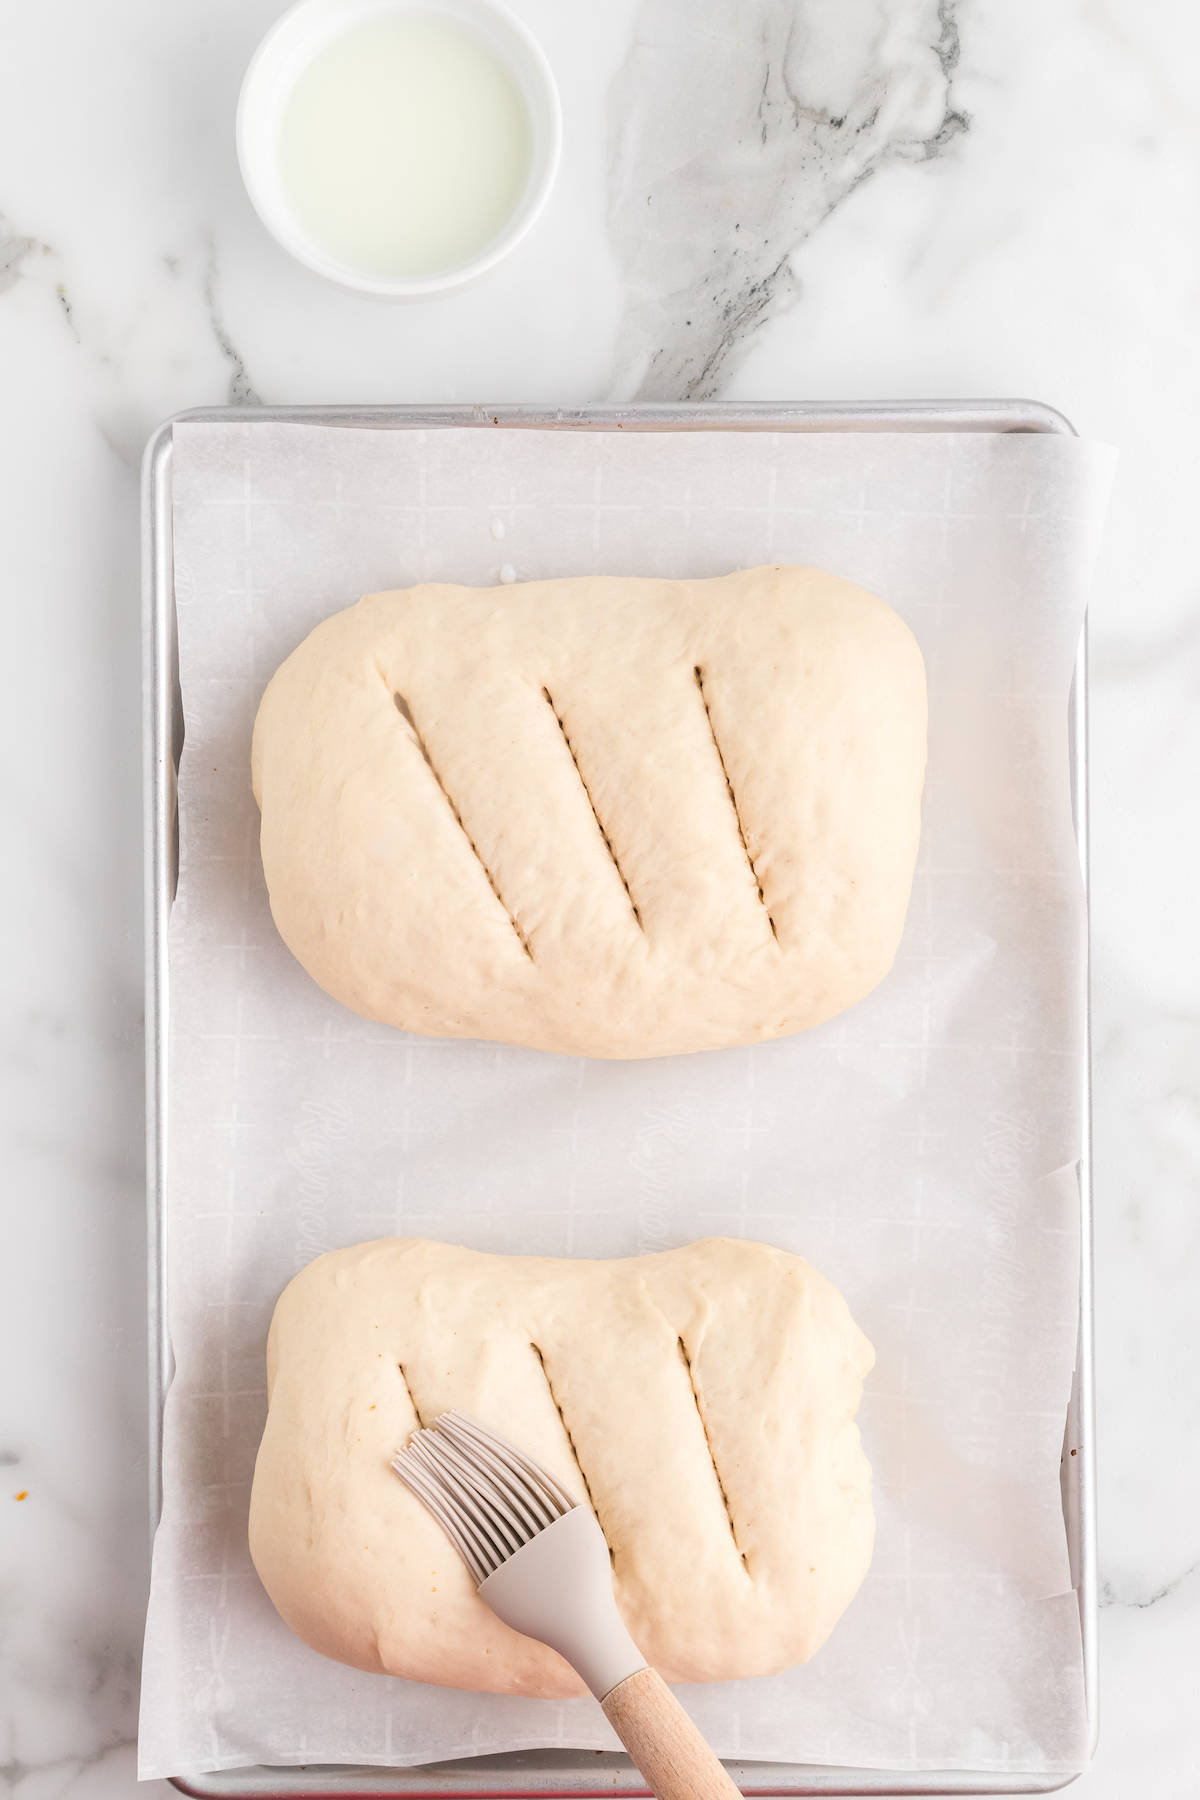
Divide the dough into two loaves, use a sharp knife to make 4 shallow cut lines across the top of each loaf. Then brush with the milk to help create a golden crust.
If you want a more golden or crisper crust, use an egg wash instead.
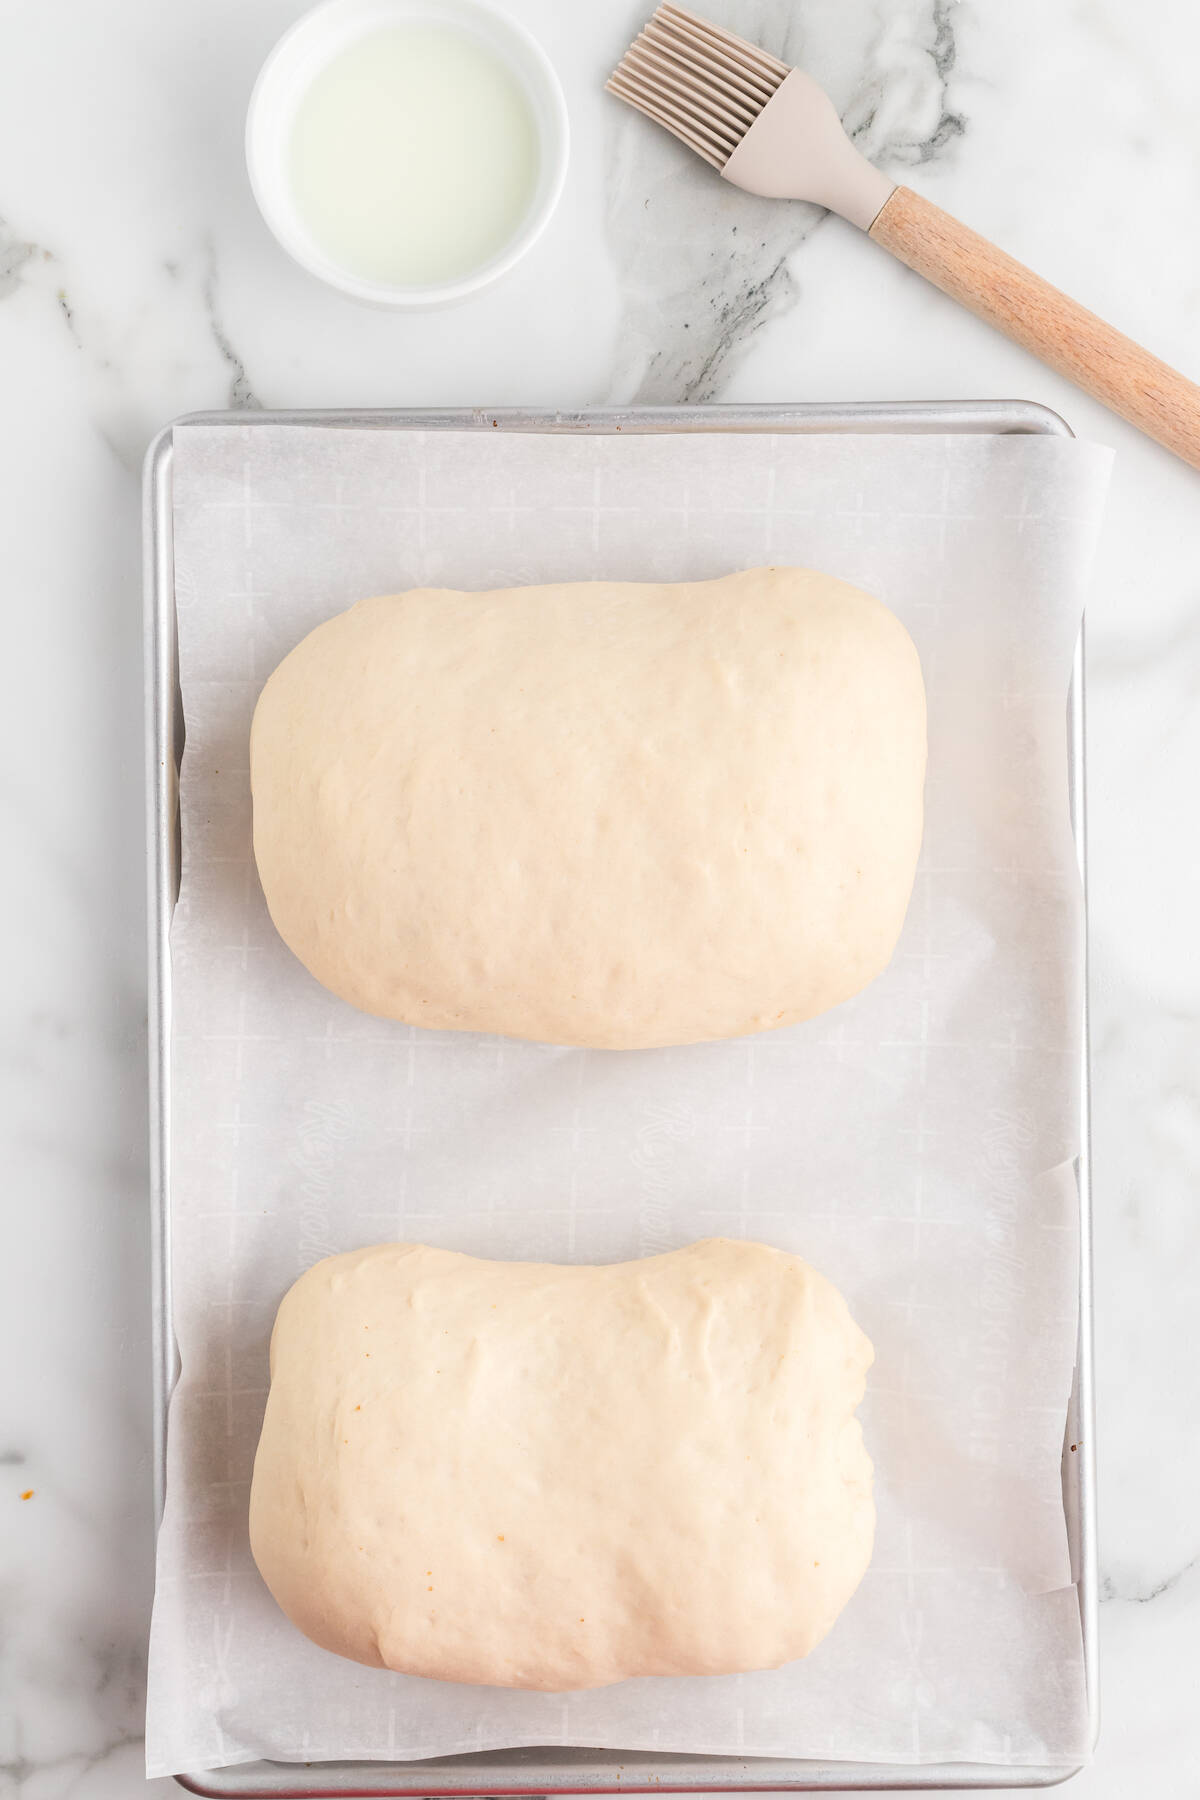
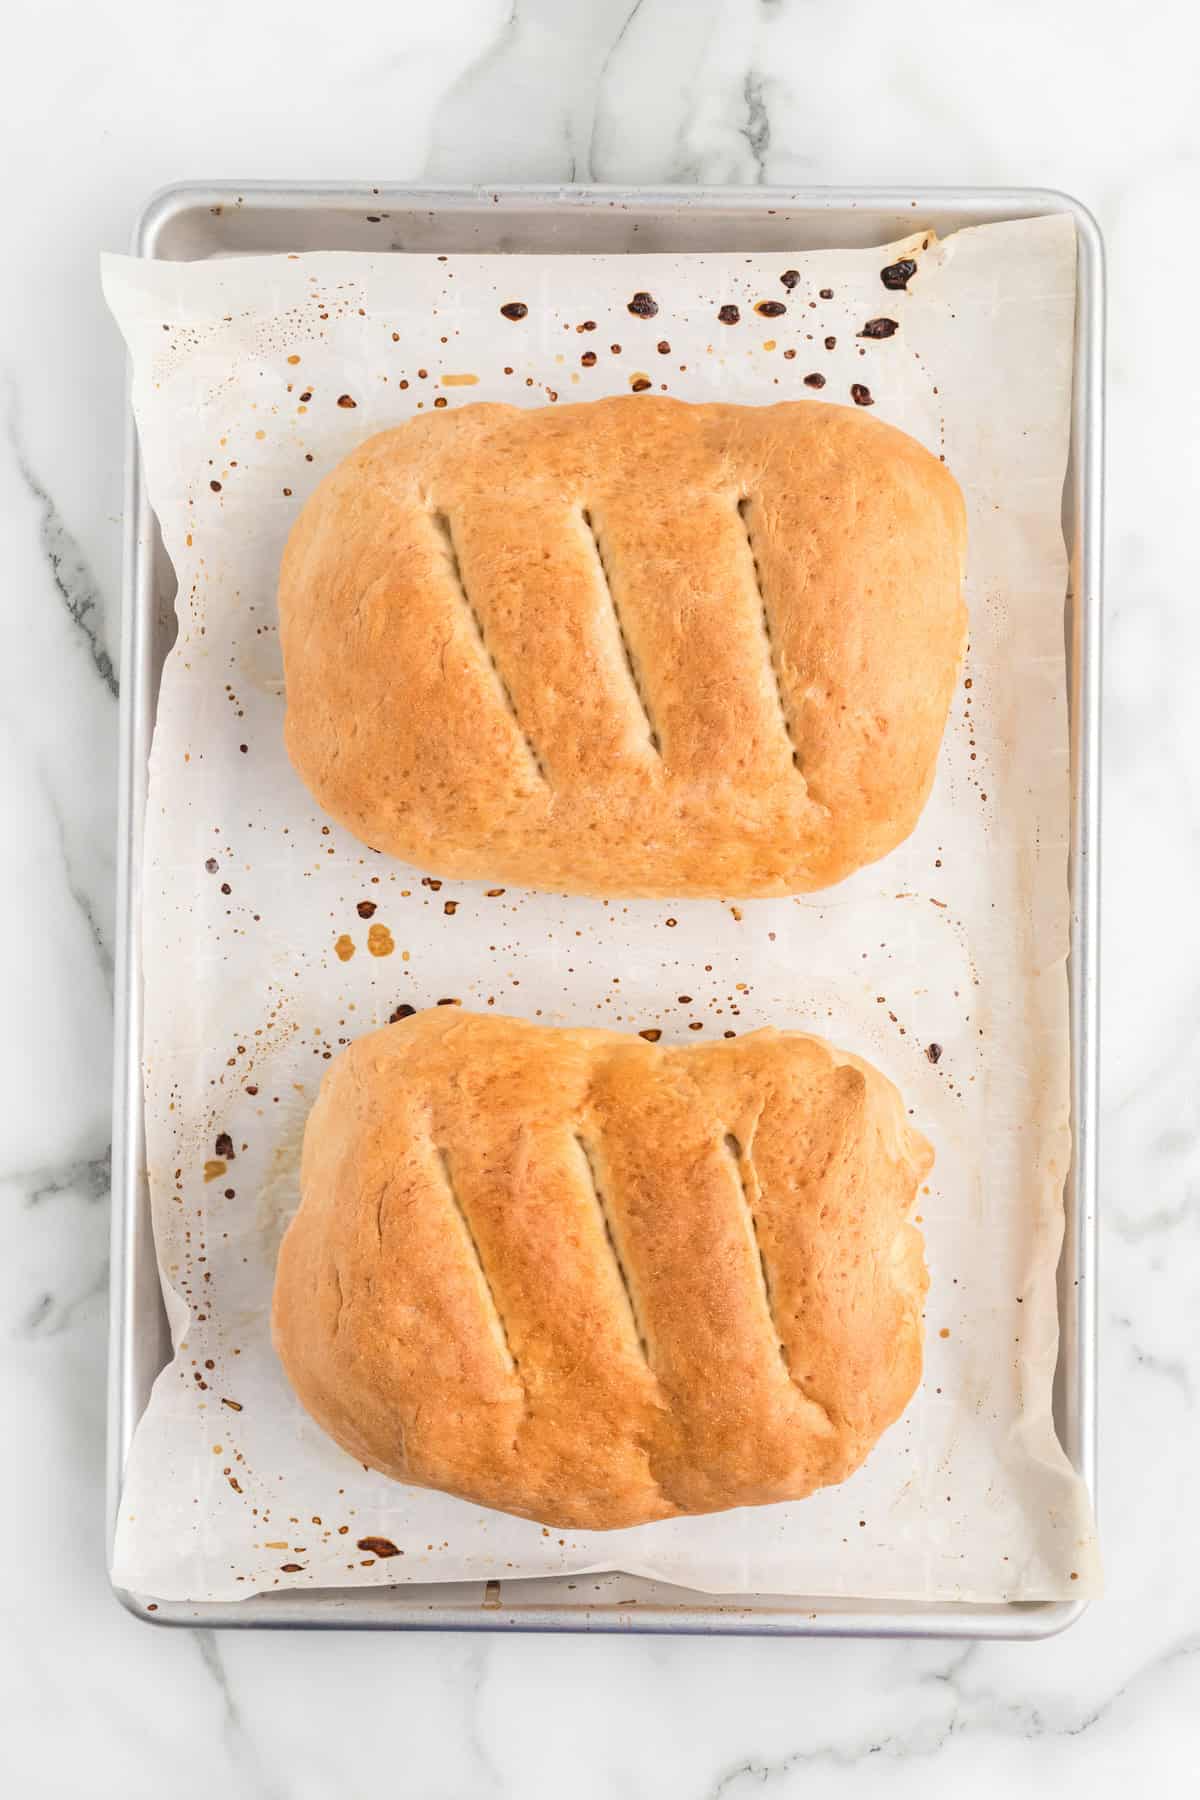
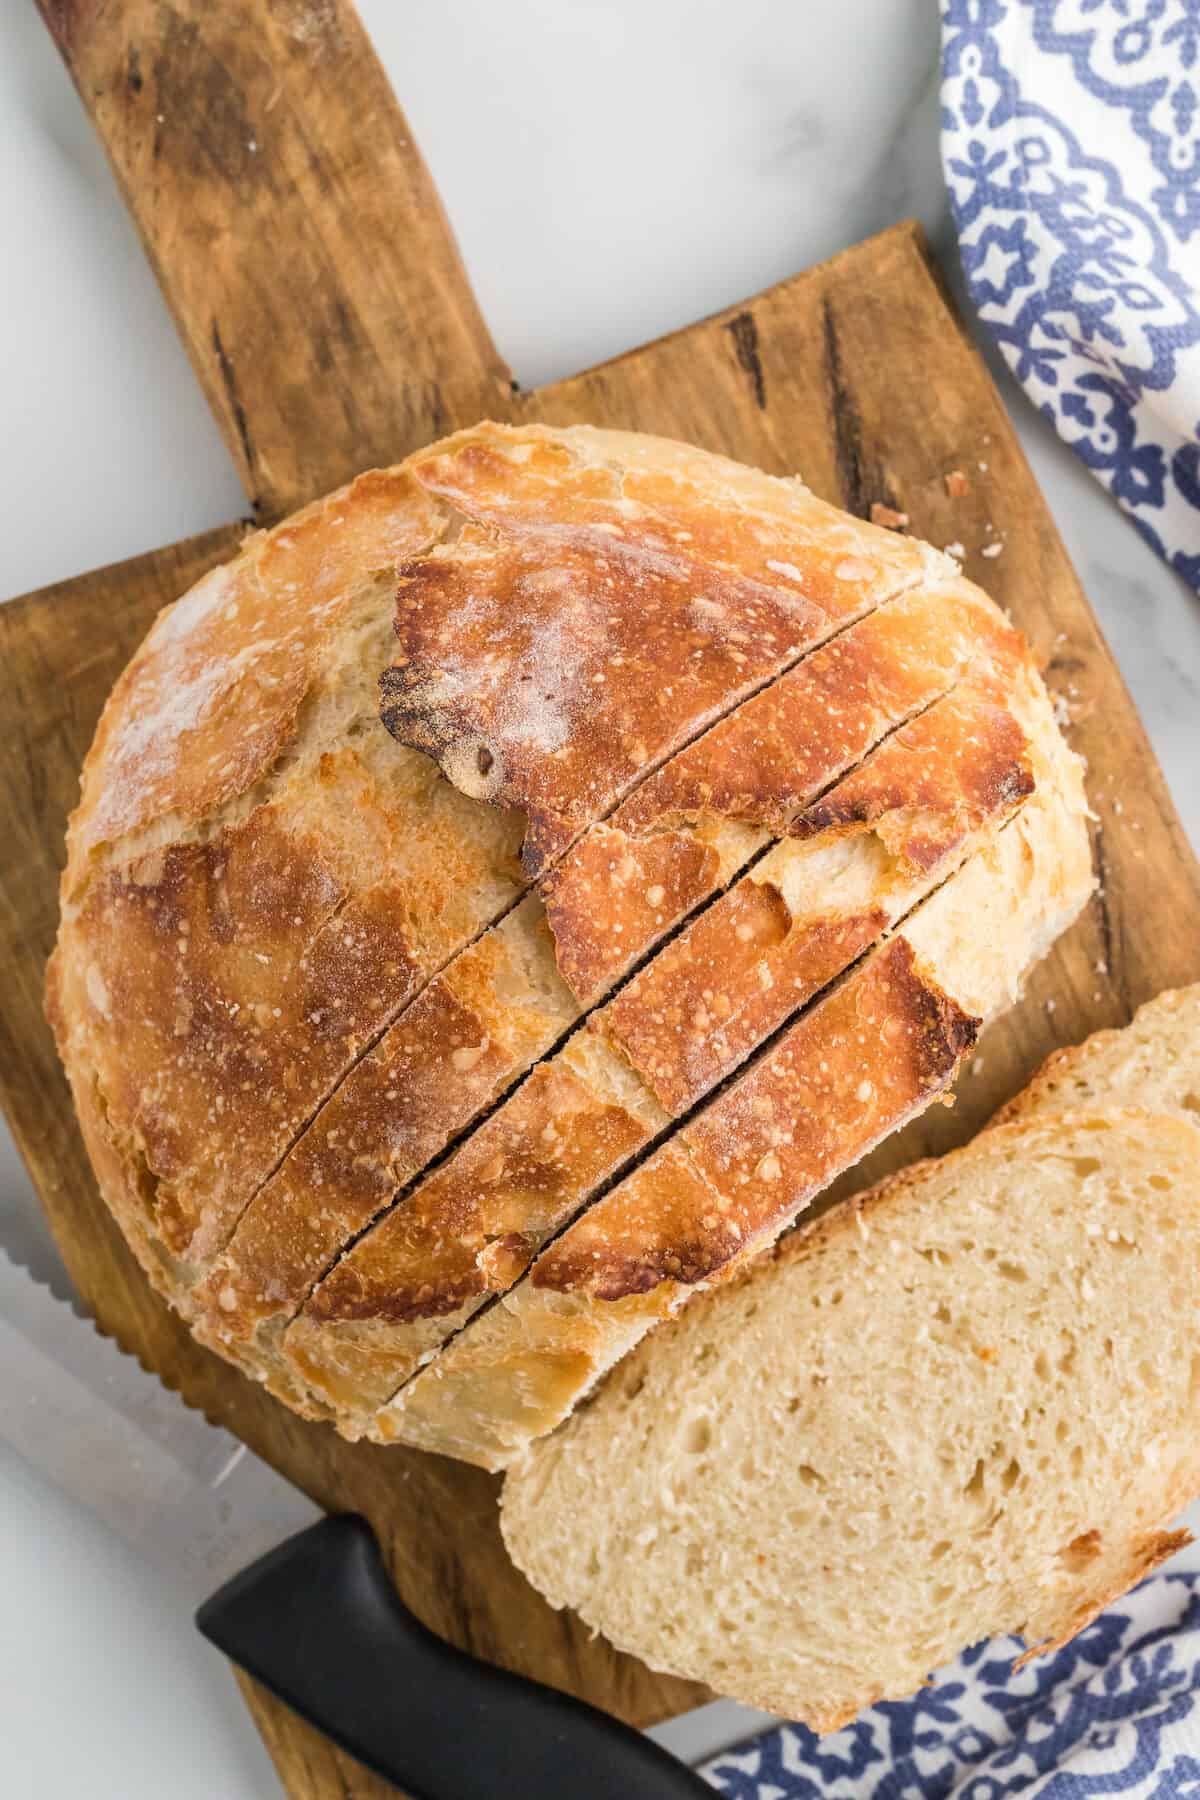
Bake until golden. And allow for the loaf to cool before slicing.
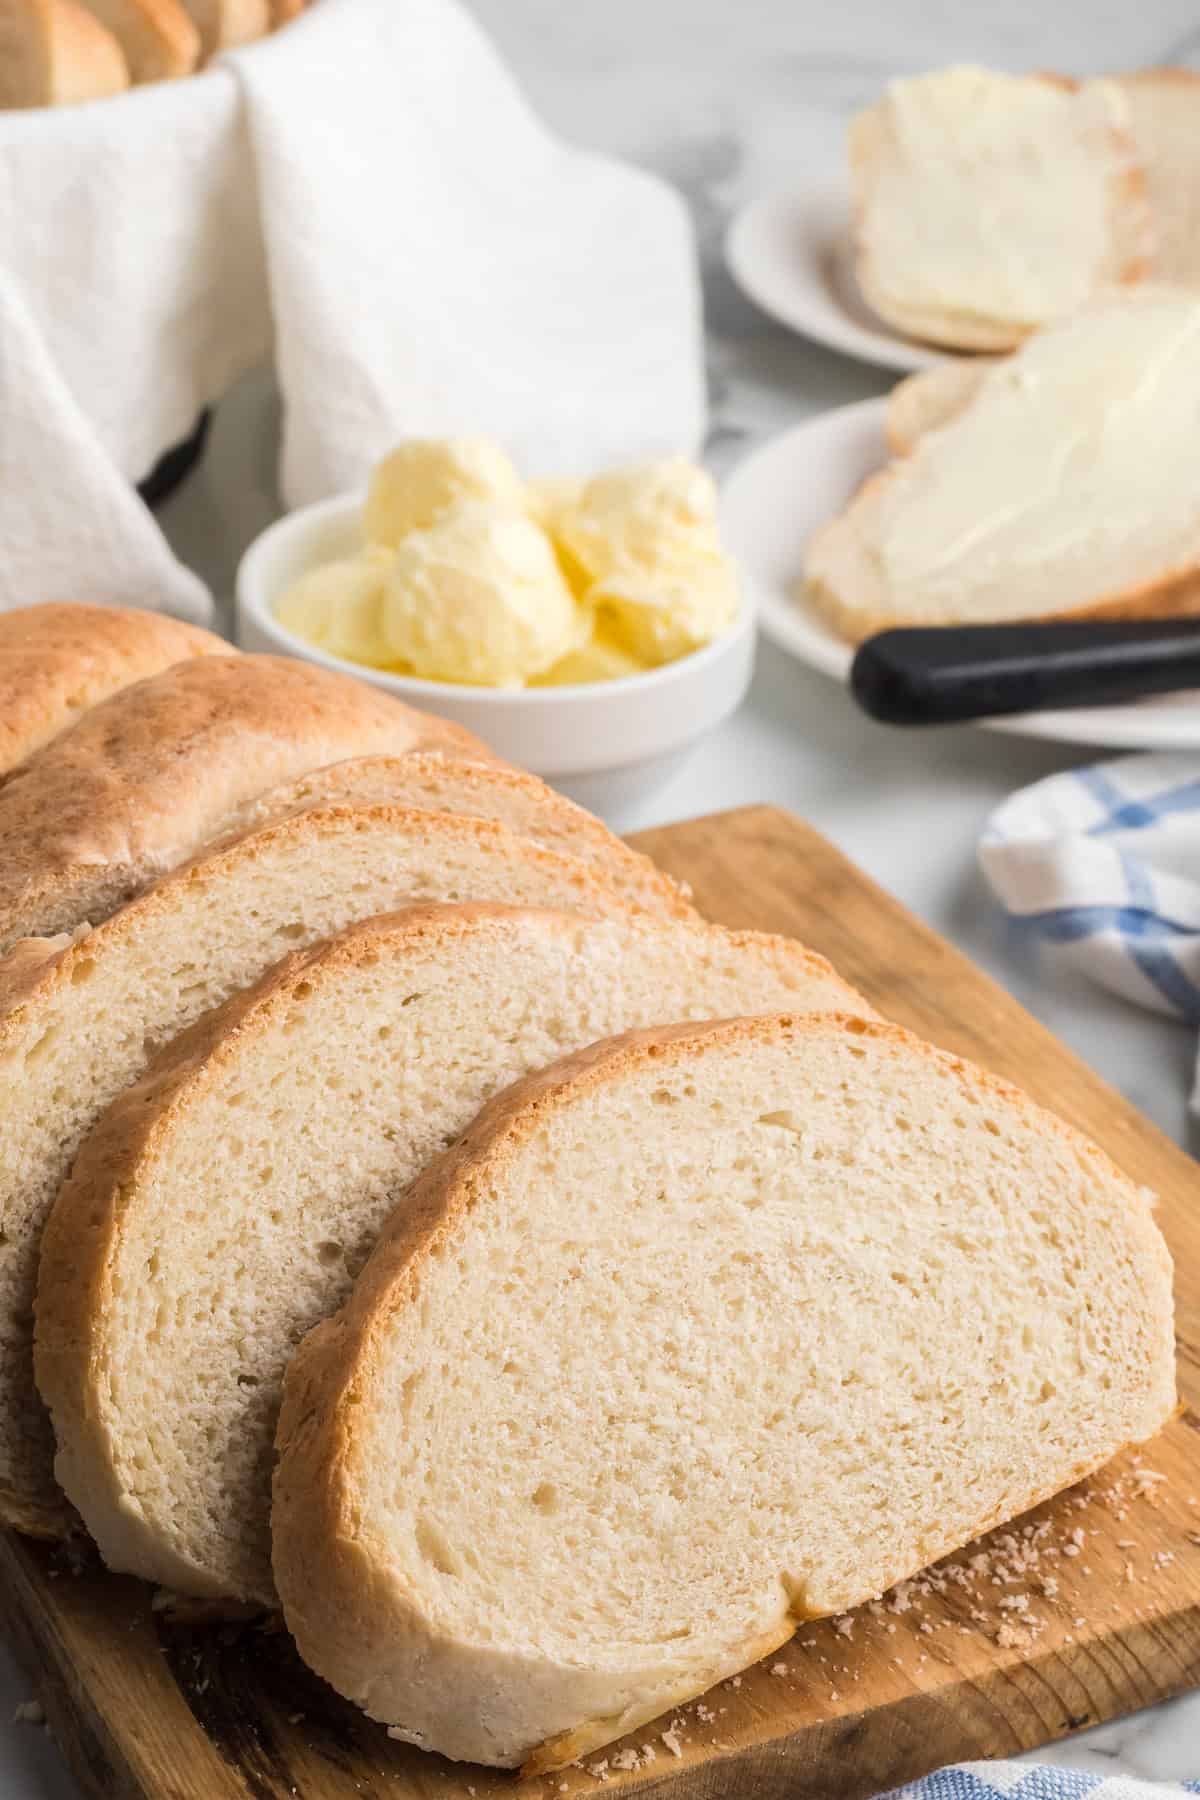
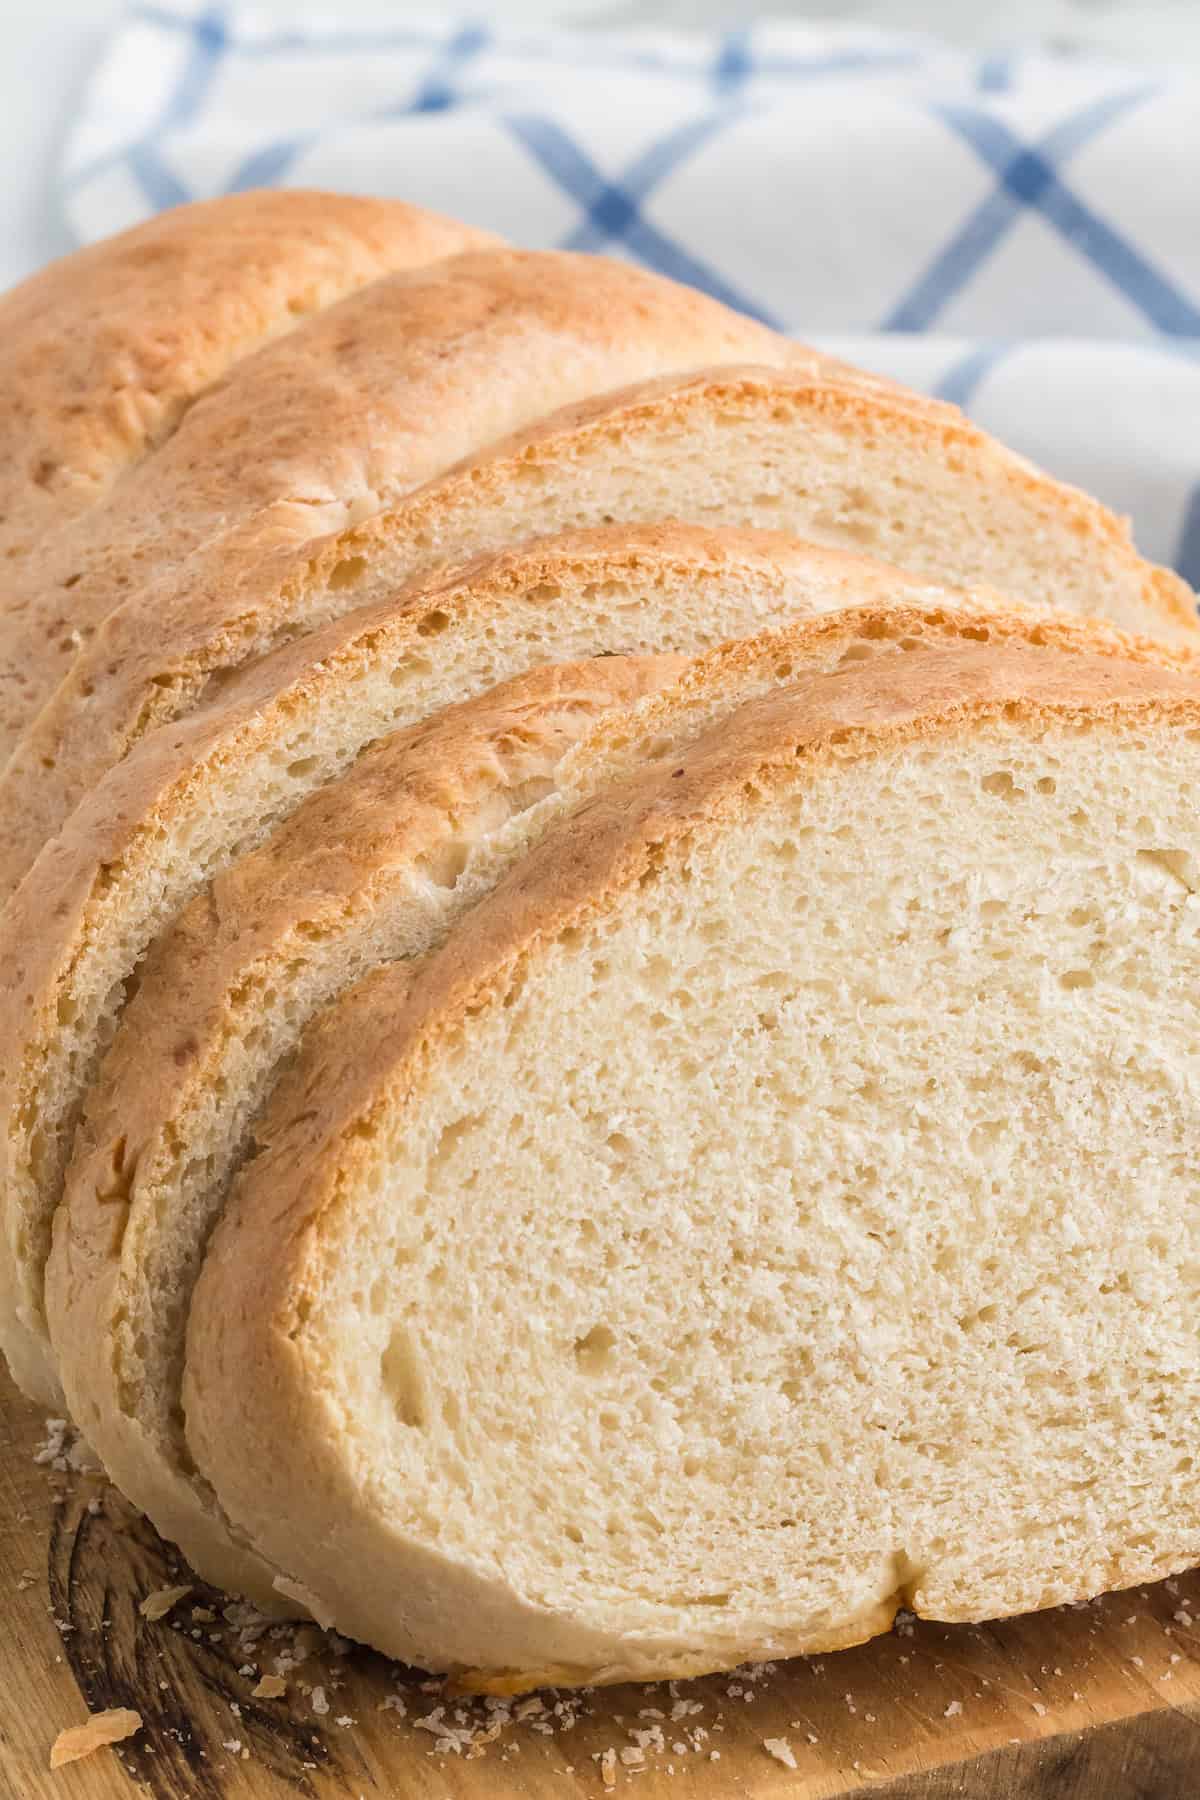
This Italian bread loaf slices up really nicely.
Tip: if you don’t have a bread knife, a sharp serrated knife works well.
How to store leftover bread
Store fresh homemade bread in either bees wrap, plastic, cloth bread bags helps retain the loaf’s moisture. For longer term storage, store in the refrigerator.
Or they can be frozen for up to 6 months. Be sure to use freezer safe storage containers.
More favorite bread recipes
Here’s a few of our favorite bread recipes that we think you’ll love too!
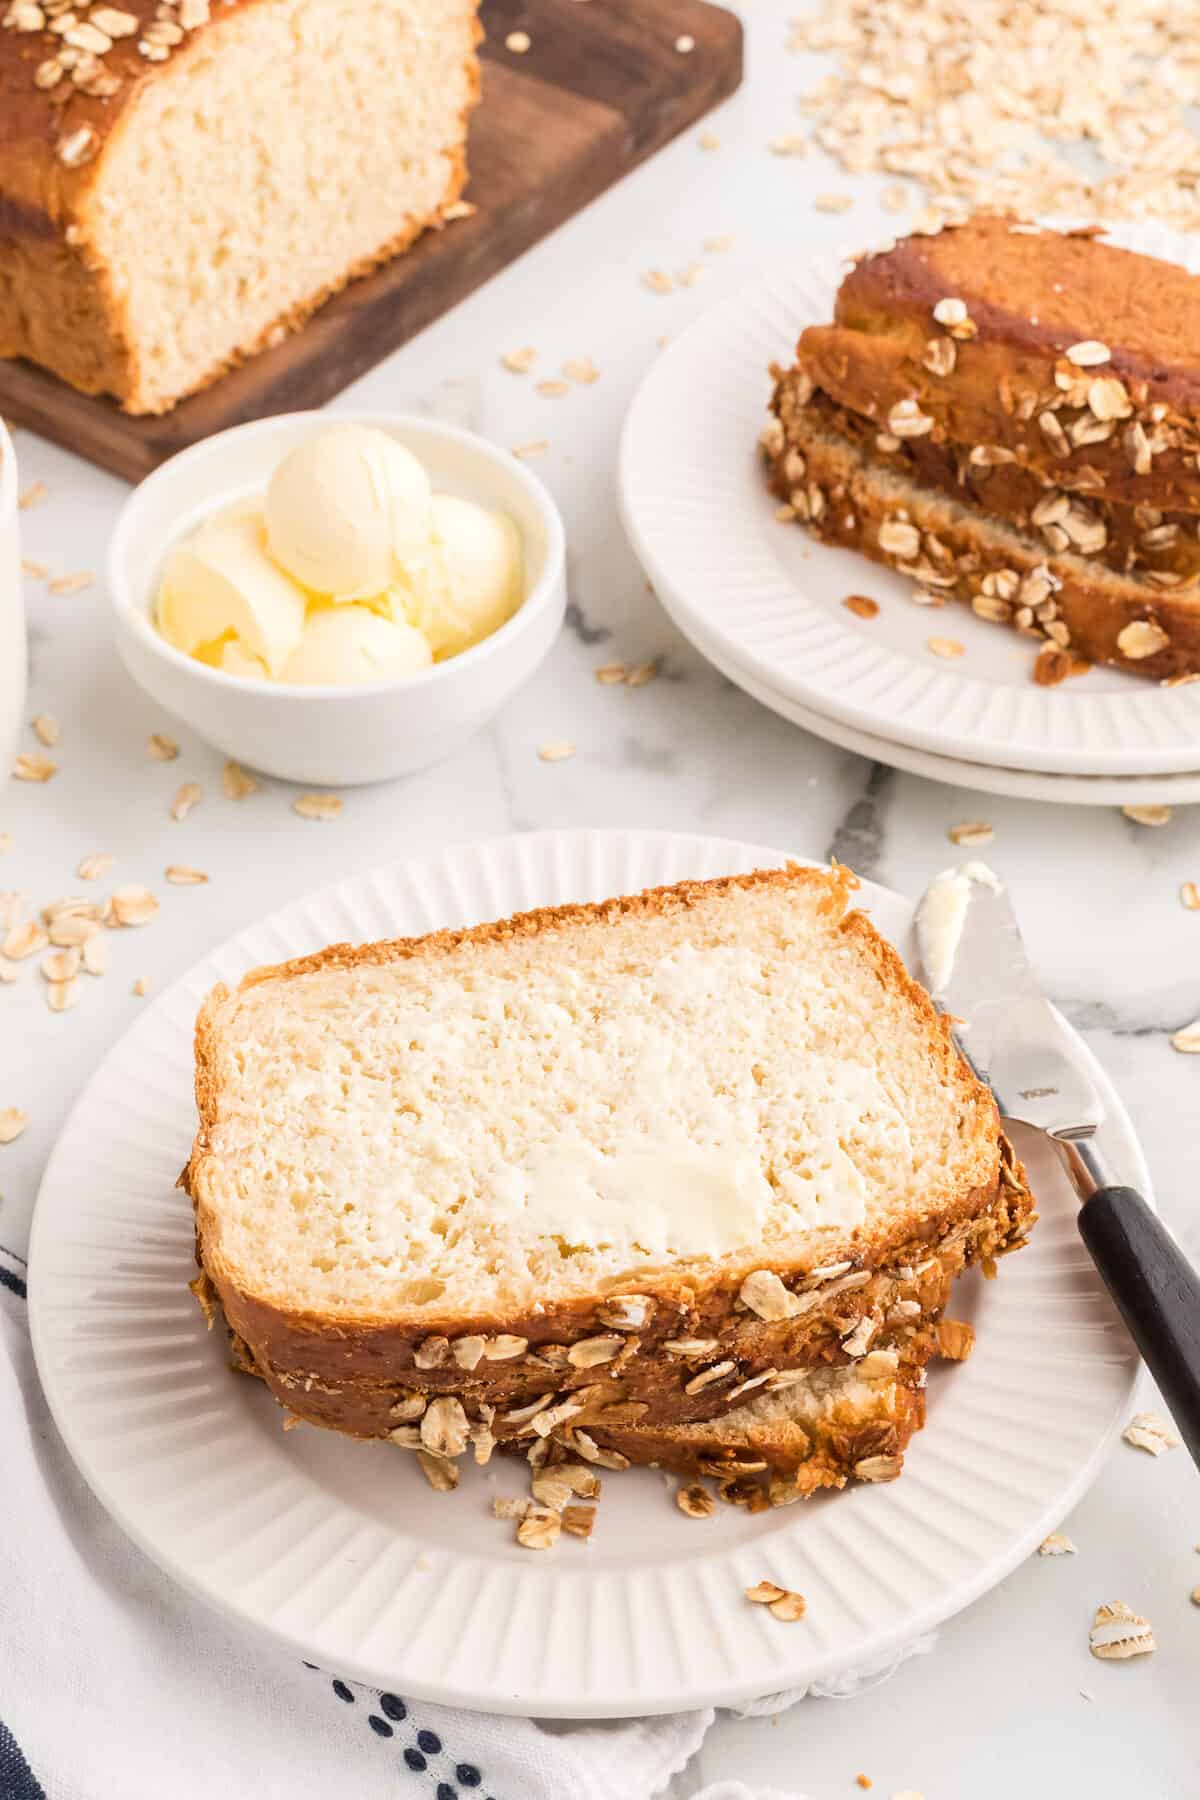

Italian Bread
Ingredients
- 2 ¼ teaspoon active dry yeast
- 2 cups warm water
- 2 teaspoons honey
- 2 teaspoons salt
- 5 ½ cups all purpose flour
- ½ tablespoon whole milk for brushing the bread dough
Instructions
- In a large bowl (stand mixer bowl works great for this), dissolve the yeast with the warm water and then stir in the honey. Add in half of the flour and the salt.
- Mix together using low speed to combine and then increase to medium speed for about 3 minutes.
- Add remaining flour to the mixer and combine.
- Lightly flour your countertop and place dough ball on surface. Knead by hand for about 8-10 minutes. You could also use the stand mixer to "knead" the dough ball using a dough hook. The time may need to be reduced. Check on it periodically and test for for smoothness and elasticity.
- Add the dough ball to a lightly oiled bowl, turn the dough around to lightly grease, and cover bowl with a tea towel. Allow to rise until double in size (about 1/2 hour to 1 hour).
- Punch down dough and turn onto a lightly floured countertop. Divide the dough in half and shape each into a loaf.
- Lay each loaf on a greased baking sheet, seem side down or use parchment paper for ease of cleaning!
- Cover and allow to rise for another 30 minutes.
- Preheat the oven to 400 degrees F. Cut a few shallow lines on the top of the loaves. And then brush the loaves with milk to just lightly coat the tops and sides.
- Bake for 30-38 minutes, until golden brown.
- Allow the bread to cool completely before slicing.
want more recipes?
Check out the recipe index where you can discover more homemade recipes from my homestead!


