Bread Making For Beginners


Whether you’d like to get a bit of a refresher with creating the best bread, or are a complete newbie, I have 10 awesome tips to learn bread making for beginners.
This post has been updated from its original publish date of March 27, 2020. It has been updated to provide better photos, additional helpful information and step by step instructions.
Bread Making for Beginners
I’ve been making my family homemade bread on our little homestead for several years. But, I learned from my youth and even had a bit of practice in home ec class in high school.
To me, bread making is relaxing. And if you enjoy from scratch cooking, this post will help bring it back to basics a bit.
Bread baking is an essential life skill to have. No matter what natural disaster or emergency seems to come up, learning the basic skills will come in handy!
We’ve had a lot of crazy experiences where we’ve been cut off from the grocery store – flooding in our entire state, 75 hour power outages, and now “the situation” with a certain virus.
Bread is usually something that we would like to have on hand. But if you can’t make it to the grocery store, learning to make it from scratch is an awesome skill to have.
Plus, it just tastes better!
Another great thing about homemade bread, you have complete control of the ingredients. And it is super frugal to make too!
I hope that with these tips will help make bread baking easier for you when you’re just learning this skill. After a bit of practice, it really isn’t super complicated!
And stay tuned to the end when I share a bunch of awesome bread recipes for you to try out! You’ll definitely want to save this list.
#1 Start with an Easy Recipe
It would be really good practice for anyone who is just learning how to make homemade bread. Bread making doesn’t have to be complicated. In fact, it is completely enjoyable.
As you become more comfortable with bread making, the kneading process, the variety of different breads, I would definitely recommend experimenting more with a variety of recipes.
I have a few super easy and delicious bread recipes at the end of this post, so be sure to check them out!
#2 Prepare all Ingredients
I’m one for preparing / gathering all ingredients and making sure everything is in order before starting any recipe. And its even more important with baking!
This is a French cooking term known as Mise en place (MEEZ ahn plahs). It means that all ingredients are measured, vegetables are cut up, pans are prepared, etc.
Everything is laid out and it makes sure things run smoothly and are organized when creating a recipe.
The same goes with bread making. Some things take specific steps and if you’re prepared ahead of time, the whole process goes super smooth.
And it is a heck of a lot easier!

#3 Good Quality Ingredients
And they don’t have to be super expensive either. But the better quality the ingredients, the better the recipe will taste. Make sure the ingredients are fairly fresh, especially when it comes to the yeast (more on that later).
Highly processed ingredients lose flavor and healthy nutrition. I recommend using a natural and either unprocessed or very limited processed honey instead of sugar for most recipes.
Local honey is even better. You’ll gain some awesome benefits and support a local owner too!
And the same goes for oils, flours, and any other ingredient used.
The common ingredients you’ll need for most bread recipes are:
- all purpose flour
- yeast
- water
- salt
And sometimes:
- honey or other sweetener
- eggs
- milk
- other flavor stir in ingredients/ toppings
Related: Easy Honey Butter Scones
#4 Getting Started with Yeast
There are two common yeast varieties to use with bread making – active dry, and instant yeast. My preferred yeast to use when making bread is active dry yeast.
It takes a bit of proofing – but isn’t complicated to do. Active dry yeast needs to be dissolved in water before using. Where as instant yeast can be mixed right in to the dough.
I’ve heard often times that many are scared to work with yeast. But it really isn’t scary or complicated.
Yeast works best in temperatures of 70-80 degrees F. So, when making bread, make sure it is in a draft free and warm area to rise properly.
Inside of a turned off oven, on top of the refrigerator, or inside of a pantry are a few examples. Sometimes you have to get creative!
And don’t forget to cover with a clean tea towel.
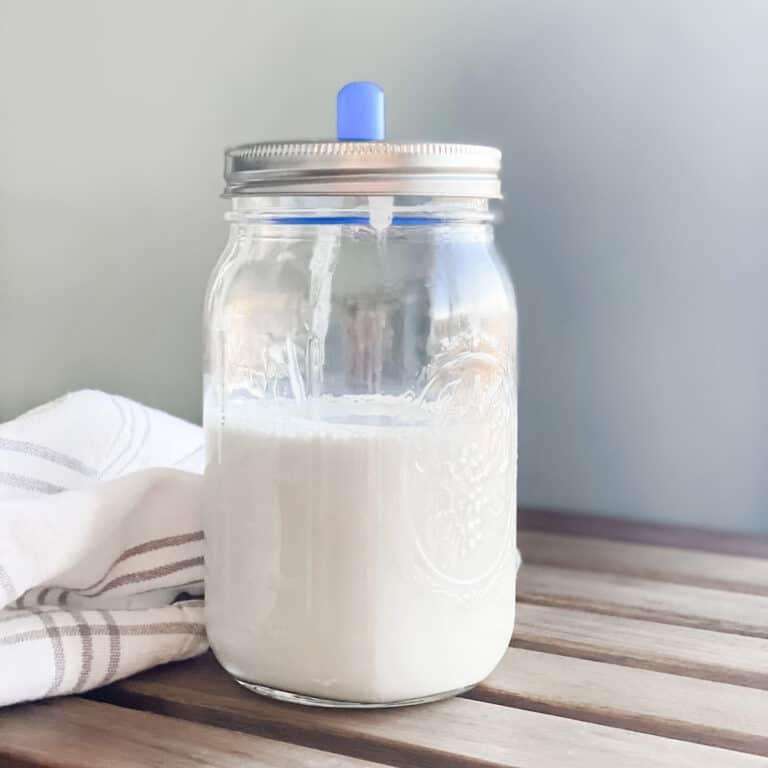
Also when mixing the yeast with water, it should be room temperature or lukewarm. Too hot and the yeast will literally die and the bread won’t rise.
Simply add the yeast to water, allow to sit for a minute or so until it foams up a bit. And then stir it until completely dissolved and is smooth and silky in texture.
Store unused yeast in a freezer because it helps to extend the life of the yeast!
#5 Knead Properly
Kneading time can vary. If kneading by hand it can take anywhere from 8-12 minutes. And if using a stand mixer, it could take about 6-10 minutes, but be sure to check on it often.
Want to save this?
I prefer to hand knead so I can feel how the bread is forming, but I will use the stand mixer if I’m pressed for time or have a lot of things to work on.
Sometimes you’ll need to add more flour when kneading, but adding too much will create a dry bread. So, I would definitely start slow until you have what you need.
As you knead, add enough so the bread dough doesn’t stick to your hands or workspace.
#6 How to Tell if Dough is Properly Kneaded
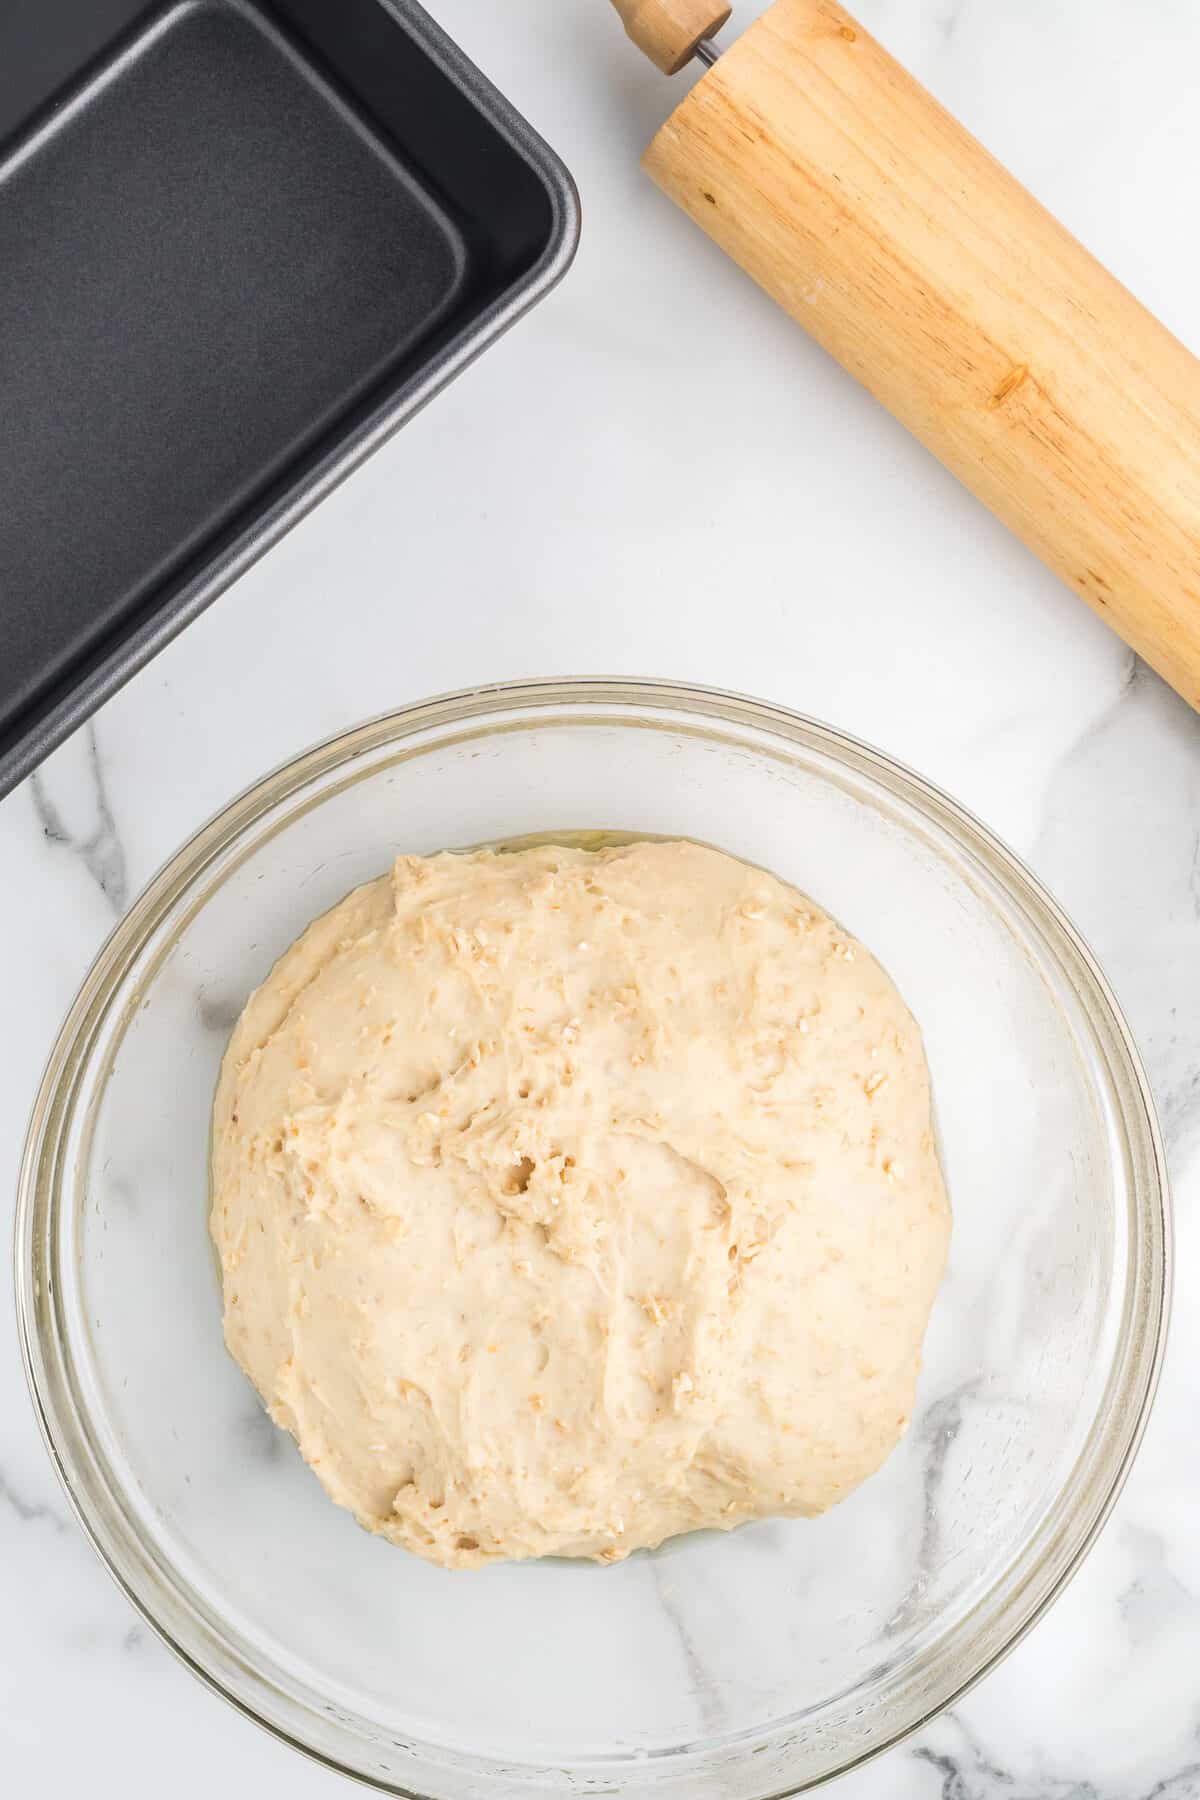
The dough should be completely smooth, slightly tacky to the touch, and hold its shape. It should also be a bit elastic.
If you pick up the dough and hold it in the air, does it hold its shape, or does it start to flatten out and feel as though it is going to sink into your fingers? And if so, it needs more kneading.
If the dough starts to become dense or tough, it is a sign that the dough is becoming over-kneaded.
#7 Rising Dough & Timing
Rise times can vary depending on many conditions. This is why I really recommend keeping on eye on your bread dough.
Setting a timer might help, too.
Most recipes will have two rise times before they even go into the oven. The first rise is usually in an oiled bowl (to prevent sticking) and can take anywhere from about half an hour, up to one hour.
Then the dough is “punched down” and shaped into loaves. Usually it will be placed inside of the loaf pan and given another allotted amount of time for the second rise. Again usually, half an hour, up to one hour.
If bread rises for too long, it can fall flat in the oven create a very hard and dense loaf.
Just be sure to follow the recipe instructions and your bread should rise perfectly.
#8 Quality Bread Pan
I highly recommend using a good quality loaf pan. And it doesn’t have to be super expensive either.
Some breads can simply be made on a baking sheet, like my Italian bread.
And others can be made in a cast iron skillet for a more rustic style bread. For other breads, I highly recommend using a stoneware loaf pan.
I’ve gone through many other loaf pans and stoneware is by far my favorite.
They aren’t too pricey, and will last practically forever!
#9 How to Tell if Bread is Done Baking
Bread is something that should be “babysat”. It is pretty important to keep an eye on during the baking process. Not all ovens are the same and when following recipes, I think it’s important to keep this in mind.
If one side of the loaf is getting more dark than the other, rotate it during the baking.
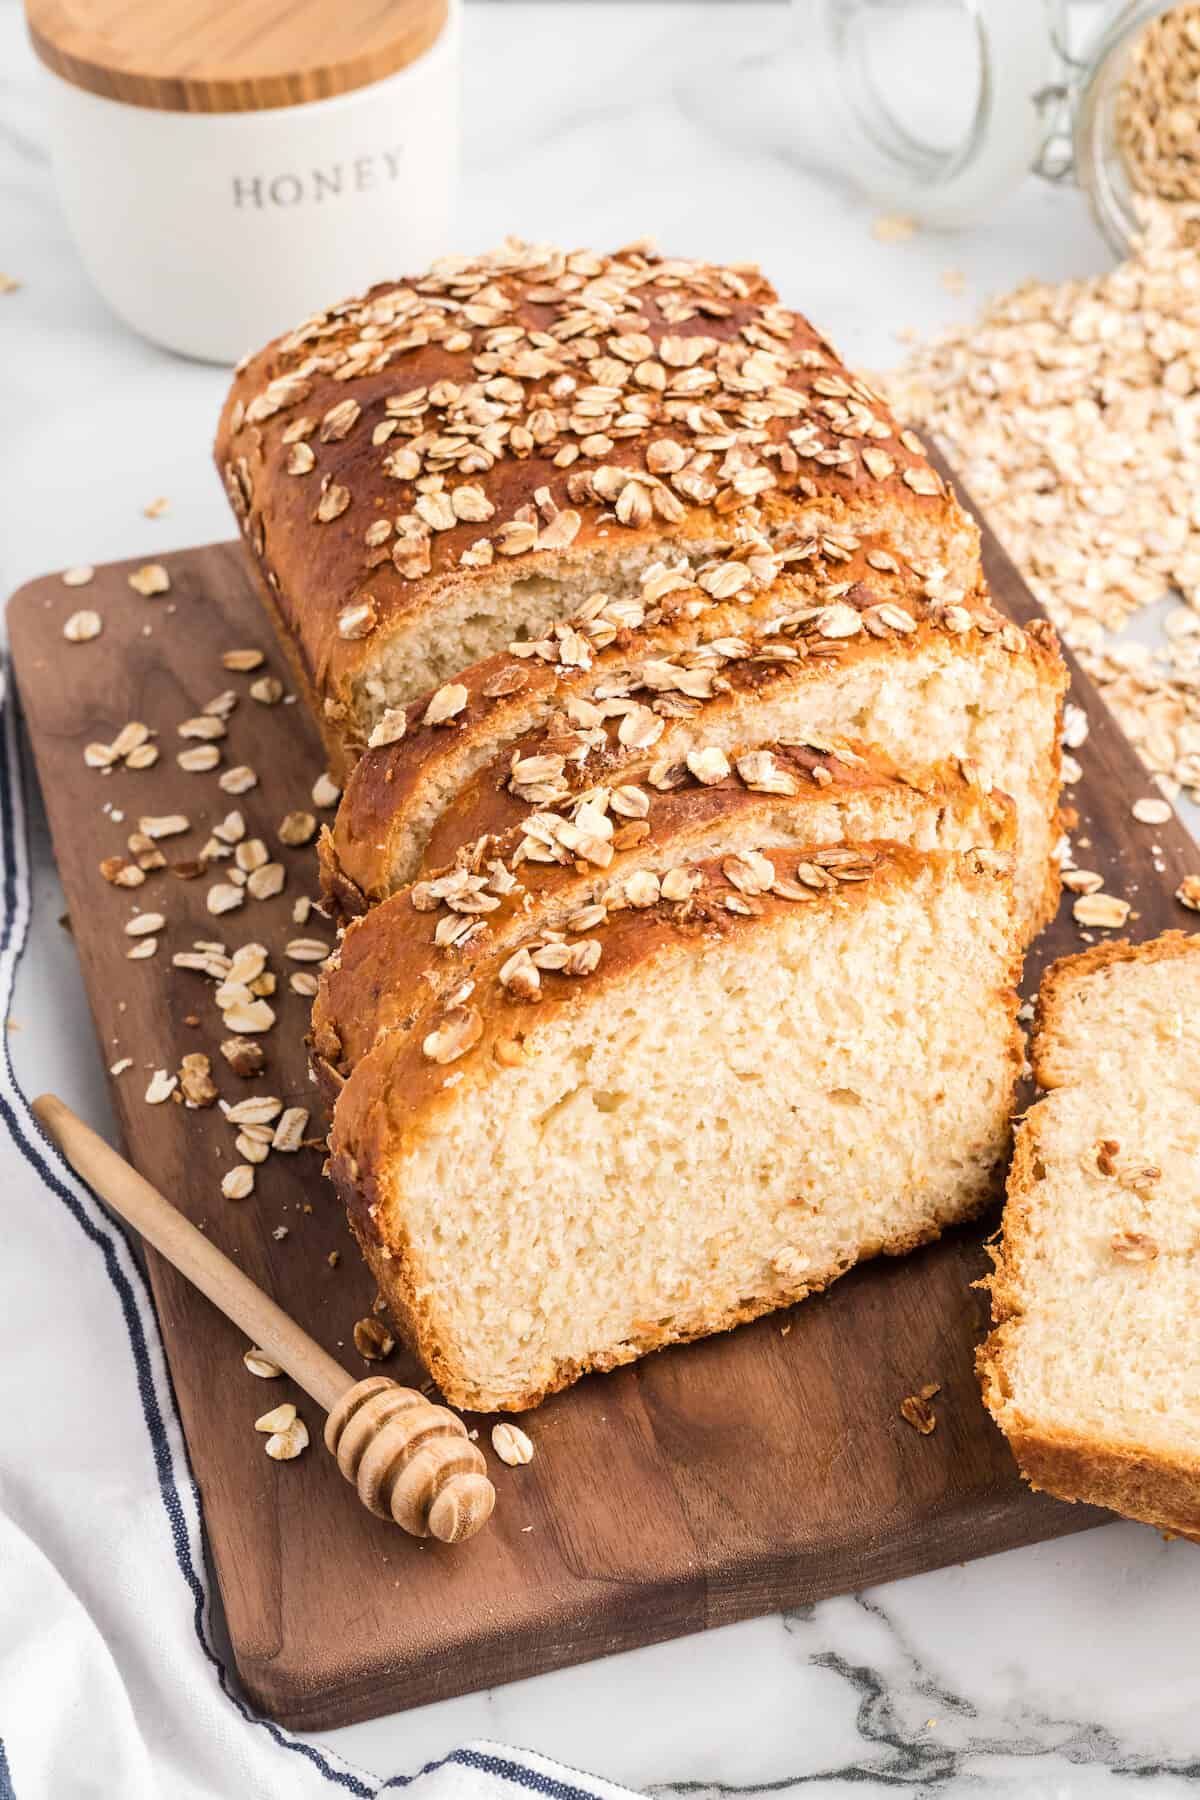
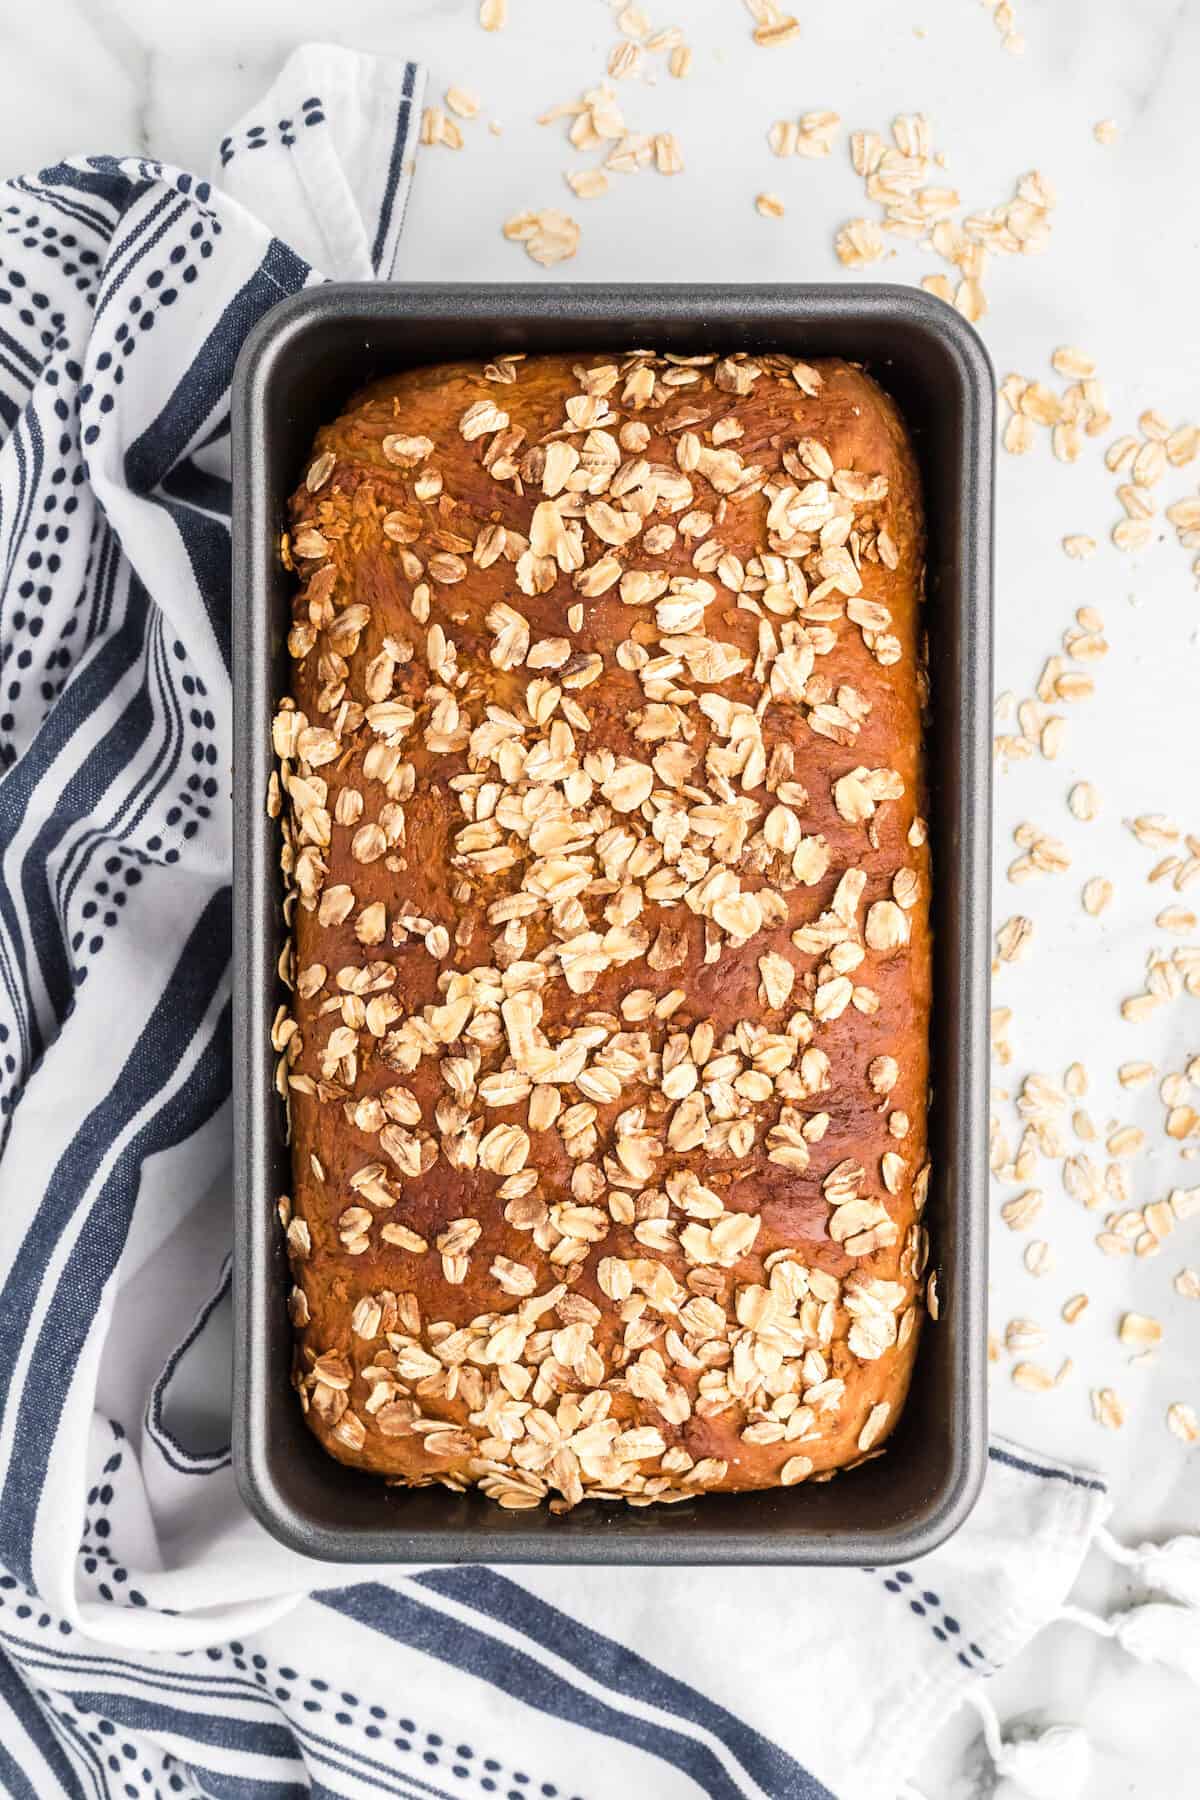
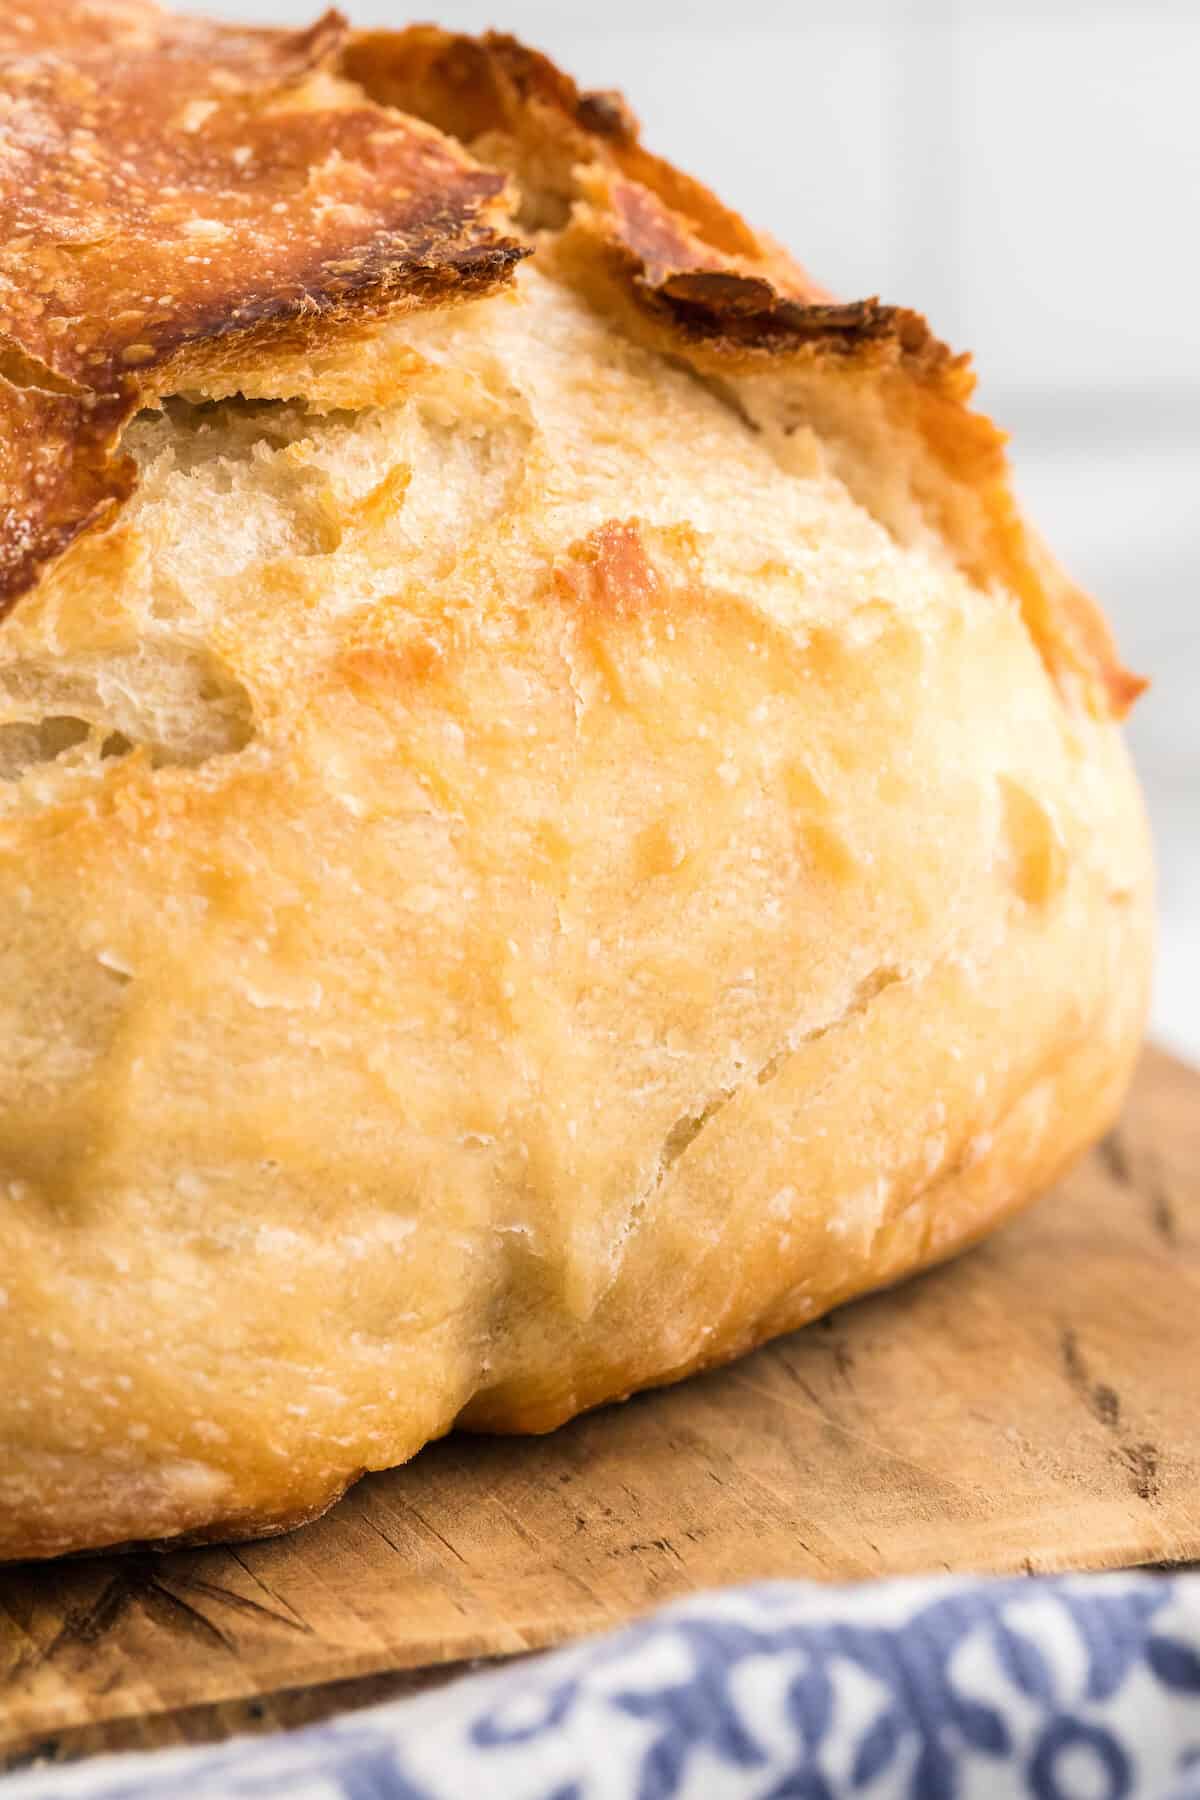
The crust should be a deep golden brown, dry, and very firm.
#10 Allow to Cool Completely
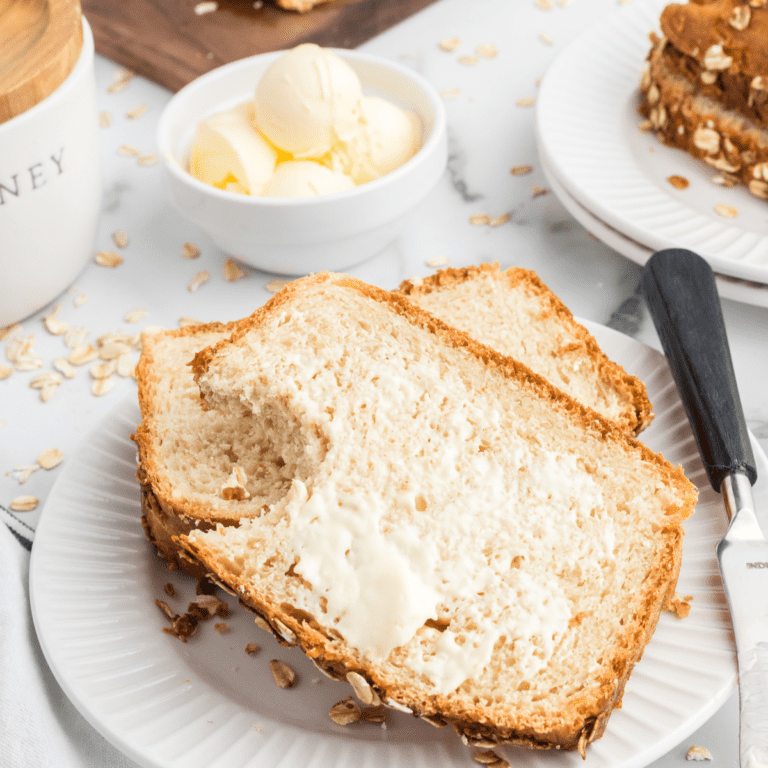
I know, this one is soooo hard to do. There’s nothing like a nice warm slice of fresh baked bread. Add a little bit of butter and it’s so delicious and completely comforting.
But, it is best to allow the loaf to cool before slicing. This is because the bread is still baking, so to speak.
The crust basically traps steam inside the loaf and this allows the bread to become even more soft and delicious. If cut too soon, the bread will become drier than it should.
A good rule of thumb – white bread should rest for at least one hour. And whole wheat bread should rest for about 2-3 hours.
#11 Store Properly
Something to keep in mind, homemade bread doesn’t have the preservatives that store bought bread does. So, it can mold easily and within a couple of days if not stored properly.
We are a family of six, so I am baking bread often and it doesn’t last long!
Use of a bread box and air tight container is best. But it can also create moisture, so plan to only keep out what you will eat within a few days.
Otherwise, freeze any extra bread that you bake until ready to eat. To defrost, place in refrigerator overnight.
easy homemade bread recipes
These homemade bread recipes are great for brand new or experienced bakers and anyone wanting to learn bread making skills. Be sure to save this list and come back for more delicious recipes!
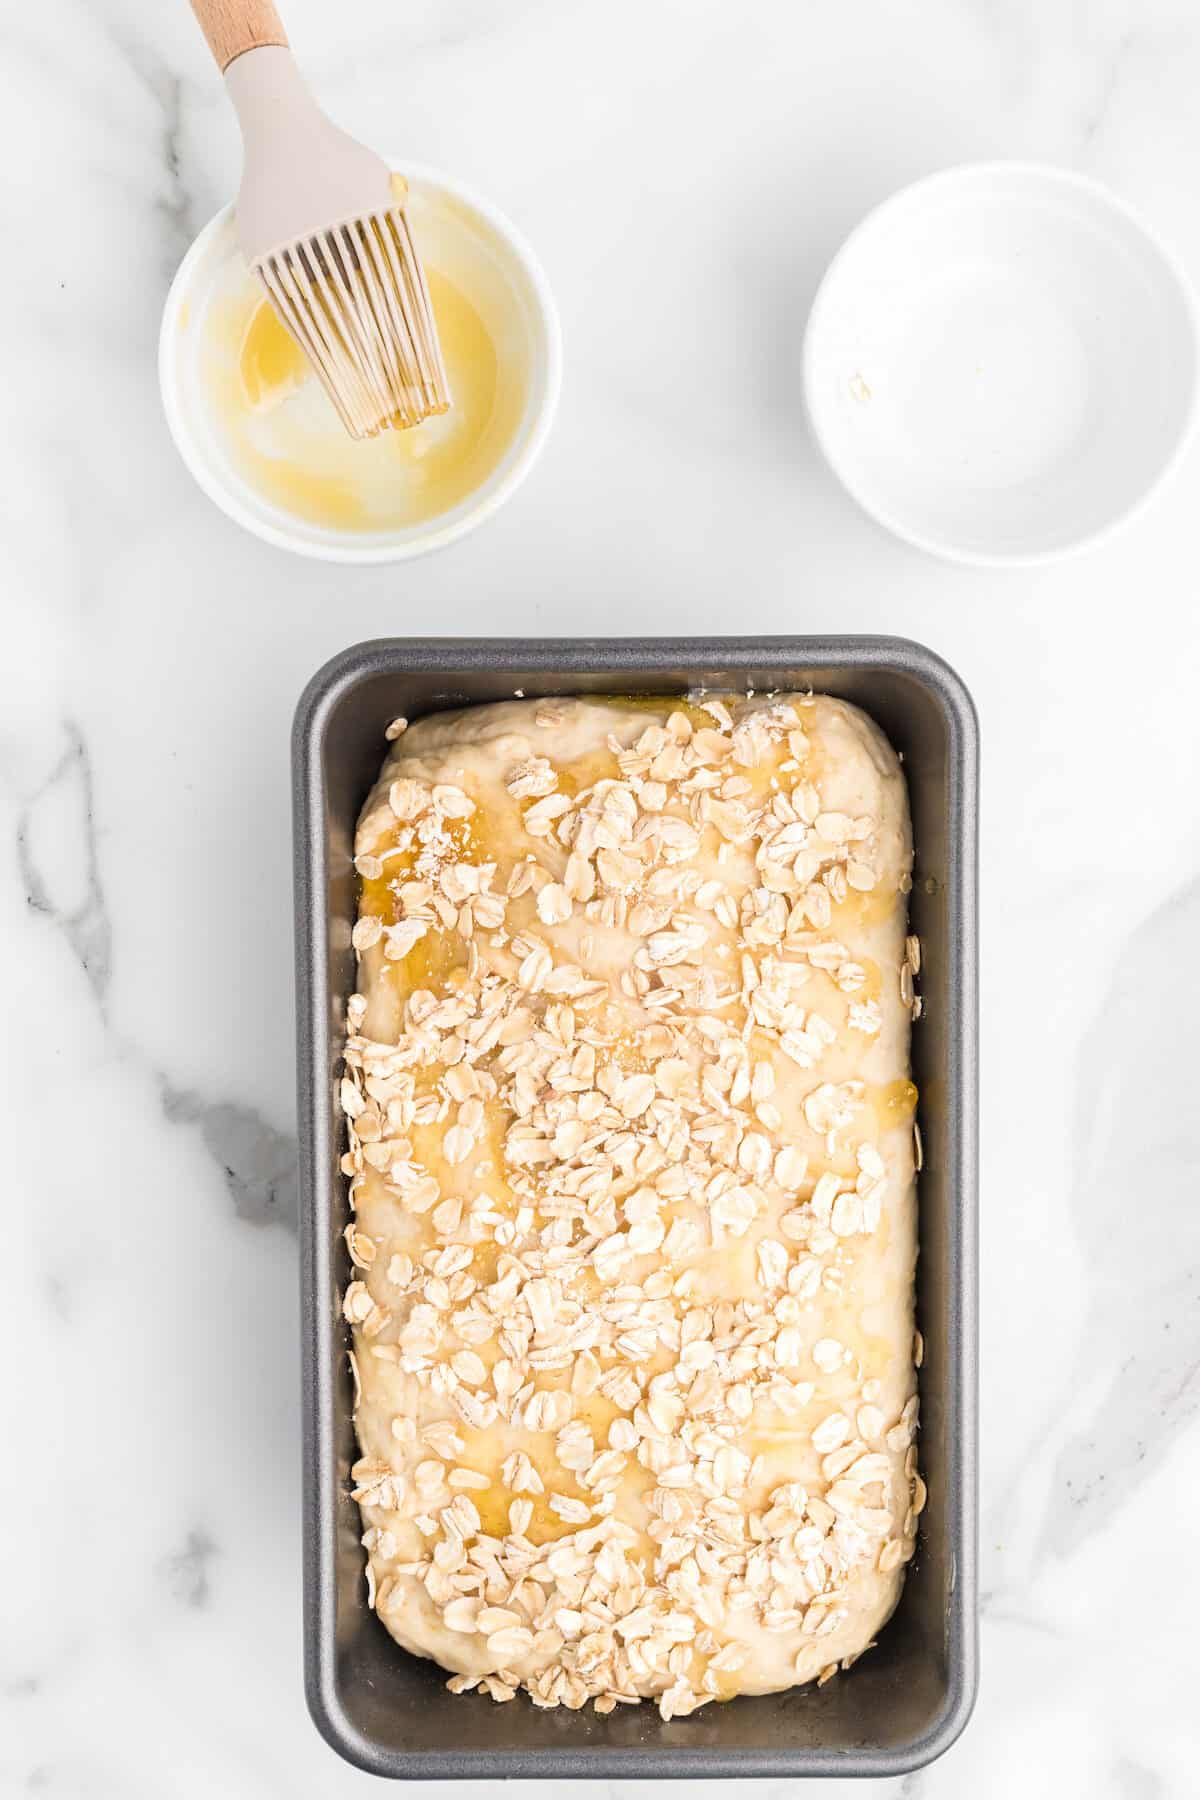
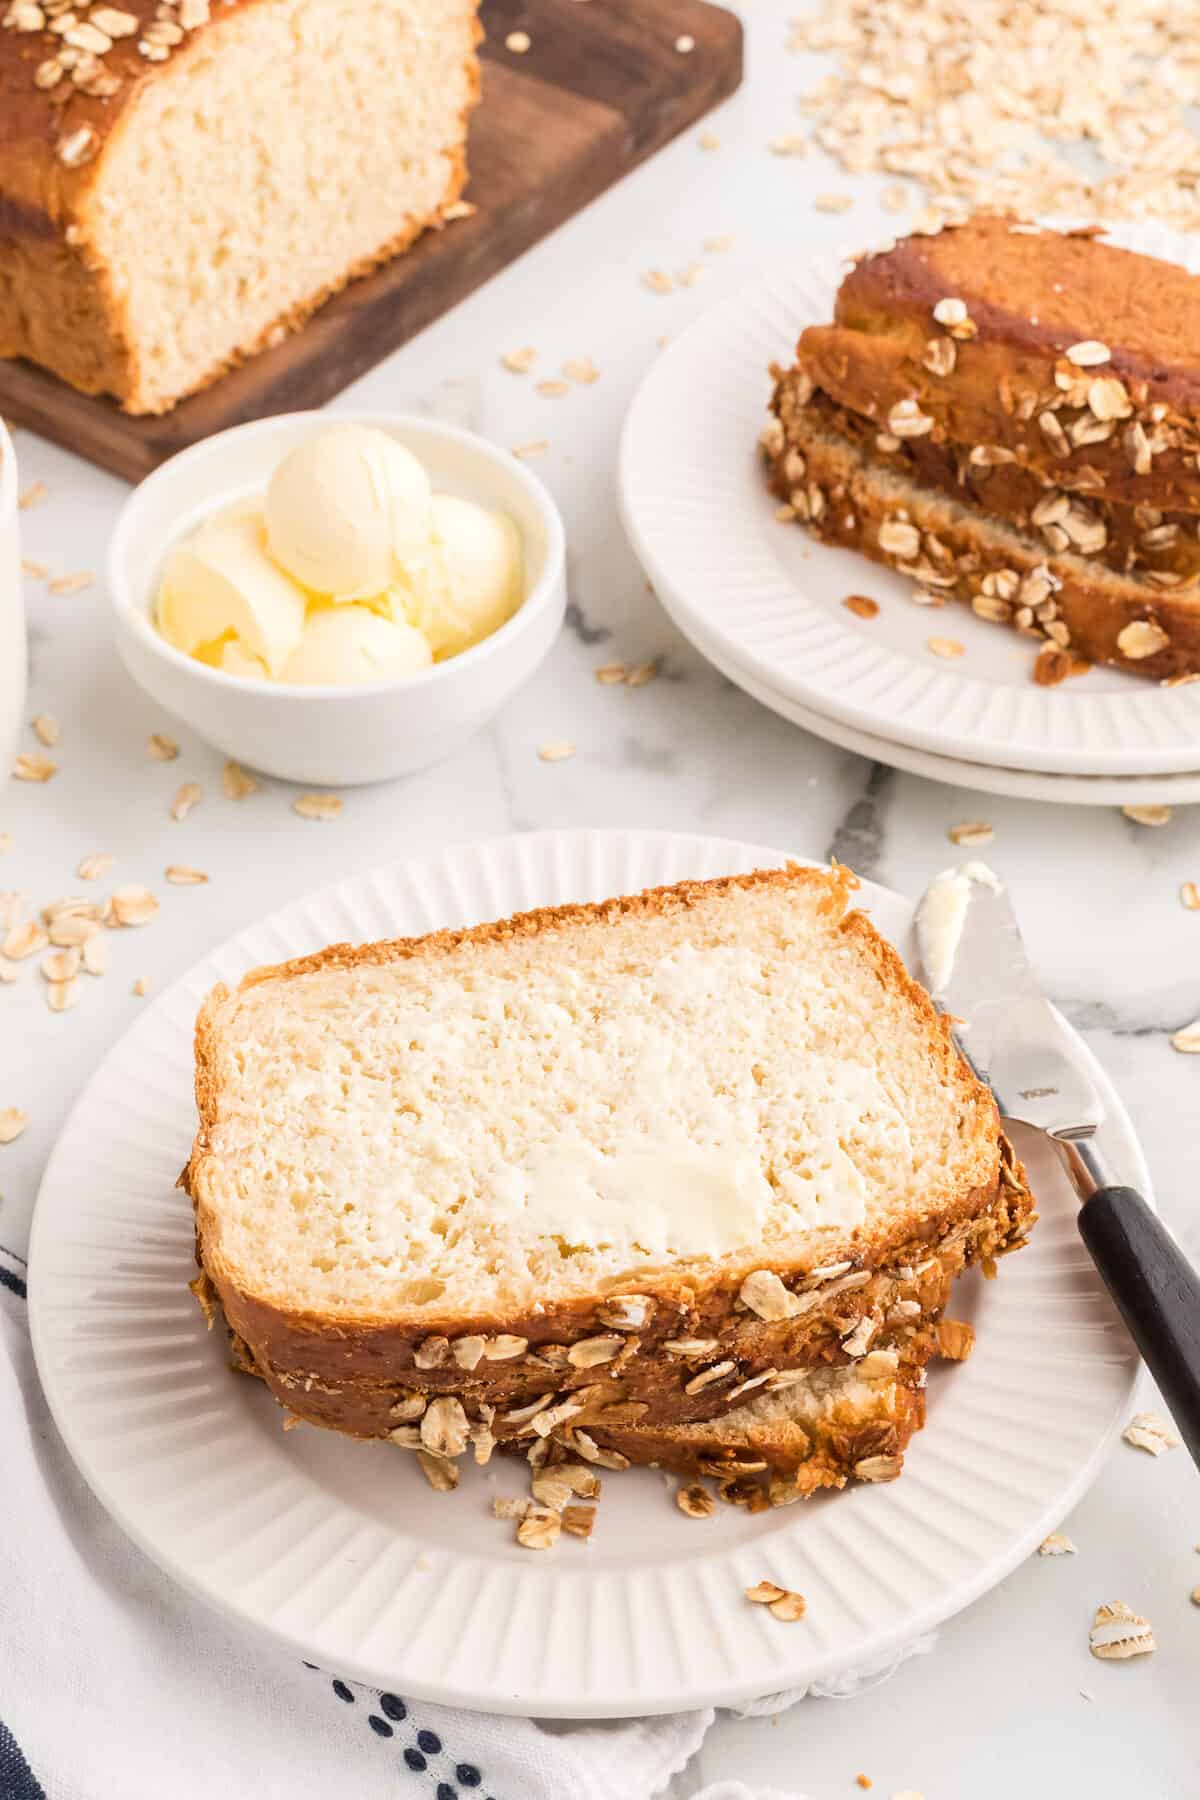
Honey Oat Bread – This slightly sweet and incredibly delicious honey oat bread is an awesome and fairly easy to bake loaf bread.
Easy Artisan Bread (no knead) – New to bread making? This is the easiest homemade bread recipe ever. 4 simple ingredients, no kneading, and baked in a dutch oven.
Cheddar Beer Bread – This simple to make recipe for green onion cheddar beer bread is so delicious! It is incredibly flavorful, moist and easy to make! I use Guinness which gives it a great flavor! But you can use your preferred beer of choice.
Einkorn Sourdough Starter – Want to give sourdough a try? Use this delicious sourdough recipe using einkorn flour.
Easy Irish Soda Bread – This incredibly easy Irish Soda Bread recipe is simply made in a cast iron skillet. It is slightly sweet and perfectly delicious. Serve it up warm out of the oven with a slice of butter or with your favorite family dinner.
Einkorn Sandwich Bread (no knead) – This no knead einkorn sandwich bread recipe is perfect for beginner bread makers, or those just starting to use einkorn.
Easy Italian Loaf Bread – This easy Italian bread loaf is perfectly soft inside and slightly crisp on the outside. And it is made with a handful of pantry staples.