How to Make Milk Kefir
Learn just how easy it is make milk kefir at home. You’ll be surprised with how it simple it is to make your own homemade probiotic dairy drink.
I’m sharing a simple step by step tutorial for creating healthy probiotics and making it super easy to add to your daily diet.
We have regular ferments going on in our little fermented corner of the pantry. Some of my daily favorites are Einkorn sourdough starter, homemade yogurt, water kefir, fermented jalapeños, and homemade milk kefir.
Surprisingly, homemade kefir is one of the easiest ferments to make, it is cheaper and doesn’t have hidden ingredients that some from the grocery store might have. It also doesn’t require heating up the milk to reach a specific temperature like making homemade yogurt would.
Homemade milk kefir
If you’re unfamiliar with milk kefir, you’re probably wondering why you should consider adding it to your diet.
So what exactly is kefir?
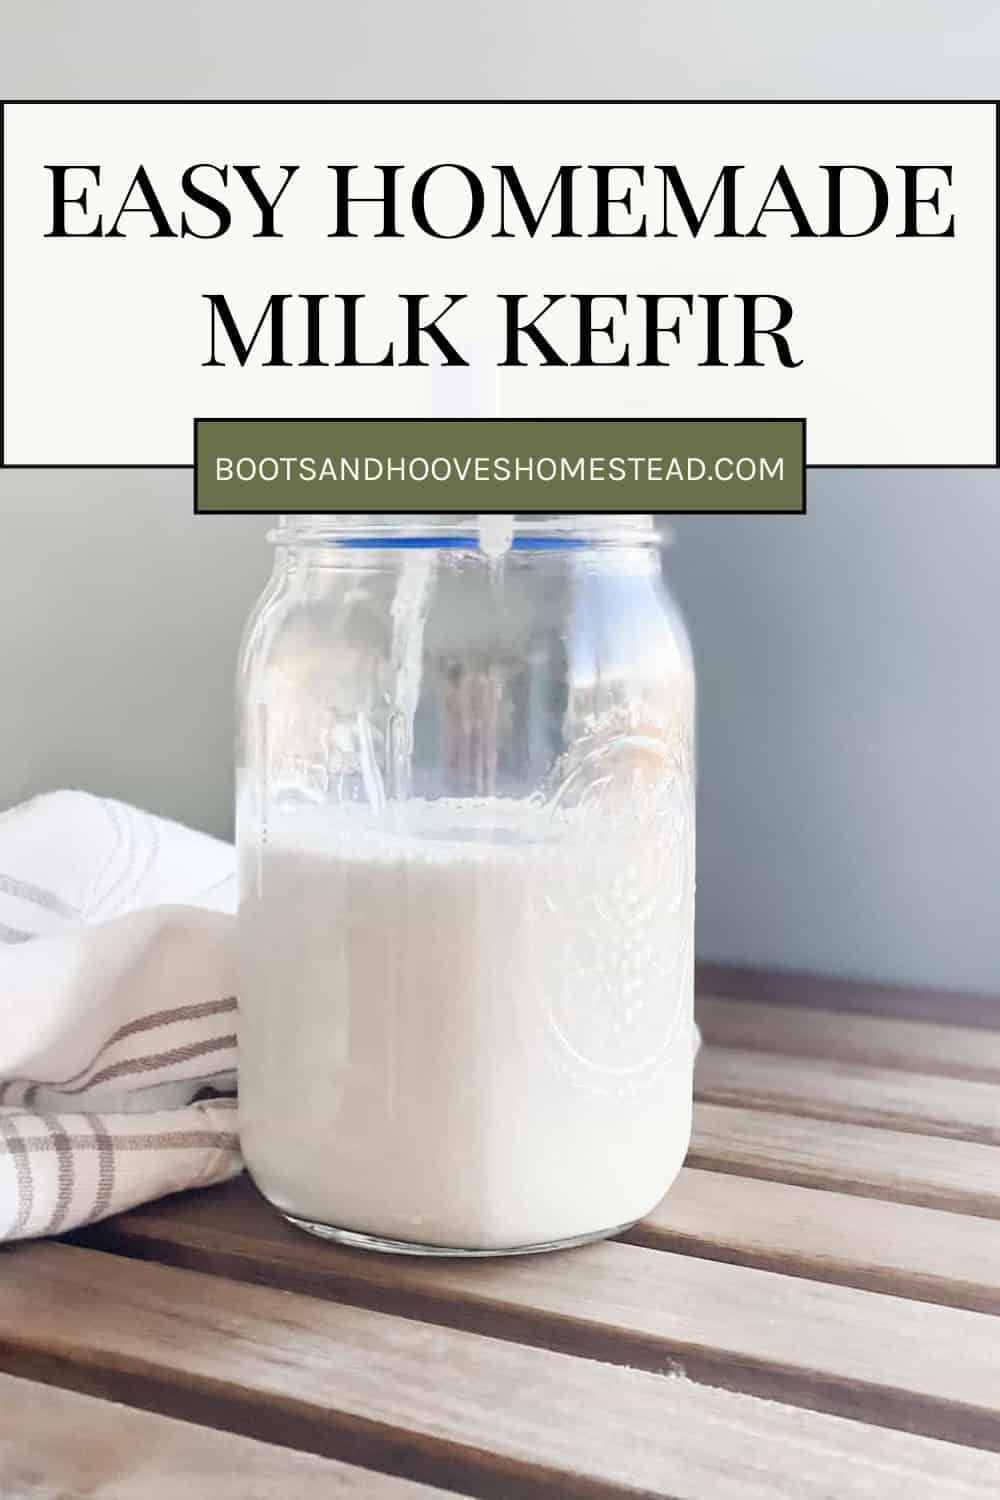
Milk kefir is fermented milk that has a slightly tangy taste and consistency of a thinner yogurt.
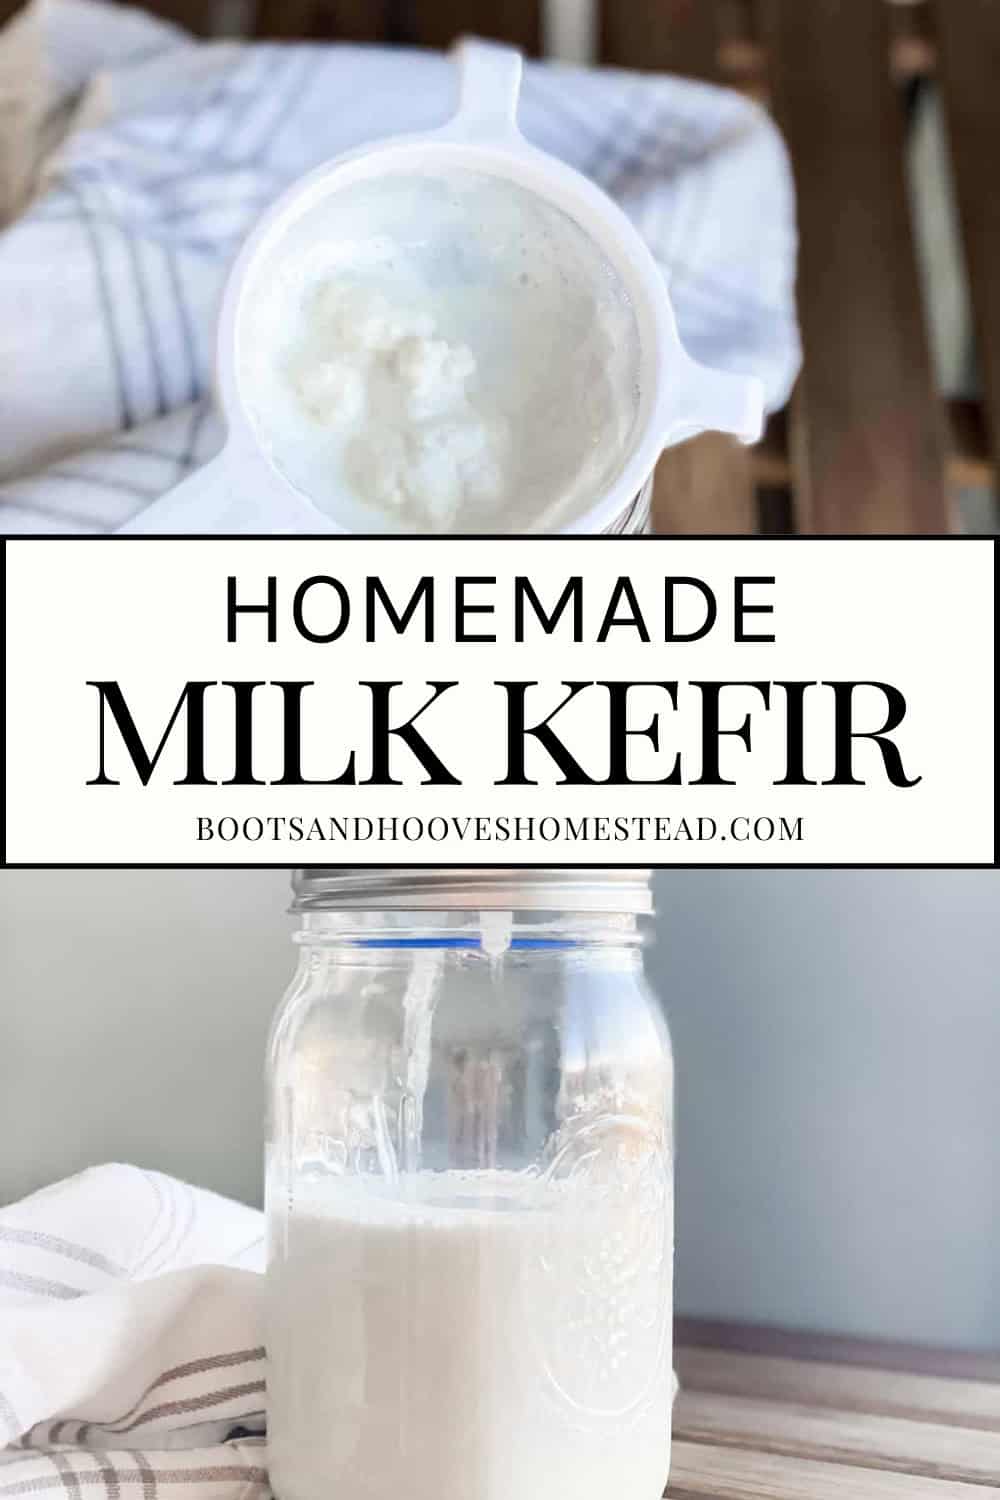
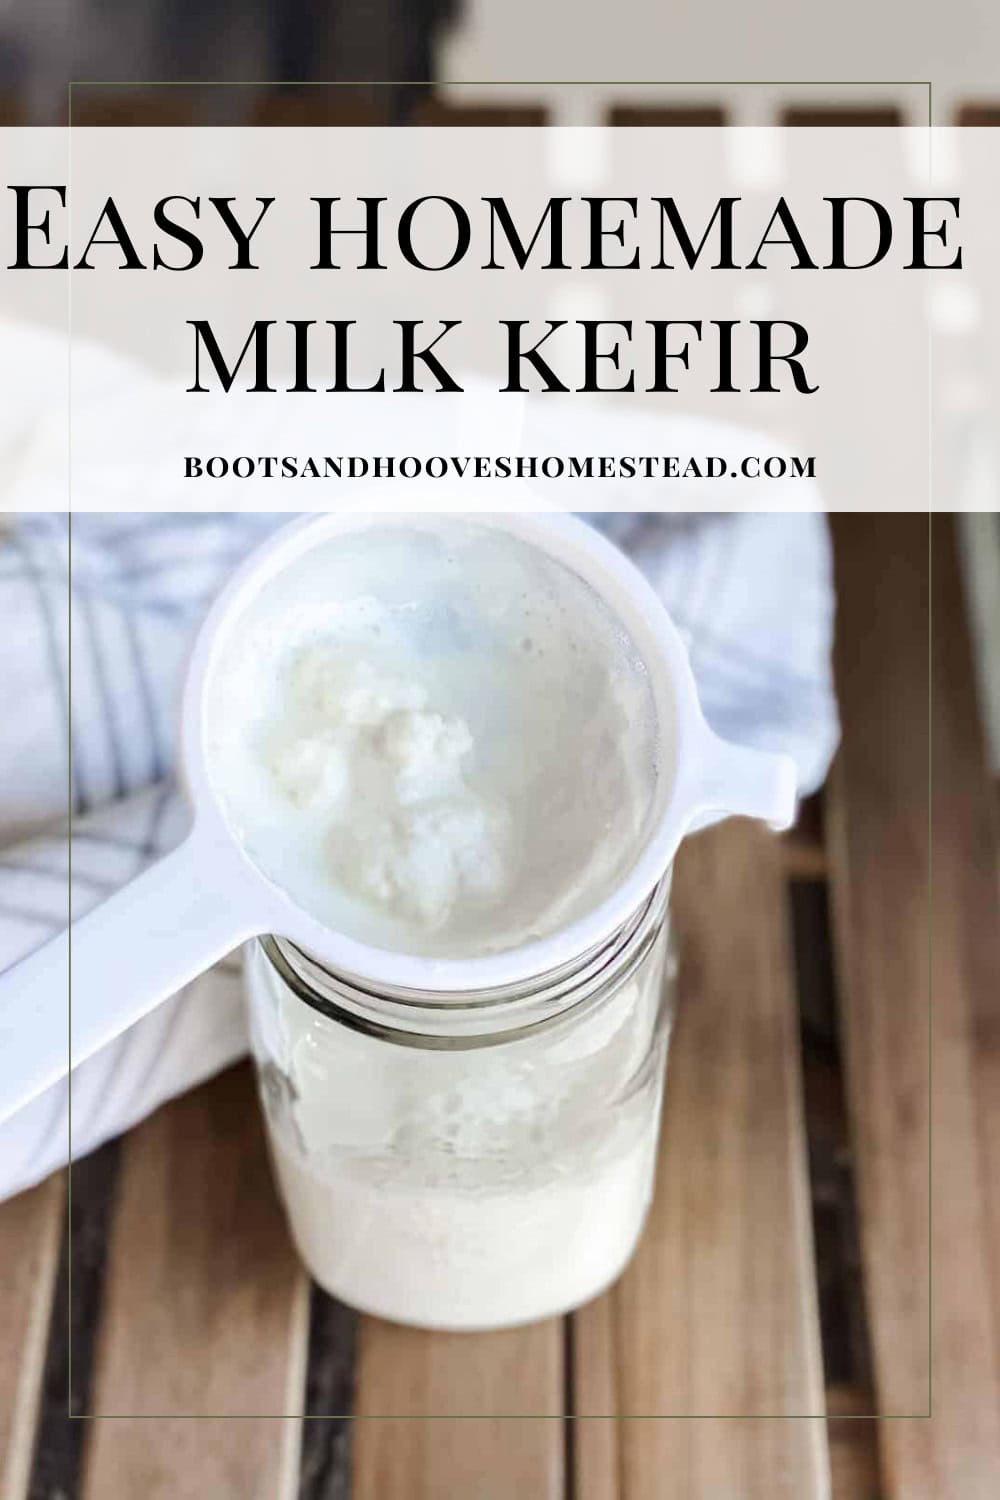
It is usually made using whole cow’s milk. Milk kefir grains are added to the milk and allowed to ferment at room temperature for about 12-36 hours. The longer they ferment, the tangier the flavor.
In the beginning, it is best to taste the milk kefir after 12 hours for desired tanginess. Typically, we allow ours to ferment for about 24 hours. And sometimes when life is extra busy, I allow it to ferment for about 36 hours.
You’re generally safe for up to 48 hours of fermentation time.
After the milk kefir is finished with the first batch, you can strain off the kefir grains and reuse with fresh milk to continuously make your next batches. So, as long as you properly care for your grains, you’ll have fresh homemade milk kefir for life!
What are milk kefir grains?
Grains are the term used to describe the texture and appearance, but they are not true grains like wheat grains.
Kefir grains are the symbiotic culture of bacteria that is used to turn the milk into beneficial probiotics.
When combined with whole milk and a specific amount of time, they create beneficial bacteria.
They look fluffy and kind of reminiscent of large cottage cheese. Some describe them as looking like cauliflower, but I’m definitely sticking with cottage cheese reference here.
And let me just say, these milk kefir grains multiple super fast. You can increase how much you’re making regularly. Or you can share your extra grains with friends & family!
Benefits of homemade probiotic drinks
There are many wonderful benefits of making your own homemade probiotic drinks. They contain essential healthy bacteria, proteins, and vitamins. Learn more science based benefits here.
It is much less expensive than store bought.
And it only takes 2 ingredients – milk & kefir grains.
Here’s what you’ll need:
Whole milk – you can use fresh milk, raw milk, or whole milk from the grocery store. Organic milk is best.
We typically only use cow’s milk, or coconut milk to make ours. I have not used soy milk, but for a coconut milk kefir, it would follow the same recipe as this cow milk recipe. You can also use goat’s milk if you prefer.
But it is also recommended if making regular batches of non dairy milk kefir, to refresh your kefir grains with whole cow’s milk periodically.
Want to save this?
Kefir grains – (not water kefir grains). Those are a great option for making water kefir, but you’re looking for specific milk grains. Here’s where I buy mine. I’ve tried the dehydrated versions from other companies and these live kefir grains work the best! I highly recommend this brand.
Equipment: Nothing too fancy is required to make your own fermented milk kefir drink. However, some of these simple tools are essential:
- clean glass jar, such as a mason jar & lid for storage
- fermenting lids or cheese cloth & rubber band, coffee filters also work well.
- nylon mesh strainer
- wooden spoon or silicone spatula
I have all of my favorite fermentation tools listed in one place here.
Flavoring kefir – second fermentation
We typically use our fresh kefir in a fresh smoothie, one of our favorites is this Blueberry & Banana Smoothie – just sub the yogurt with homemade kefir.
But you can also flavor your milk kefir by putting it through a second fermentation. Try adding fresh fruits like berries or whatever is in season that you prefer. A little goes a long way for flavoring and experimentation may be needed to find your preferred flavoring combination.
Allow it to sit at room temperature for 1-2 days.
Second fermentation creates a bit of carbonation, so it is important that you are allowing for about 1 inch of headspace during this process.
Storing grains between uses:
If you don’t plan on making continuous batches of milk kefir, they should be stored in a glass container, covered with pasteurized milk for up to one week.
But if you’re needing a bit of longer term storage, they need to be fed more often. I would simply strain off the kefir and refresh the milk for longer term storage.
Serve the kefir in a homemade smoothie or like you would eat yogurt, however, the consistency is a bit thinner than yogurt.
Here are a few more ideas:
- add in fresh fruit
- mix with granola
- stir in honey or maple syrup
- drink alone or mixed as your favorite smoothie drink
How to make milk kefir
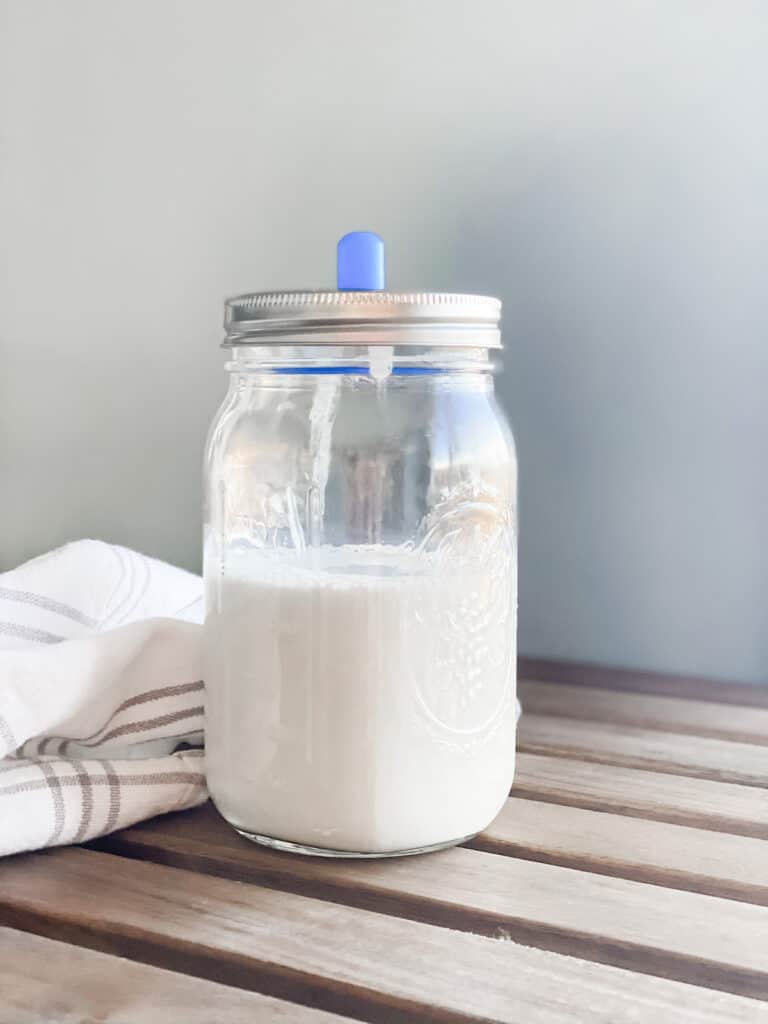
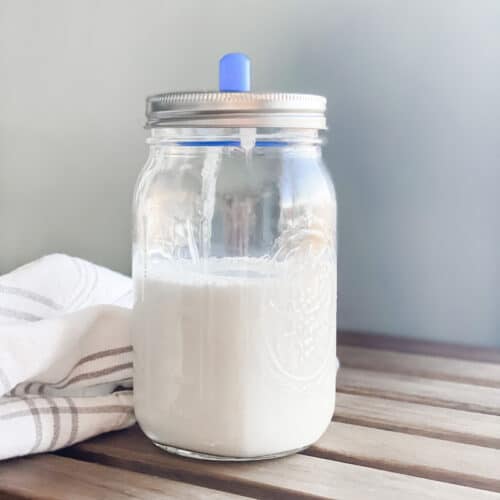
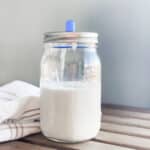
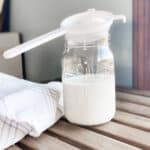
Add the milk and milk kefir grains to a large clean Mason jar. Cover with a fermenting lid or cheese cloth or coffee filter and rubber band.
Let the milk and kefir grains sit out on the counter or in a pantry where it is out of direct sunlight for 12-48 hours. The timing depends on the texture and flavor that you prefer. I typically allow mine to ferment somewhere between 24-36 hours for each batch.
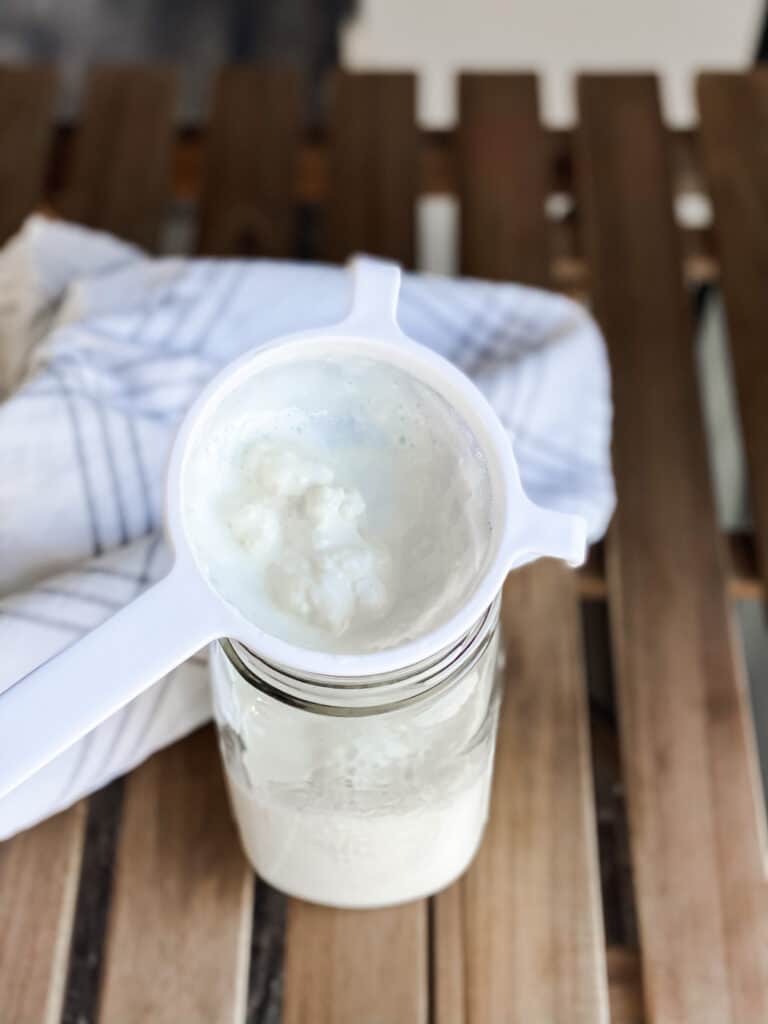
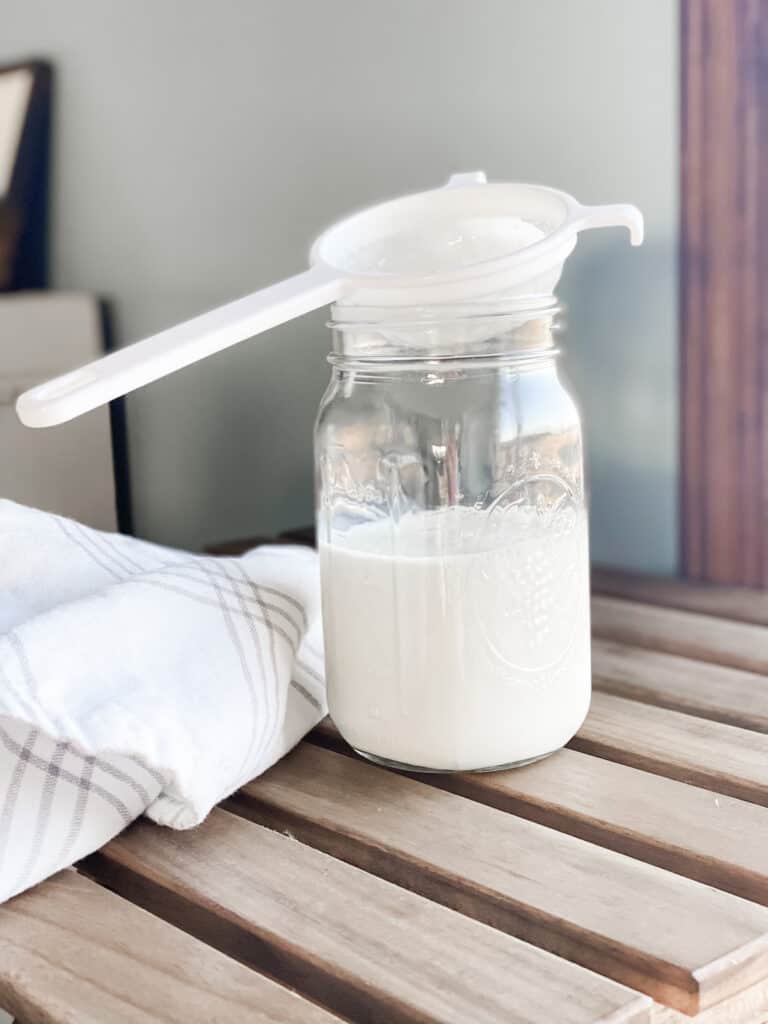
Strain the kefir through a cheesecloth or fine mesh nylon sieve. It is normal for the milk to separate. It is also helpful to help press the kefir through the sieve slightly. Be careful not to break up the grains, I just use a silicone spatula and stir it a bit to help it through the sieve when straining it off.
Place the finished milk kefir in the refrigerator with a lid for up to two weeks. Use the strained off grains to make a new batch of kefir.
If making a second ferment, you will do so here after you’ve strained off the grains.
Homemade Milk Kefir Recipe
Ingredients
- 2 cups whole milk
- 1 tablespoon milk kefir grains
Instructions
- Add the milk and milk kefir grains to a large clean Mason jar. Cover with a fermenting lid or cheese cloth or coffee filter and rubber band.

- Let the milk and kefir grains sit out on the counter or in a pantry where it is out of direct sunlight for 12-48 hours. The timing depends on the texture and flavor that you prefer. I typically allow mine to ferment somewhere between 24-36 hours for each batch.
- Strain the kefir through a cheesecloth or fine mesh nylon sieve. It is normal for the milk to separate. It is also helpful to help press the kefir through the sieve slightly. Be careful not to break up the grains, I just use a silicone spatula and stir it a bit to help it through the sieve when straining it off.
- Place the finished milk kefir in the refrigerator with a lid for up to two weeks. Use the strained off grains to make your next batch of milk kefir.


I love your recipe for the kefir milk! Super easy. Is my first time doing it and I’m gonna wait for the results. Thank you