Homemade Ninja Foodi Yogurt
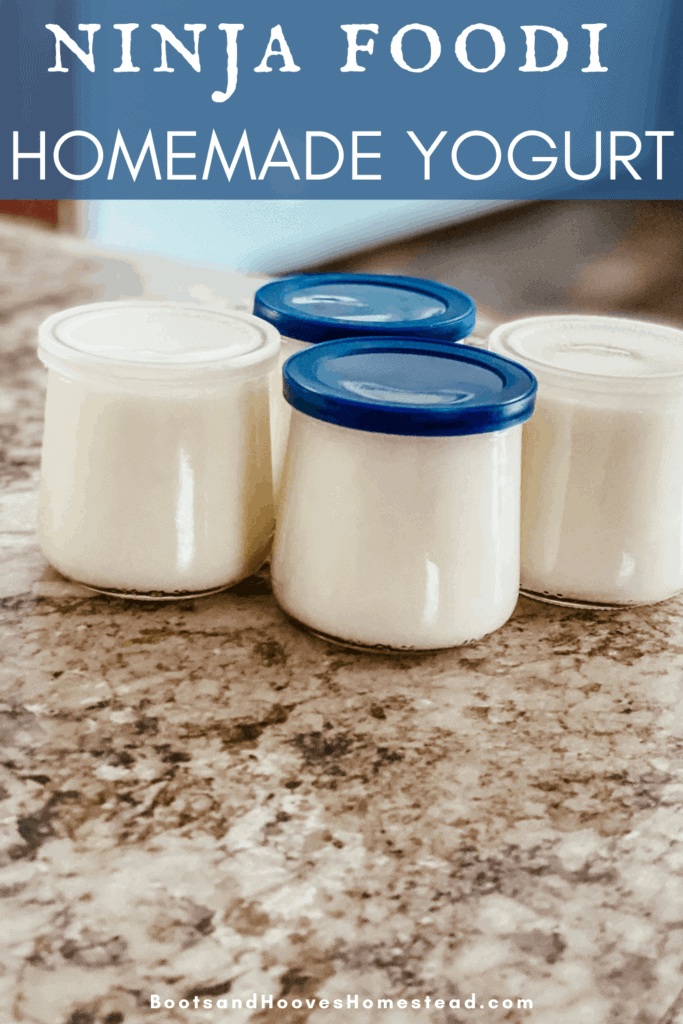

Making a homemade yogurt at home is made super easy with this recipe. Learn how to make your own Ninja Foodi yogurt with only 2 ingredients.
Homemade yogurt is incredibly beneficial for so many reasons. It provides great nutritious bacteria, it’s good for the waistline, and for the pocketbook.
And making your own homemade food from scratch is ultra satisfying!

How to make homemade yogurt
This process is incredibly simple using the Ninja Foodi if you follow specific steps. And don’t worry, it is super easy to do!
But, I did want to share that as easy as this process is, I completely failed at my first time making it.
So, I’m sharing a few tips and tricks to make sure that you have success with your first batch.
Here’s what you’ll need
- 1/2 gallon of whole milk (I used organic whole milk)
- yogurt starter
I purchased my yogurt starter from Azure Standard. But you can also grab yours here. Hint: the better price is with Azure Standard!
There are several starter options to choose from, including Vegan if you’d prefer.
After this initial batch, you can use the yogurt to make more!
Helpful Tips
When making your homemade yogurt in the Ninja Foodi, follow these helpful tips:
Want to save this?
- Plan on being available for several hours in the day. It is pretty hands off, but does take 8 hours of fermenting time and a few hours of cool down time after the milk boils.
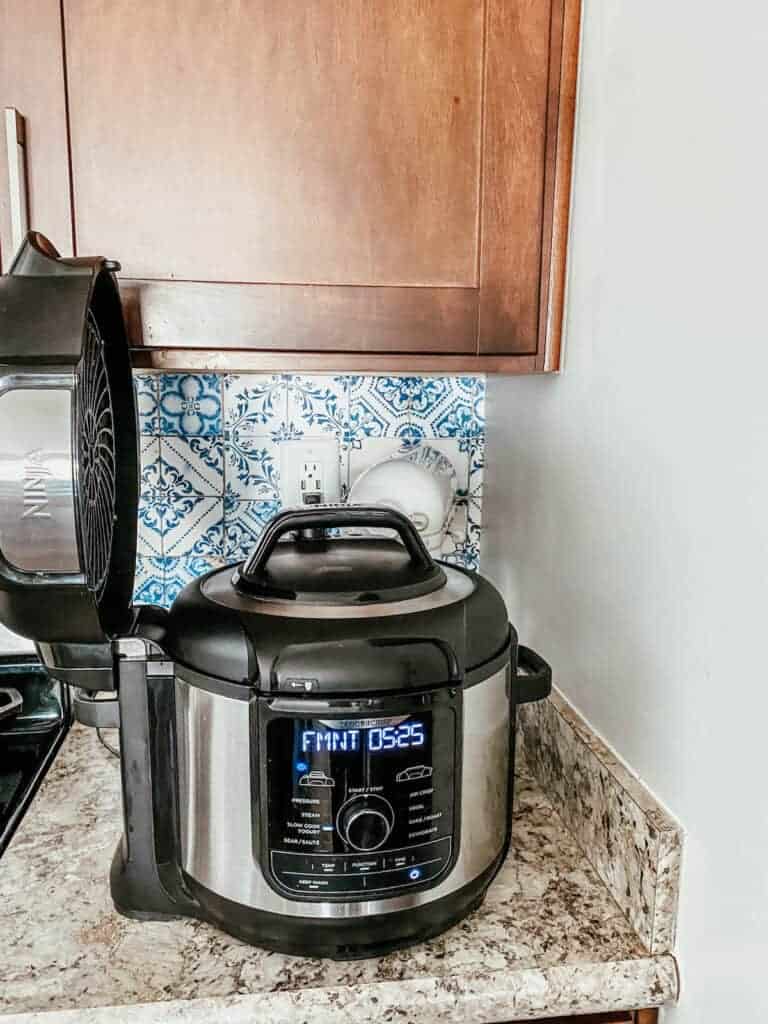
- Make sure that you set the correct function on the Ninja Foodi! When you turn the dial to the yogurt function on the Foodi, it is actually the second turn of the dial under yogurt and not slow cook. It was tricky for me the first time.
- Ensure that the equipment is clean & sterilized prior to making your homemade yogurt.
- When installing the pressure cooking lid, make sure that the valve is set to “vent”.
- Initially the milk will boil. And then the Foodi will go through a period of cool down time. This is several hours long (about 4 ish). And then it will prompt you to stir and add the starter. After you stir in the yogurt starter, the Ninja Foodi will go through the incubation or fermentation process of 8 hours. And that’s all the effort involved. It’s super simple!
Making this homemade yogurt is full of great healthy bacteria and it is really inexpensive to make.
We were purchasing a lot of yogurt at $1.40 for 5 oz each! A 1/2 gallon of organic milk for us is $4.99 and I can get 12 of those 5 oz jars from one batch. So much savings!
Even more savings once we get our milk cow this spring!

The flavor of homemade yogurt is much different than store bought and may take a little getting used to.
You can add flavorings like vanilla extract and honey or maple syrup if you prefer. I like to keep ours very basic and don’t add anything extra to the yogurt.
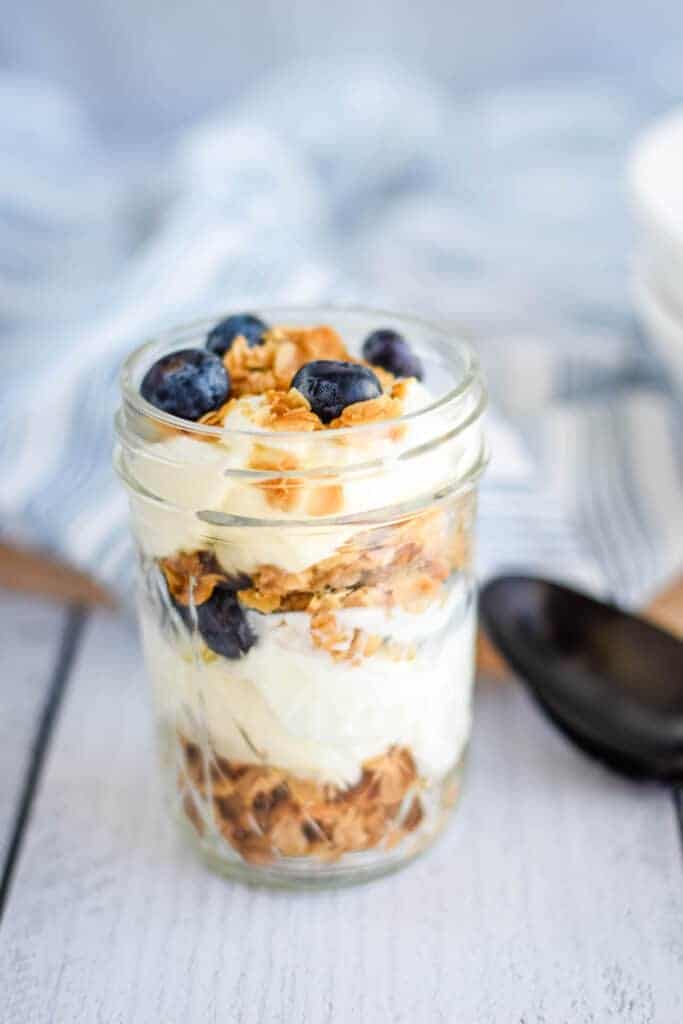
We serve ours with fresh fruit and my healthy homemade granola or mixed in with fresh smoothies! Sometimes we may drizzle a little bit of real maple syrup or raw honey on top with some nuts and oatmeal for breakfast or as a treat.
And just last night at dinnertime, I made a simple ranch style dressing with herbs & this homemade yogurt!
Homemade Ninja Foodi Yogurt
Equipment
Ingredients
- ½ gallon whole milk
- 1 package yogurt starter
Instructions
- Add the milk to the pot of the Ninja Foodi and lock the pressure lid. Set the valve to "vent".
- Select the yogurt function and the time to 8 hours, then press the start button.
- The Ninja Foodi will begin to boil the milk. After this is done, it will move to a cool down period. This can take several hours to cool down.
- Once the milk is cooled back down, the Foodi will display "add & stir". This is where you will add your yogurt starter. Stir it in well with a silicone spatula.
- Replace the pressure lid with the valve to vent and press the start button again. It will begin the incubation period for 8 hours.
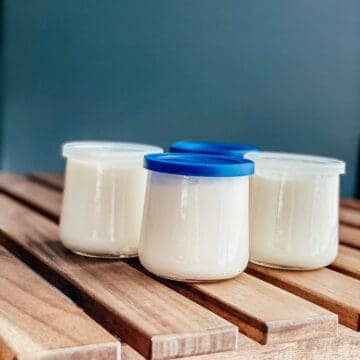
- Once this is done, transfer to individual glass jars, Mason jars, or glass bowl with a lid. Allow to rest in the refrigerator for about 8 hours or overnight.


Thank you for this recipe! Where did you get those cute little jars with the lids? They are so perfect for the finished product.
Thank you! 🙂 They are old yogurt jars that I’ve collected over the years. There are super cute Weck jars available too and I’ve seen other yogurt jars for sale.
Good tip on the knob, as it was not stated anywhere in the booklet and initially kept it on slow cook gor sometime and thanks to your tip I changed it over to yogurth.
EXACTLY SAME HERE 🙂
can you make any other flavors in the ninja? im trying just plain unsweetened cuz i cook w that alot. how do u do that
You can stir in additional flavors after you’ve made the yogurt. Generally, we keep it plain and stir in fresh fruit with a drizzle of raw honey.
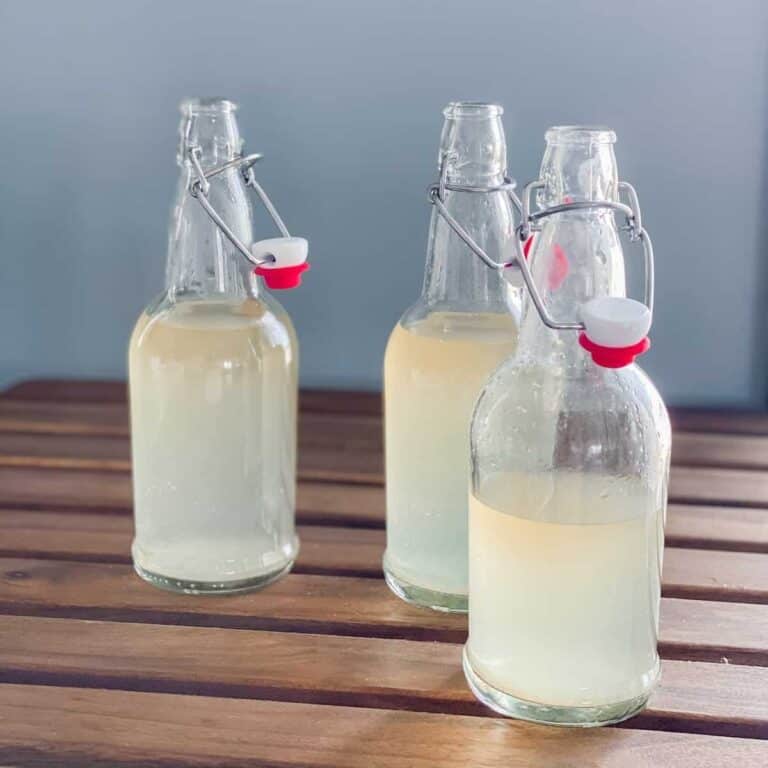
Thank you for this recipe. I used it to make yogurt for the first time in my Ninja Foodi. I used one gallon of milk and bought one small container of Siggis vanilla yogurt for the culture. Instructions were clear and easy to follow. I did let the finished yogurt drain through a cheesecloth in a colander overnight.
The one gallon of milk yielded 12 one cup portions of yogurt and 2 quarts of whey. I added 1/2 cup of honey and 3 tablespoons of vanilla paste to the yogurt and it is really good. I am freezing the whey protein in ice cube trays for use in smoothies, soups, breads, pancakes.
Thank you for sharing those tips with us! 🙂