How to Grow Microgreens Indoors
Are you wondering if you can grow your own food without having a dedicated garden space? The good news is that you can! Learn how to grow microgreens indoors without a dedicated garden space!
You can do this without much gardening experience or special equipment.
They also make a great addition to the home kitchen garden!
Related: Get Gardening Tips for Beginners
How to Grow Microgreens Indoors, Successfully?
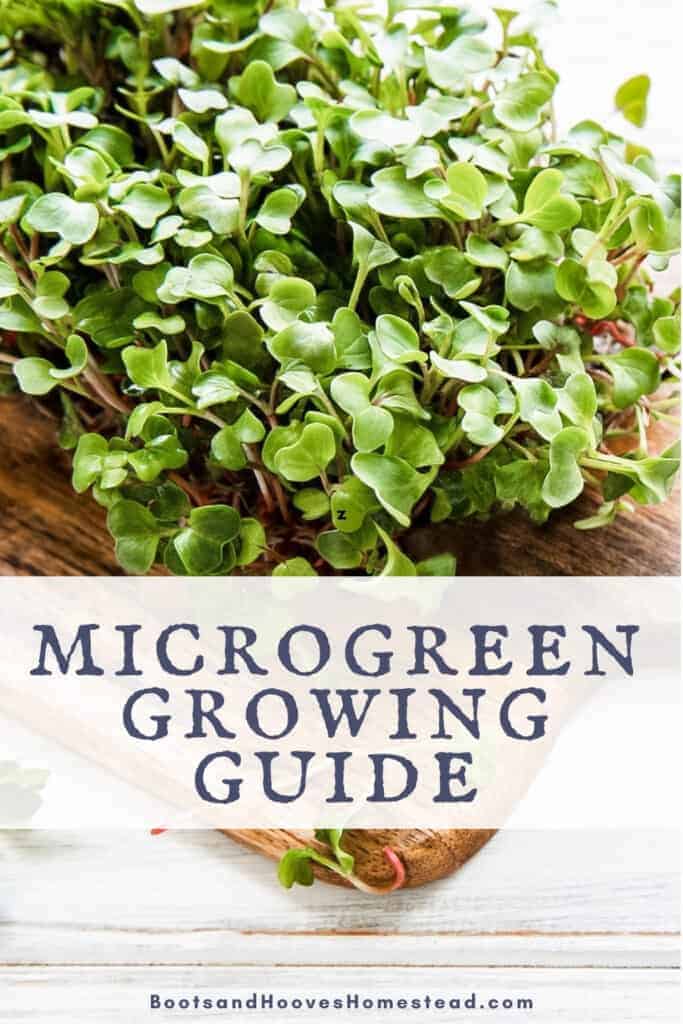
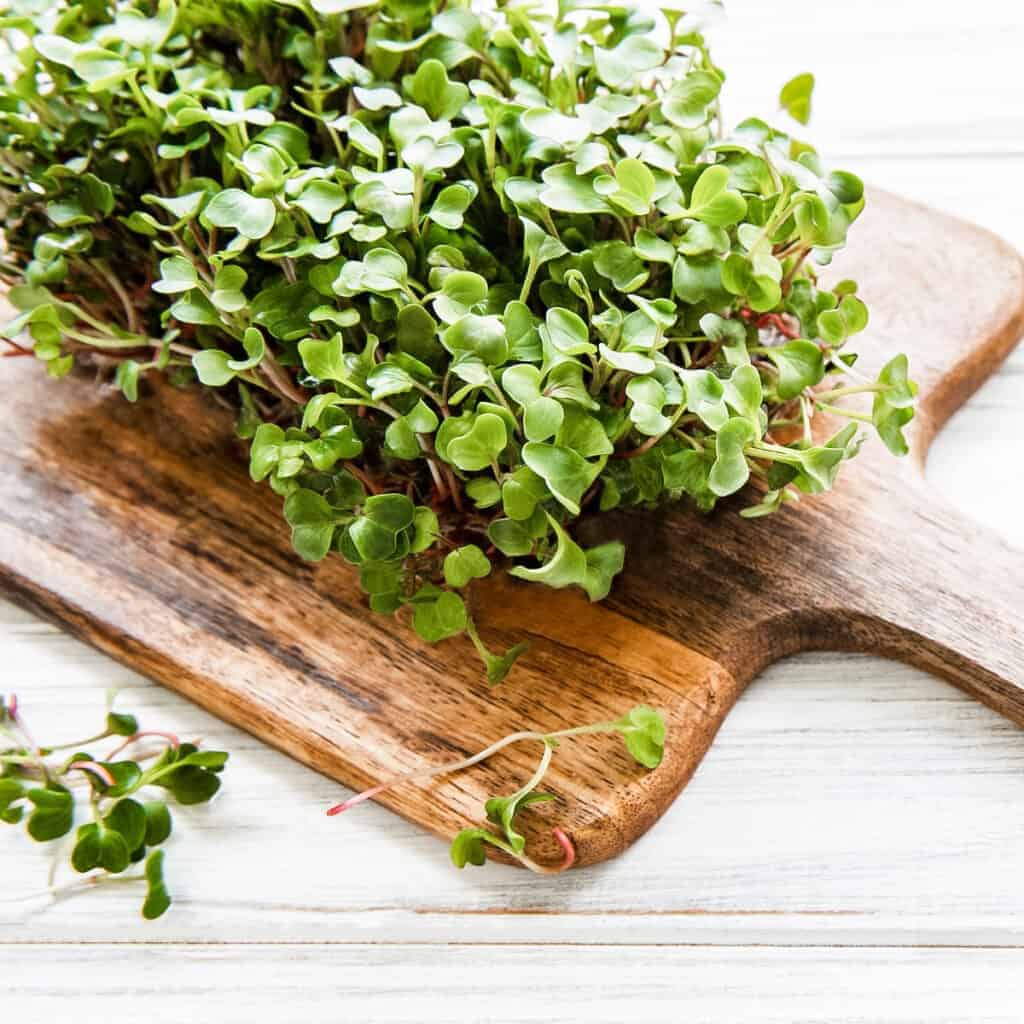
First, understand that a microgreen is the new, tender shoot that grows from vegetable plants.
If you allow a sprouted seed to go a bit farther into the growing process, but do not let it completely mature, you will end up with a microgreen.
The steps involved in growing microgreens successfully include:
- Take a tray and fill it with soil. These plants are not going to be in there very long, and they tend to grow in approximately 10 days. Therefore, you only need approximately 2 inches of soil.
- Next, spread your microgreen seeds across the surface of the soil. You do not need them to be spaced evenly.
- After this, take some soil in your hands and sprinkle it over the seed. You just need to cover your microgreens lightly.
- Take your hands and press them down against the tray. Make sure the seeds are in the soil firmly.
- Next, you want to provide your microgreens with plenty of water. Use the watering can if you have one. You don’t want to over water the soil; however, it should be moist.
- Finally, take your tray and place it in a sunny spot. You can also place them under grow lights if you prefer. If your microgreen seeds came with instructions, read them and see if there is any information on what type of light you should use.
After you have completed these steps, your microgreens should be ready to grow!
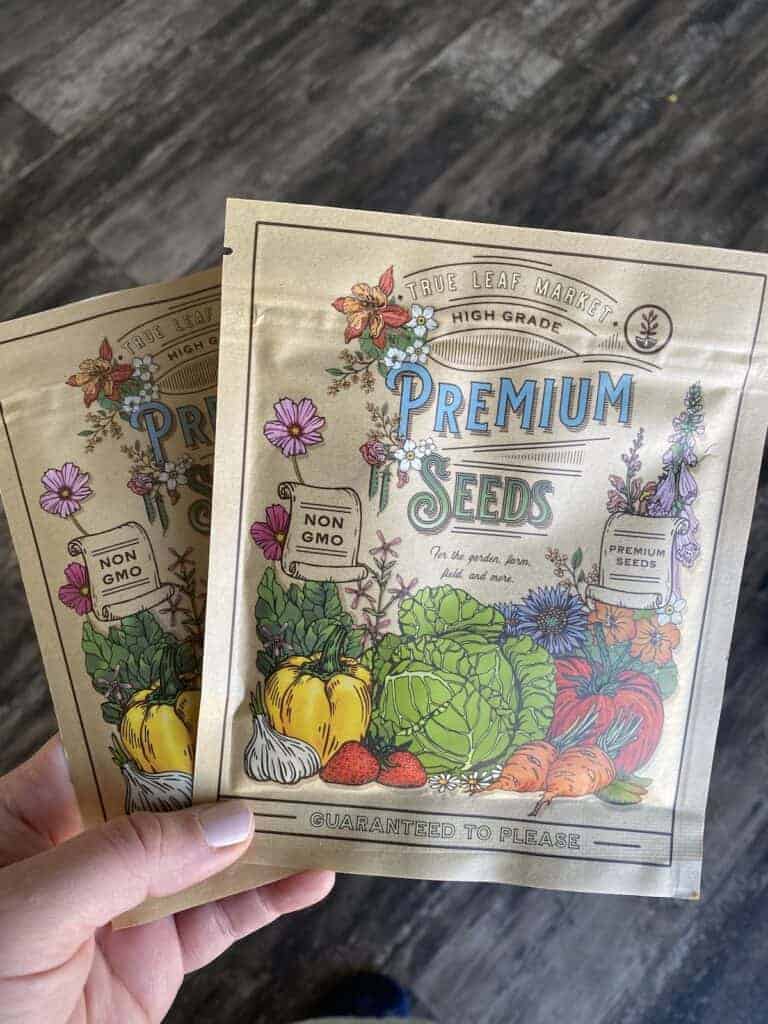
I like to order my microgreen seeds from True Leaf Market. Not only do they have a wide range of organic & non-gmo seeds to choose from… their packaging is super cute too!
Related: How to Sprout Beans and Legumes at Home
What Are the Benefits of Microgreens?
If you decide to grow microgreens, there are several benefits you will enjoy. These include:
Want to save this?
- Save Money: First, you will save money if you grow your own microgreens. In addition to the joy of bringing something to life, you will also save money on your grocery bills. If you are looking for a way to grow your own food and save money, think about growing microgreens!
- The Taste: There is always something that tastes better about growing your food yourself. If you grow your microgreens at home, you will find that they are tender and sweet, making for a delicious taste in the mouth!
- The Health Benefits: Finally, there are a lot of health benefits that come with eating microgreens. When compared to mature plants, they are usually packed with significantly more vitamins and minerals. This includes vitamin E and vitamin C.
These are just a few of the many reasons why so many people are embracing microgreens. Why not consider adding them to your list?
What Are Microgreens Used For?
There are several ways you can use microgreens. These include:
- Consider mixing some fresh microgreens into your salad
- Add microgreens to your wraps for some added crunch
- Incorporate your microgreens into smoothies to make them healthy
- Use microgreens as a garnish for just about any dish
- Add microgreens to your soup or stir-fry meal
The opportunities for microgreens are just about endless! Because they are packed with nutrients, add them to just about anything!
What Growing Conditions Do You Need?
If you would like to learn how to grow microgreens indoors, there are several points that you should keep in mind.
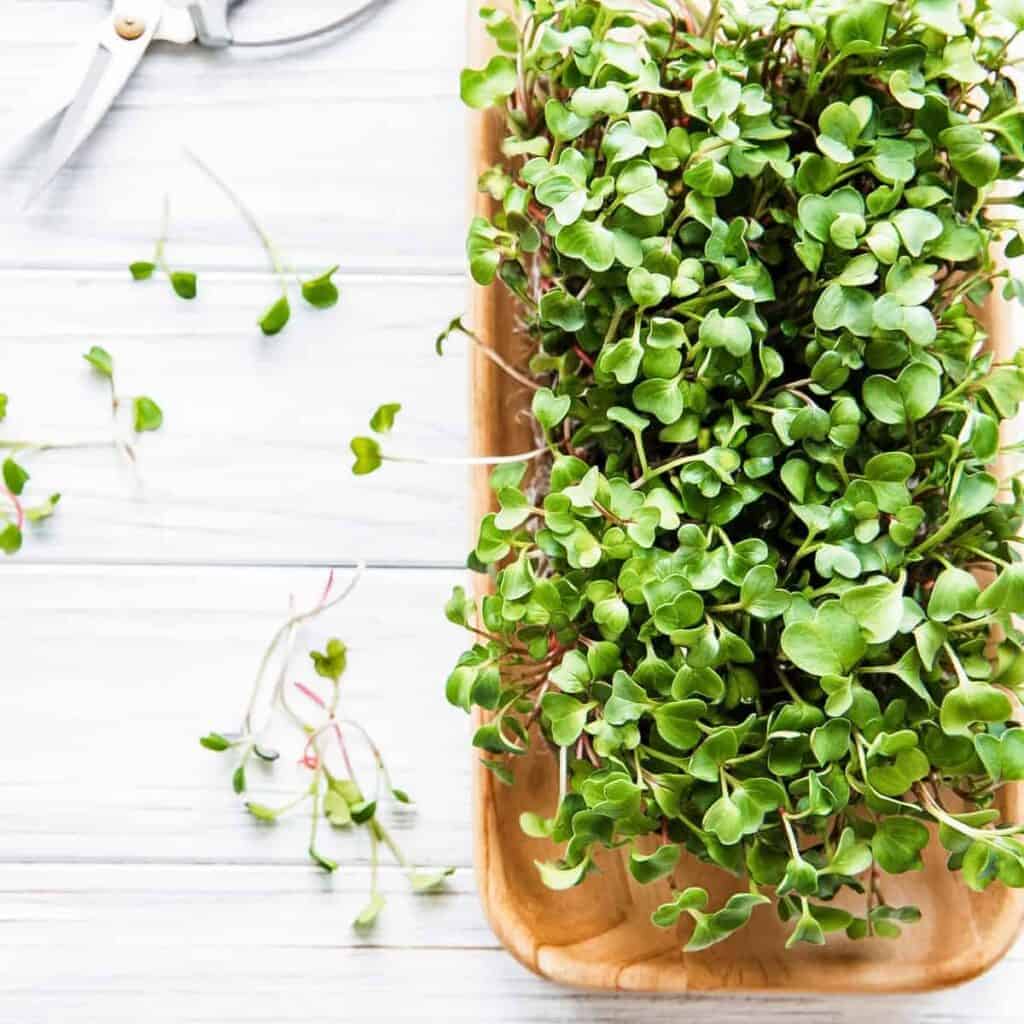
You need to think about several conditions including the quality of your seeds, the soil, that the tray in which you grow them, how much light you give them, and how much water do you provide.
You should consider:
- The Seeds: If you are looking for microgreen seeds, you can purchase regular seeds from the store and use them for sprouting. On the other hand, you may have better luck with specific microgreen seed mixes that have been created specifically for first-time growers.
- The Soil: If you start with medium soil, this is a safe bet. On the other hand, you will probably have good luck with just about any potting mix. You should probably stay away from fertilizers if you would like your microgreens to be organic.
- The Tray: You need a solid tray to grow your microgreens. Consider using seed-starting trays. These are available at most hardware stores and garden centers. Remember they are not going to be in there very long, so it doesn’t have to be fancy.
- The Light: Think about light exposure. If you place your microgreens in a sunny window, this will probably do the trick. You can also use grow lights if you prefer.
- The Water: You can use a watering can for the first watering instance; however, a spray bottle should do the trick after this.
If you keep these conditions in mind, your microgreens should grow well.
Frequently Asked Questions About Microgreens
A few common questions people ask about microgreens include:
No, most microgreens are not going to regrow after cutting. If there is still one healthy leave, the microgreen does have a chance to grow back.
There are several microgreens that are great for beginners. The easiest microgreens to grow include cauliflower, cabbage, broccoli, mustard, sunflower, and buckwheat.
Microgreens are good for you because they contain a lot of nutrients. Most microgreens have a tremendous amount of potassium, magnesium, iron, zinc, and copper. Microgreens are also a great source of antioxidants.
It is difficult to define which one is the “most” nutritious, as every microgreen has a slightly different nutritional breakdown. Broccoli has a wide variety of nutrients, making this a popular option.
Superfoods have a lot of nutrients and a small volume. Microgreens certainly fit this description, as they are packed with nutrients, making them a superfood.

