Harvesting and Storing Pumpkins
Harvesting and storing pumpkins is a great way to preserve this fall vegetable. With step-by-step instructions, you’ll learn how to harvest pumpkins, store them, cook with them and more.
In this article, learn how to harvest and store your pumpkins for use throughout the year.
Harvesting and Storing Pumpkins
The ease of harvesting and storing pumpkins makes them the King of winter squash. With just a few simple tips and tricks your family will enjoy delicious pumpkin treats all winter long.
The main difference between winter squash and summer squash is that winter squash varieties are left to ripen on the vine before harvesting.
This gives the gardener a great pause as the rush of harvest time is over and now the slower pace of harvesting and storing pumpkins and other winter squashes can begin.
Pumpkin plants take 90 – 120 days from planting to harvest. The number of days depends on which of the pumpkin varieties you plant in your pumpkin patch.
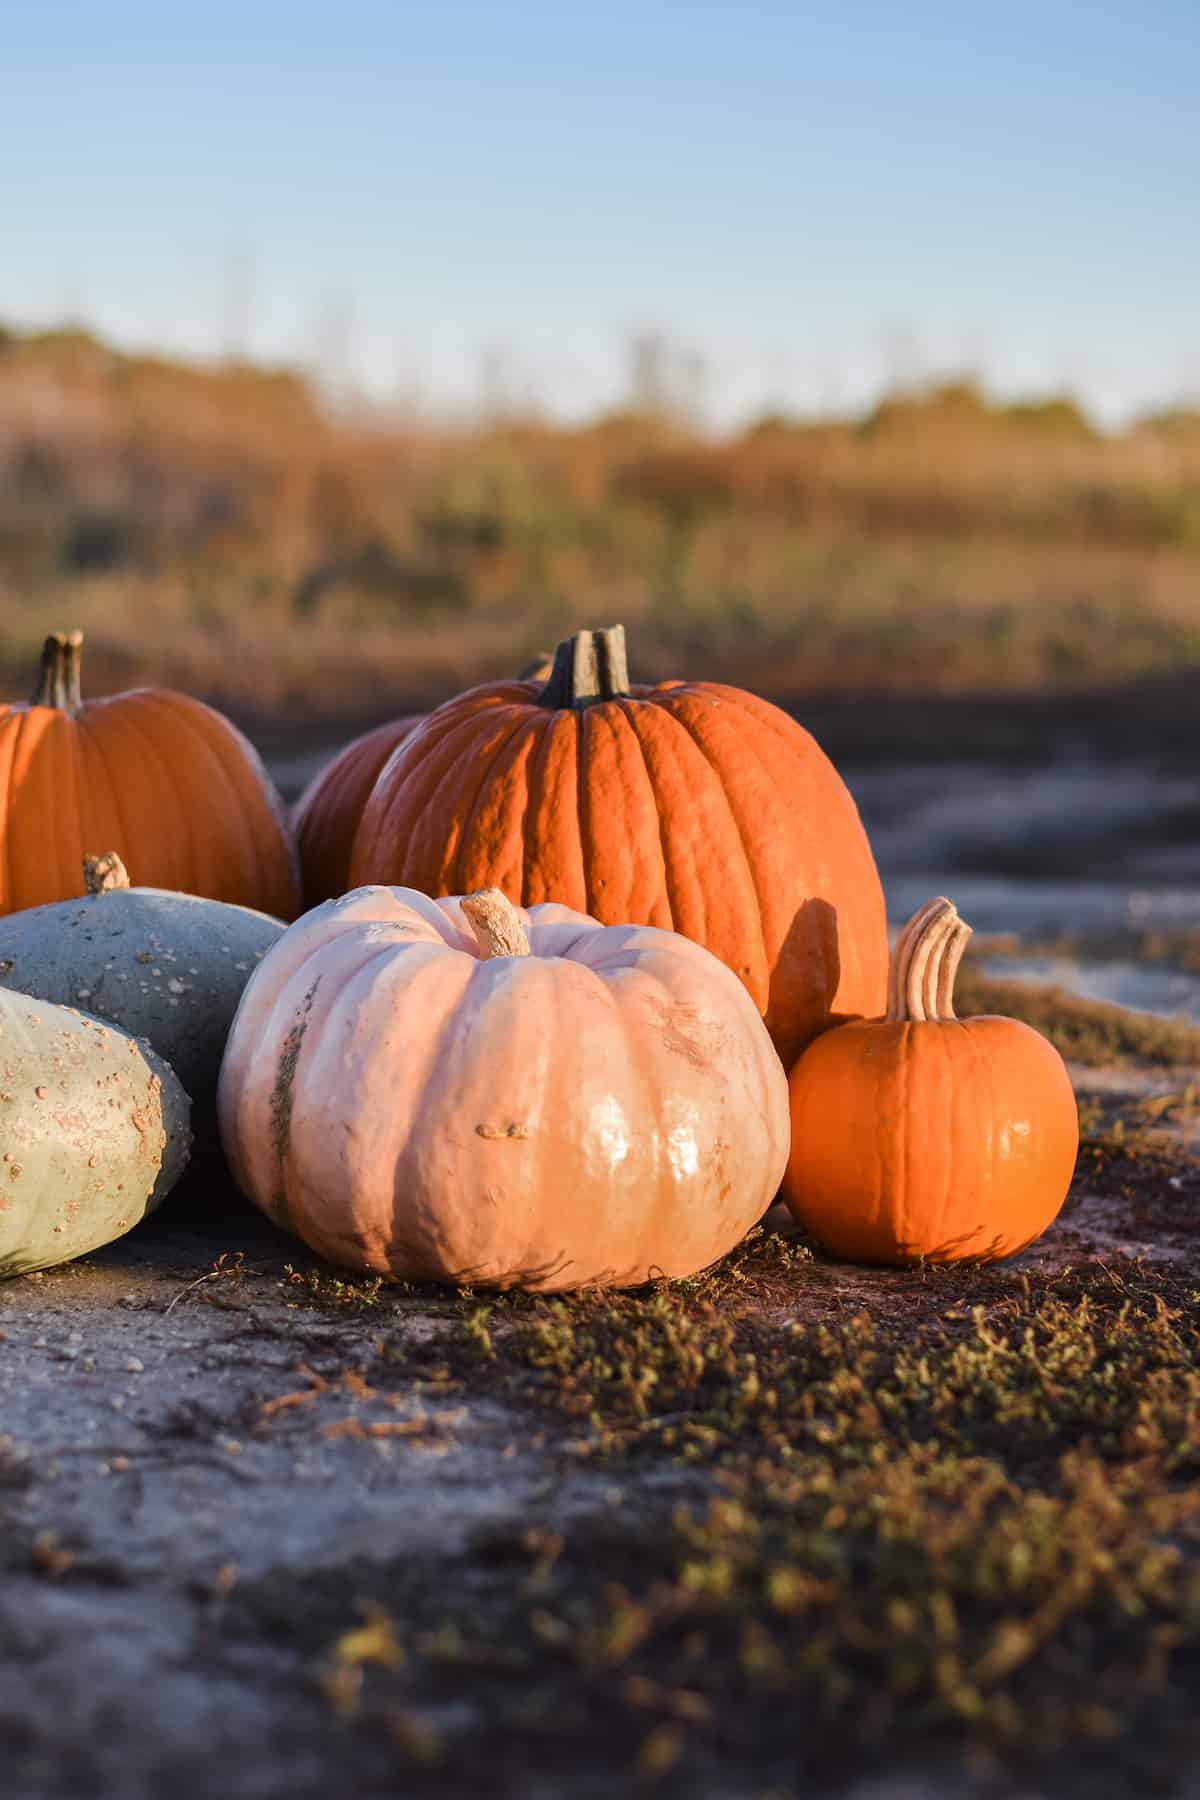
Depending on the variety of pumpkins grown, the colors can also vary. Typically we are used to a deep orange color, but have begun growing fun varieties. Some of these colors can be orange, white, gray, blue and even slightly greenish.
Knowing your growing zone will help you determine when to plant them. They must have the maximum number of days your variety calls for to have mature pumpkins before your first frost date. A hard freeze will lead to spoilage of your pumpkin harvest.

How To Harvest Pumpkins
Leave them on the pumpkin vines until the vines wither or a light frost withers them. Some people like to leave them on the vine until the first heavy frost kills the vines.
If you choose to take this risk, be certain to not let the pumpkins freeze. If winter squash freezes it is no longer able to be stored. It will rot as it thaws.
You will have to preserve them by canning or dehydrating. Some people preserve them in the freezer after they have thawed from being frozen outside, but you should know it is possible they are already rotten.
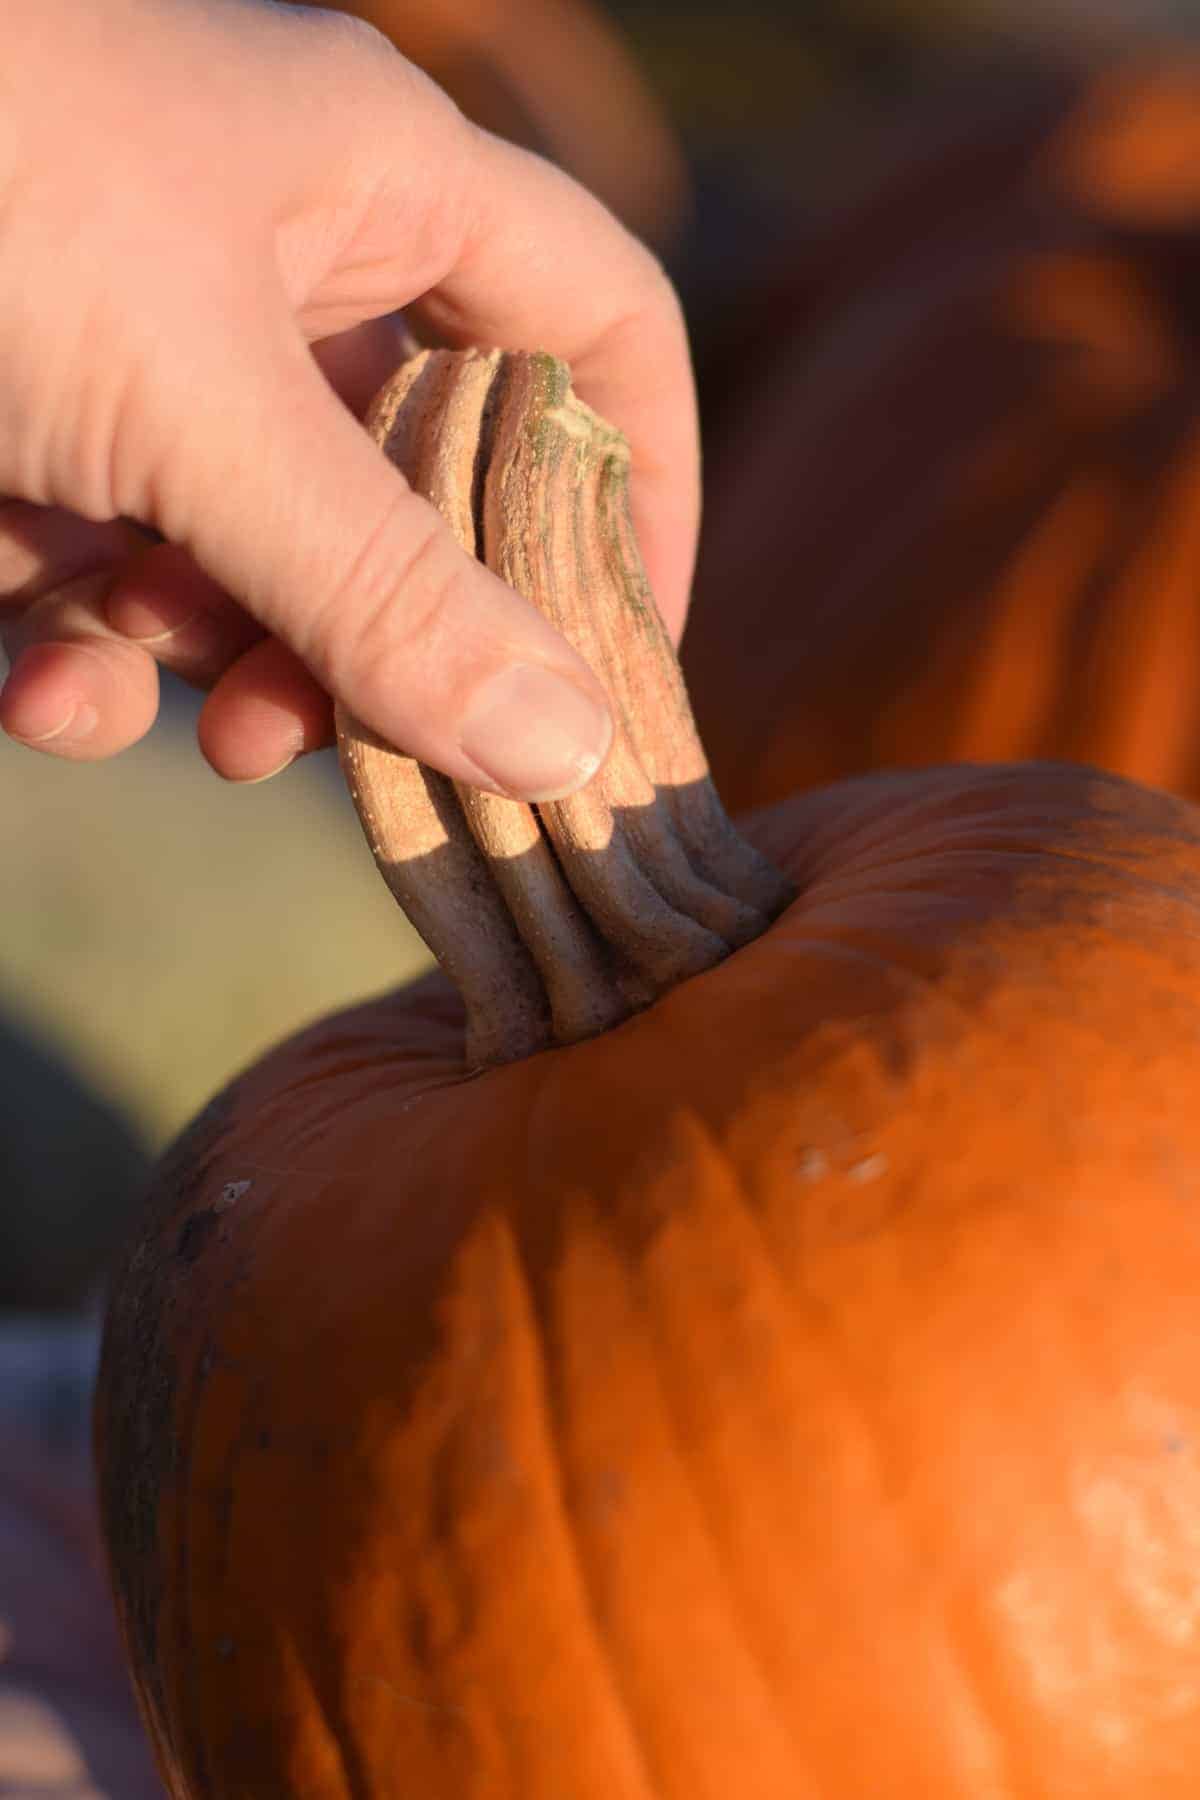
To remove the pumpkins from the vine, use a sharp knife to cut the stem 1-2 inches from the top of the pumpkin. So that they create little handles. And if your weather allows, let them sit in the field another week to two weeks to cure. Frost free and dry days are recommended.
If you are expecting freezing conditions, remove them from the garden and stack them in single layers in a warm, protected area.
By letting them sit undisturbed, you are letting them heal of any cuts. This is known as the curing process.
Pumpkins should be handled gently to avoid bruising them. Any spot that is bruised or where they are allowed to touch in storage, will be the first spot to rot.
Any bruised or ruined pumpkin makes a great addition to the compost pile.
Preparing Pumpkins For Storage
When storing pumpkins, it’s important to remember they must not be allowed to freeze. So keeping them in an area above freezing conditions is necessary.
Pumpkins prefer to be storage temperatures should be between 50-60 degrees Fahrenheit. Higher temperatures may lead to spoilage.
You may want to put them in an unheated room in your house. A root cellar or basement with ideal conditions is recommended. And in some lower humidity or milder climates, a garage or shed may be sufficient. Be sure it is a dry location and out of direct sunlight.
Keep an eye on the relative humidity levels. High humidity will cause them to rot. Low humidity will dry them out. They need good air circulation as well as a dry place to be for long term storage.
When properly stored, a ripe pumpkin has a shelf life of 4-6 months depending on their condition and the conditions of storage.
If you are storing pumpkins for livestock, these can be stored in large boxes or piles. Monitor them and use any pumpkins that are beginning to spoil as soon as you spot them. Remove any rotten area before feeding them to your animals.
You should also keep a close eye on those stored for human consumption. As soon as you see one beginning to get soft spots, preserve it or cook it right away. Be sure to first remove the spoiled area before processing.
Storing Pumpkins Unprocessed
If you prefer to leave the pumpkins unprocessed and stored whole, you can easily use them in any recipe.
Slice them, peel them, and remove the seeds. To cook them until soft, you can boil, steam, or bake it. Once the pumpkin is cooked, use it for your favorite pumpkin pies, pumpkin soup, or other pumpkin recipes.
How To Store Harvested Pumpkins For Longer Storage
There are a few ways to prepare pumpkins for longer term storage, such as freezing, canning, and dehydrating.
In this section, I will share tips for preserving pumpkins for longer storage.
How to Freeze Pumpkin
1. Cut the pumpkin in half and remove the pumpkin seeds.
Want to save this?
2. Preheat oven to 350 degrees, Fahrenheit.
3. Place the pumpkin halves on a baking sheet lined with parchment paper.
4. Roast for about 40 minutes or until completely soft.
5. Allow to cool and begin to remove the cooked pumpkin from the rind. Be careful not to burn yourself. You can also allow them to cool completely before removing the rind.
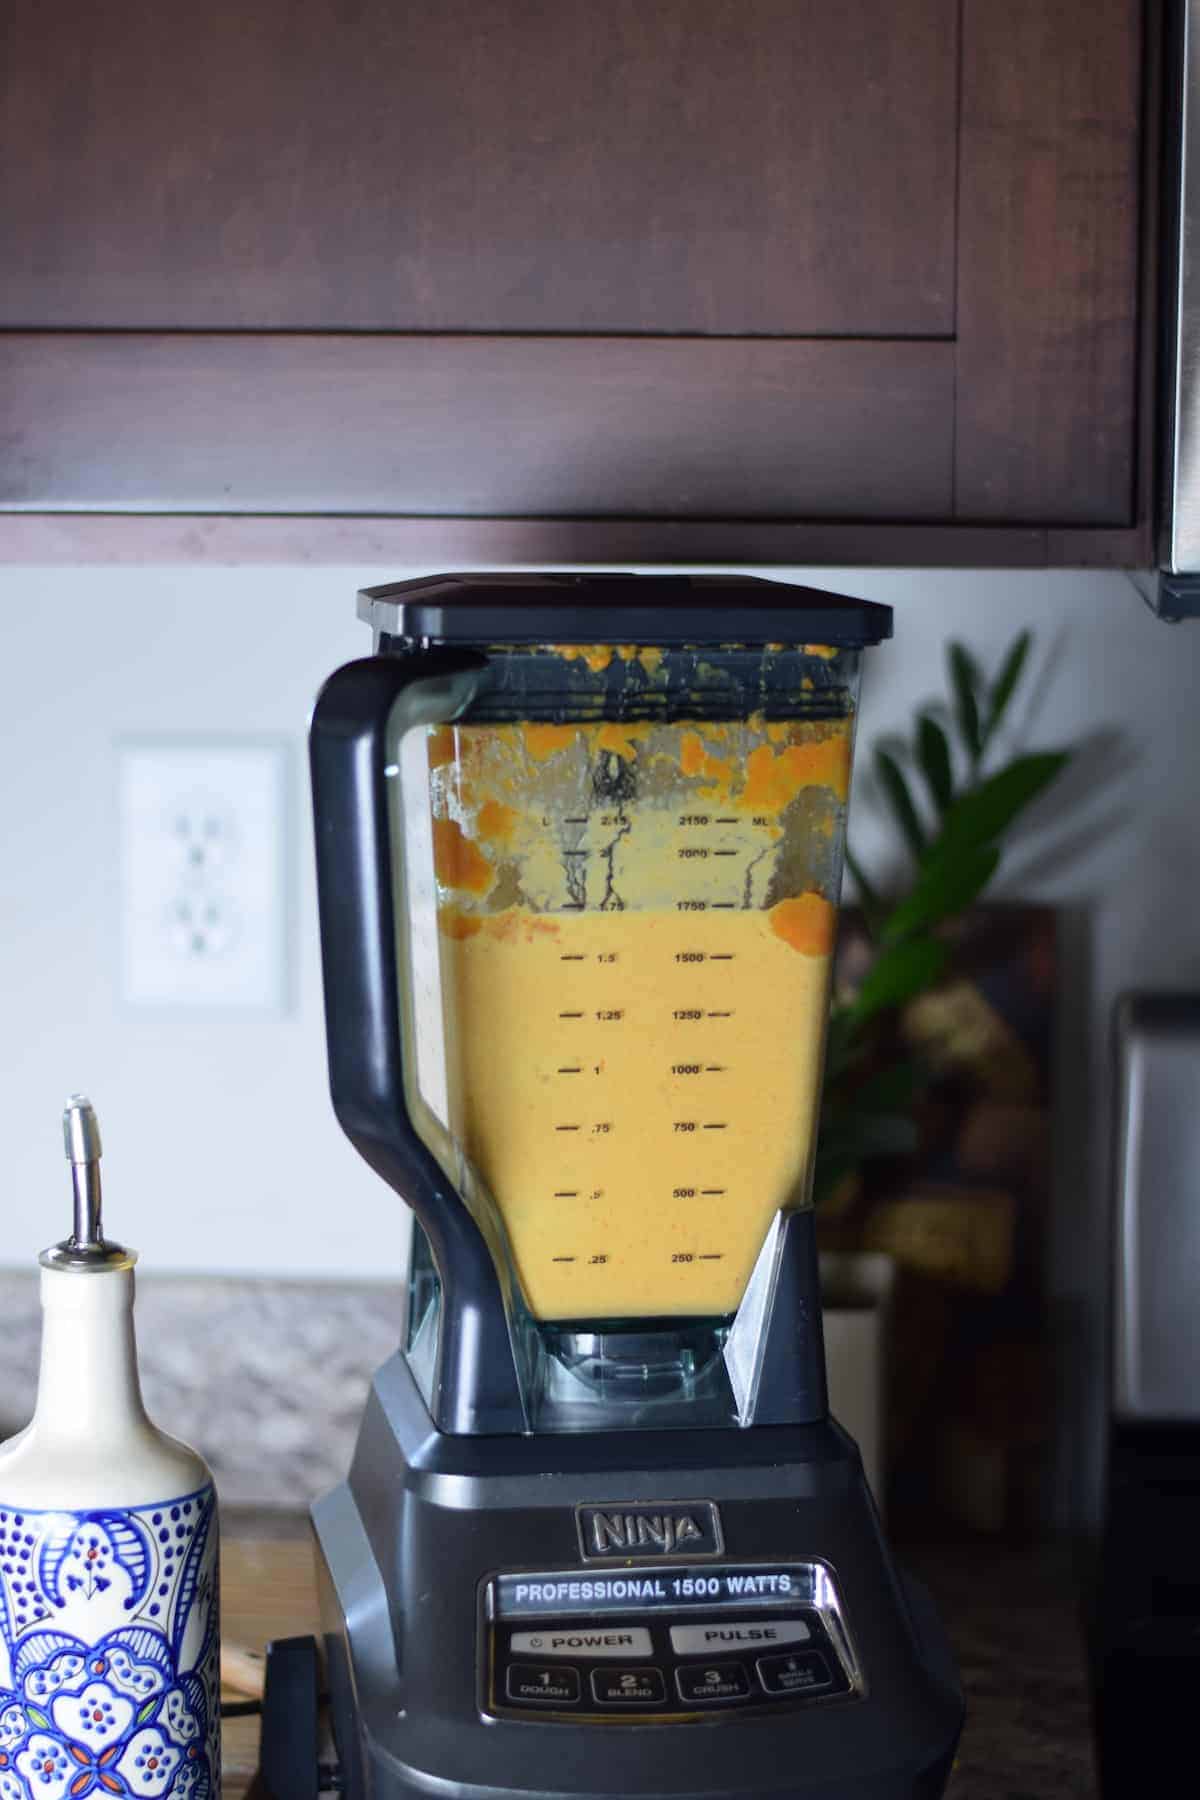
6. Once the rind is removed, mash the pumpkin flesh lightly or add to a food processor or blender to puree.
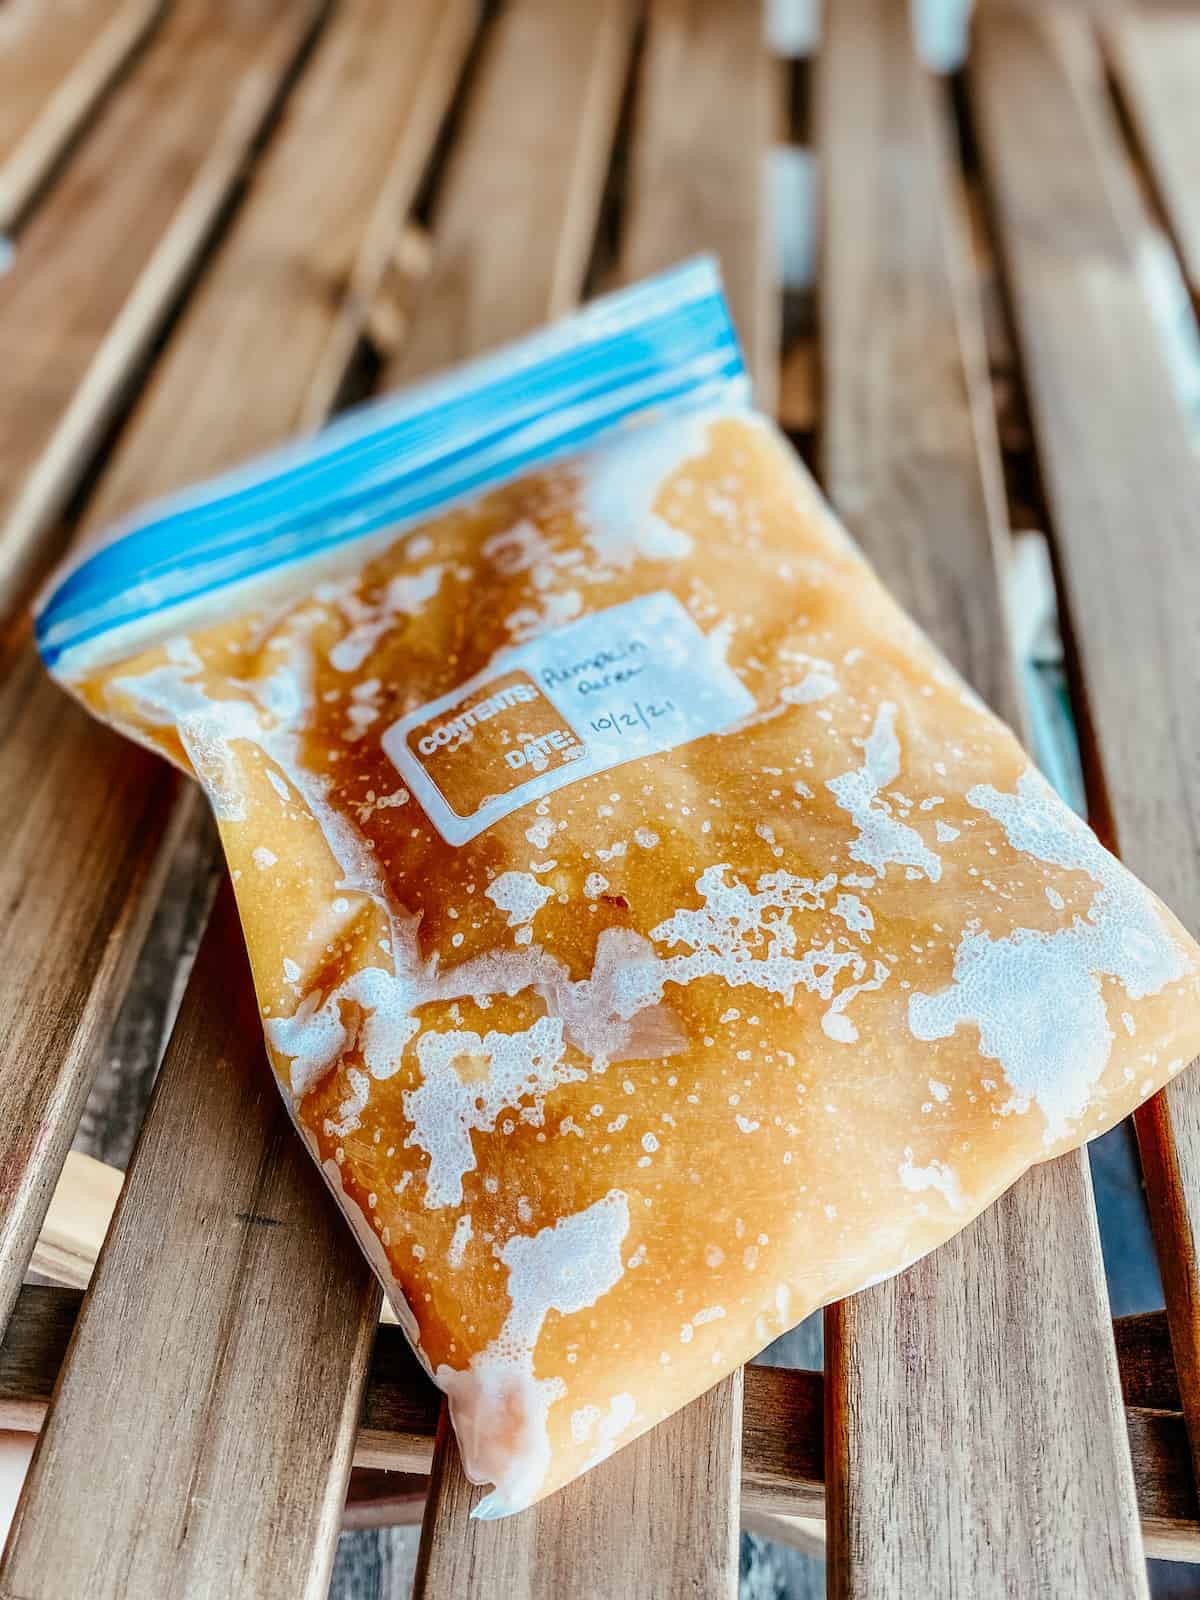
7. Add as much as you will need for a recipe to your freezer bags.
8. Label the freezer bag with contents and date and put them in the freezer.
How to Dehydrate Pumpkin
1. Slice the pumpkin into ¼” round slices then remove the seeds and rinds. The more uniform the slices are the easier they will dehydrate.
2. Place the slices on the dehydrator tray in a single layer.
3. Set the dehydrator on 120 degrees F and allow to dry for 24 hours.
4. The texture of the pumpkin pieces will be leathery.
To rehydrate:
1. Add the amount of pumpkin you want to use to a pot and add water to have 1” above the fruit.
2. Bring to a boil and until the pumpkin slices are plumped back up (rehydrated).
3. You could also steam the pieces but this takes about 12 hours to work fully.
How To Can Pumpkins
1. Cut the pumpkin into slices then cut them into 1” cubes.
2. Remove the seeds. You may either remove the rind now or wait until you have boiled them for easier removal.
3. Place them in a large pot and cover with 1” of water and bring to a boil.
4. Boil for 2 minutes then pack the pumpkin into hot sterilized jars. Be careful not to smush or puree the pumpkin pieces when placing in the jar.
5. Add the hot liquid from where you boiled the pumpkins to the jars. Be sure to leave a 1” head space.
6. Place hot lids on the jars and secure with the screw cap.
7. Pressure can according to the current guidelines.
🖤 Favorite Gardening & Preservation Resources:
I’m sharing a couple of excellent books and resources that will help with growing and storing your own food at home.
Pressure Canning for Beginners
More garden posts:
- how to grow carrots
- growing garlic at home
- dehydrating and using carrot tops
- how to grow lettuce
- beginner’s guide to canning and food preservation
FAQ
Pumpkins are ready to harvest when they have reached the desired color and the rind is hard. Depending on the variety grown, usually between 90-120 days.
Without canning or other methods of dehydration, pumpkins can be kept for about 60-90 days, and even up to 6 months, depending on variety and with proper ventilation, temperature, and storage.
There are a few ways to prepare pumpkins for longer term storage, such as freezing, canning, and dehydrating. If being stored whole and unprocessed, they should be kept in mild conditions with low humidity with temperatures between 50-60 degrees F.
When properly stored, a ripe pumpkin has a shelf life of 4-6 months depending on their condition and the conditions of storage. And canned pumpkins can last for up to 1 year.
Pumpkins prefer to be stored between 50-60 degrees Fahrenheit. You may want to put them in an unheated room in your house. A root cellar or basement is ideal. And in some lower humidity or milder climates, a garage may be sufficient. Be sure it is a dry location and out of direct sunlight.
If you prefer to leave the pumpkins unprocessed and stored whole, you can easily use them in any recipe. Slice them, peel them, and remove the seeds. To cook them until soft, you can boil, steam, or bake it. Once the pumpkin is cooked, use it for your favorite pumpkin pies, pumpkin soup, or other pumpkin recipes.
You’ve waited and watched as they grew in the field. Now it’s time for harvesting and storing pumpkins for tasty treats all winter long for you and your livestock.


