Homemade Goat Milk Soap – Melt & Pour
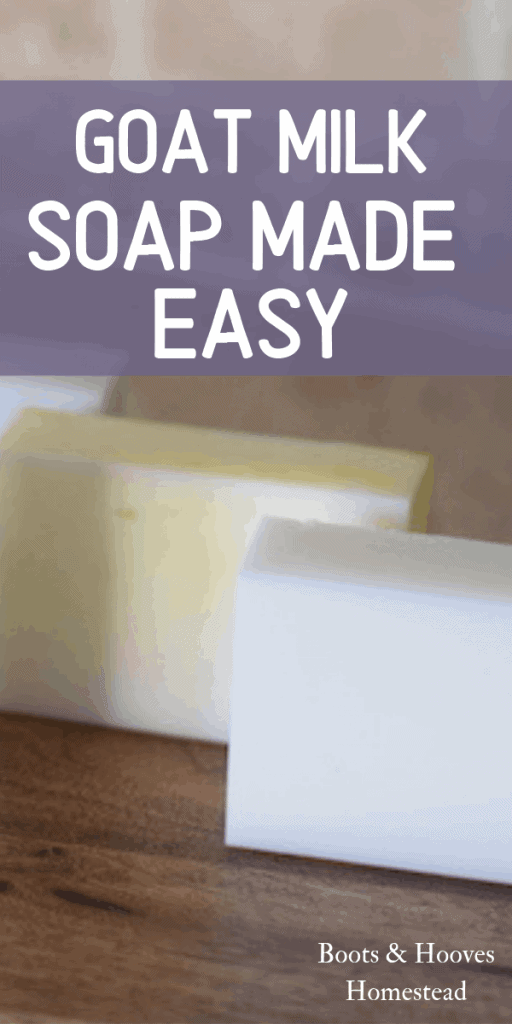
This tutorial for homemade goat milk soap is super easy. It doesn’t require lye to make soap and instead uses a simple melt and pour method!
Around our home, I love to make our own natural homemade products. However, while I am pregnant and raising littles, I want simplicity and don’t want to deal with the hassle of using lye.
Especially if there are potentials for little hands to get ahold of it. For now, I am making an easy homemade goat milk soap using a melt and pour goat milk soap base.
So with this simple process, you can have your own soap at home without a complicated soap making process! And this one gives a soothing and creamy lather!
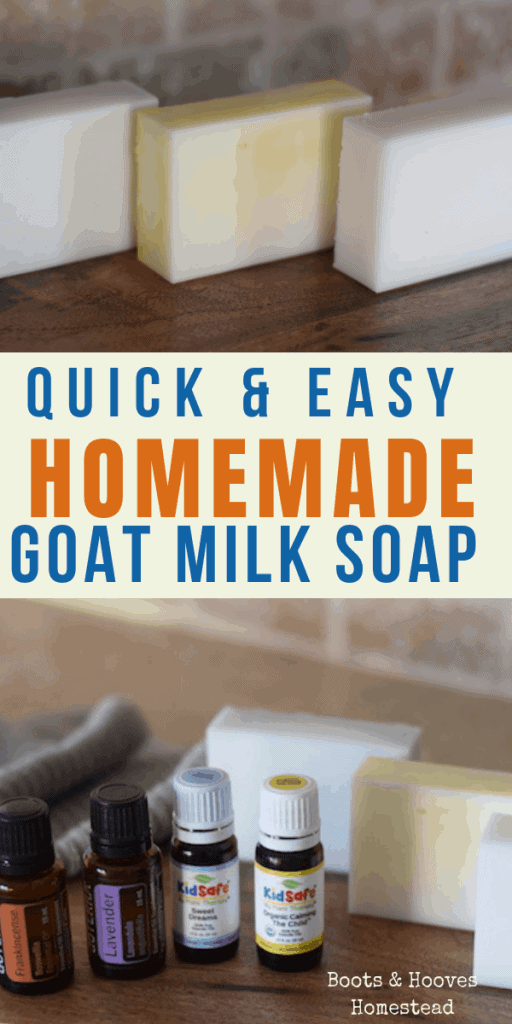
Stir in your favorite essential oils for a relaxing spa experience!
Benefits of homemade soaps
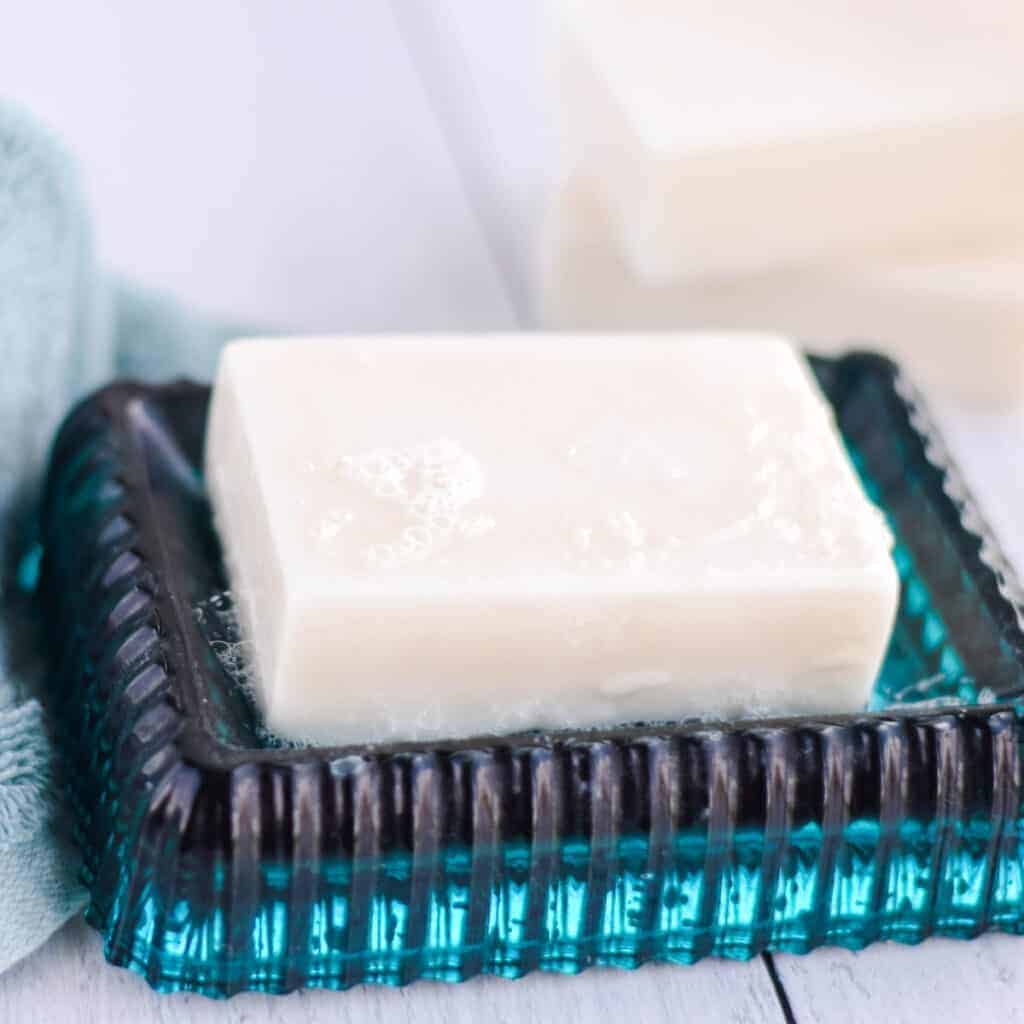
Whenever I make my own soap or even when purchasing some from small shops, I prefer to use a goat milk soap. They are really moisturizing for dry skin and great for many skin issues, like acne and other troublesome issues.
Goat milk soap is also filled with many vitamins and minerals.
Knowing exactly what is in the products that we use around our home is something that is important to my family. And when we make homemade, there is a little more control over exactly what we are using. If you are trying to use more natural ingredients too, I would highly recommend trying to make your own goat milk soap recipes.
Melt and pour soap bases are really simple to use and make homemade soap making a breeze.
Here are a few more of my favorites:
Oatmeal Soap Bar Recipe (vegan)
How to make these soap bars
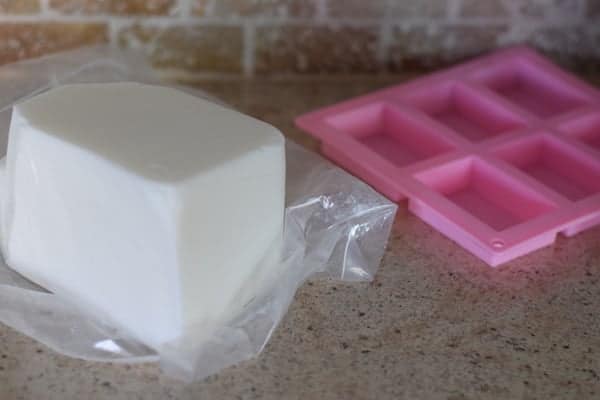
Here’s the homemade goat soap base that I like to use. This comes in a 5 pound block which will make several of the bar soaps that I like to keep around our home. The amount you will be able to make will entirely depend on the size molds you use.
And they have really clean organic ingredients: Organic Coconut Oil, Organic Palm Oil, Organic Safflower Oil Glycerin (kosher, of vegetable origin), Purified Water, Sodium Hydroxide (saponifying agent), Sorbitol (moisturizer), Soy bean protein (conditioner).
Here is another alternative made by the same supplier, but in a smaller 2 pound block.
If you’d like to make your soap vegan, you can try a glycerine soap base or shea butter soap base. Other great options are aloe vera, glycerin, and honey soap bases.
I have tried other brands, and this is by far the best that I’ve used for an easy homemade goat milk soap base.
To make your soap, you can make batches as big or as small as you’d like. The recipe below gives instructions for using 2 pounds of the base to make about 6 soap bars (depending on the size of the soap molds).
Here’s what you will need:
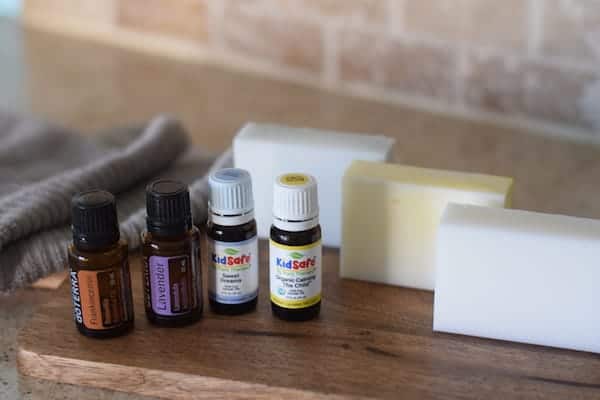
- Soap Mold – I like this one for my bars. But any type of shaped silicone molds would work well.
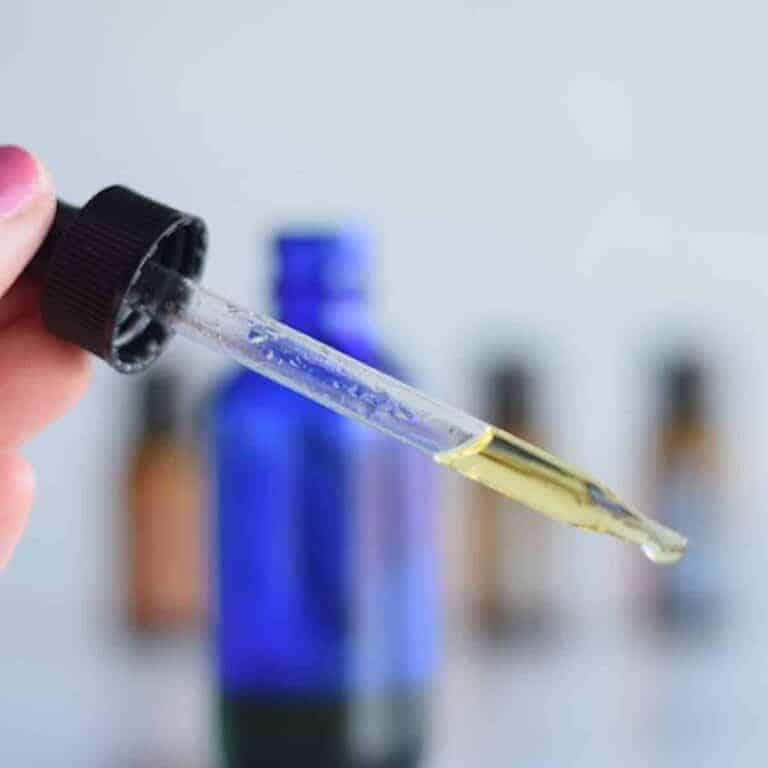
- Essential Oils of Choice. I like a simple Lavender and Frankincense for myself. Or if I’m making soap for my children, sometimes I will add in either this Calming the Child blend or this Nighty Night blend.
Want to save this?
For the sake of keeping things more natural, I would recommend using good essential oils vs fragrance oils. Fragrance oils are highly toxic.
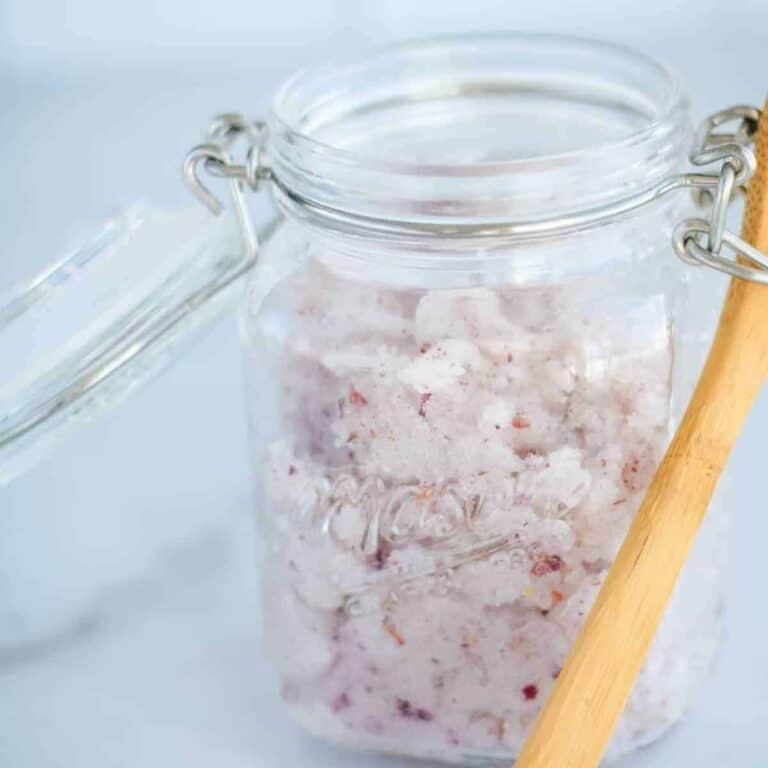
Optional add ins ideas that I often use are things like vitamin e drops, oatmeal, coffee, or activated charcoal. I like to grind up oatmeal or use fresh coffee grounds in some of my soap bars. And activated charcoal has so many awesome benefits!
You can also use a natural colorant if you would like!
- Large stock pot & double boiler or a large glass bowl to use as a double boiler over the stock pot. I usually just use a Pyrex glass bowl.
- Ladle
Note: we don’t use a microwave in our home and I would definitely recommend using a stove top for making your soap to avoid scorching it.
Step by step instructions
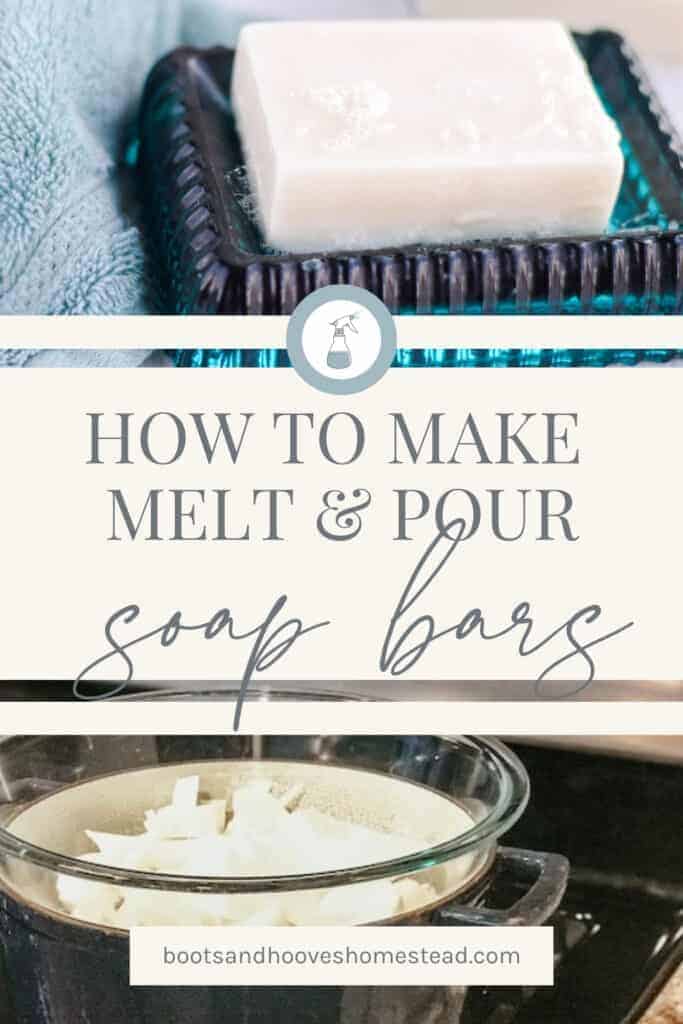
Start off with setting up your double boiler. If you’re using a large pot, fill it a little less than halfway with water. Too much water could lead to it boiling over.
Next, add your large glass bowl and turn your stove top to medium high. Bring your water to a boil and then reduce to a simmer.
While the water is simmering, I start cutting up my soap base and adding a little bit to the glass bowl at a time. I add enough to make a bar of soap at a time.

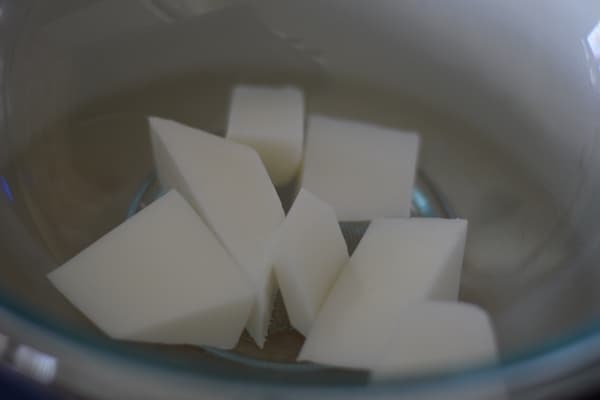
After melting the desired amount of soap base, use a regular kitchen ladle to pour base the into the soap mold. Don’t worry, this stuff cleans up really easily!
I only fill it about half way full because I want to add in extra goodies. If you want to make your soap plain, go ahead and fill the molds all the way.
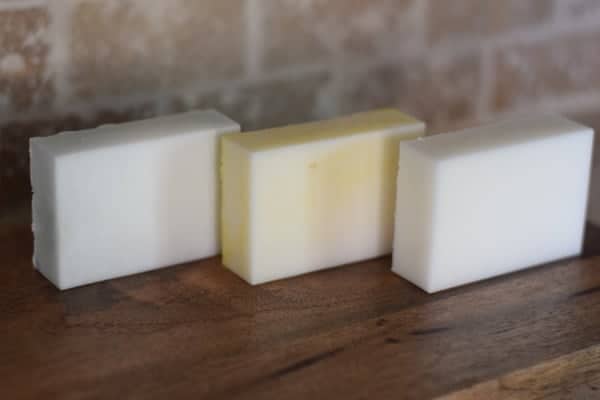
For this batch of soap, I made three bars. Two of them were for my children using these Plant Therapy Kid Safe blends.
I add my desired amount of drops of oils and mix it up, then add more soap base and a little more of the essential oils and mix it up again.
Now, if I am making a big batch of one type of soap, I would melt the soap base and then stir in my desired add in ingredients. Once I have my desired scent or other combination, I would pour into my soap molds.
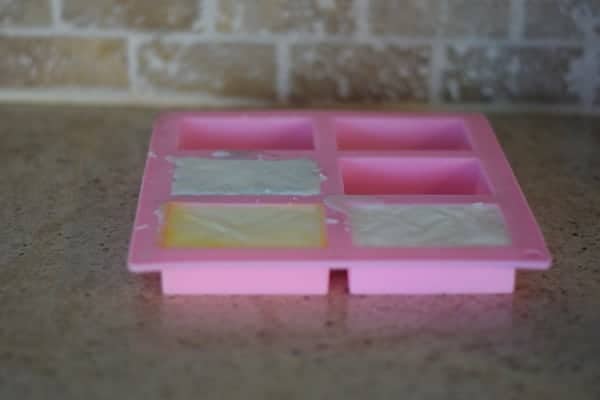
I didn’t add any special coloring to these soap bases, however the Kid Safe Essential oils have some coloring that changed the tints of those soap bars.
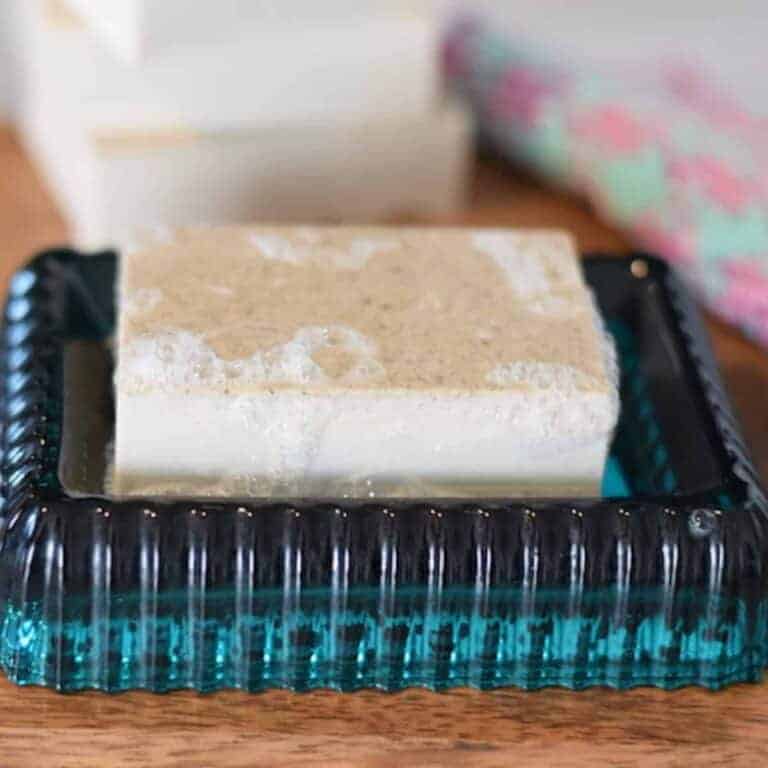
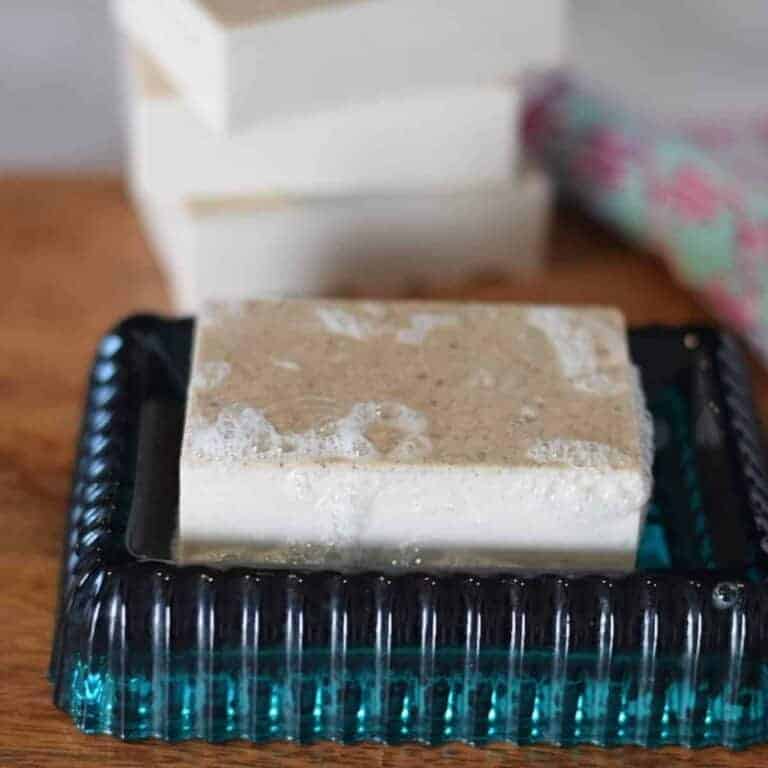
Once your soaps are completely cool, you can safely remove them from the soap base.
Note: if you overfill the molds like I did, the back edges will look a little jagged, but they can be smoothed out after allowing to cool for awhile.
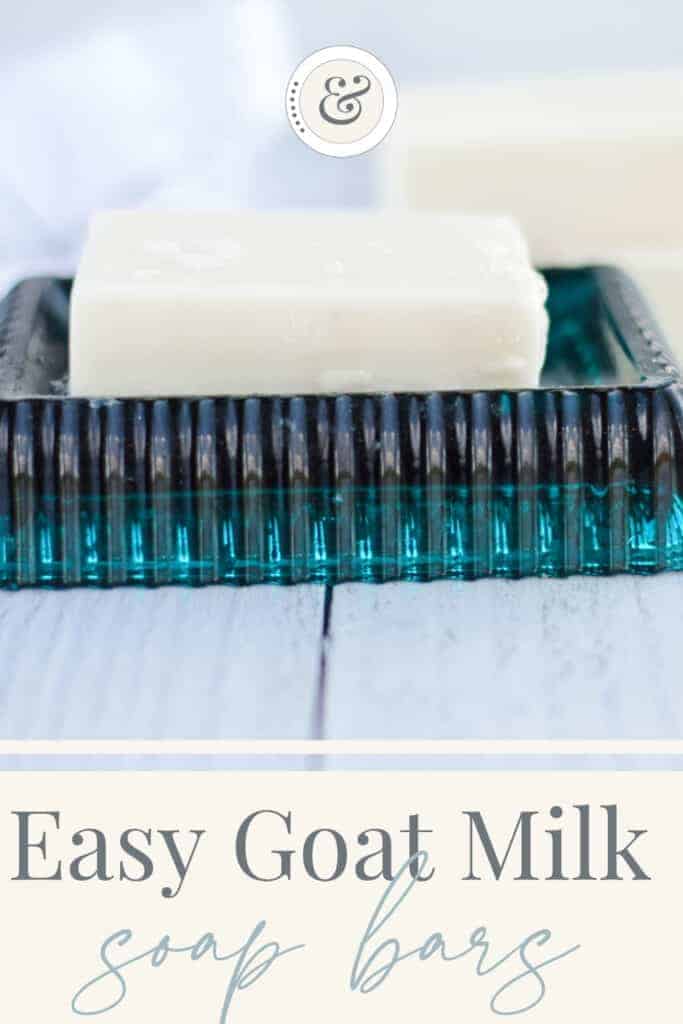
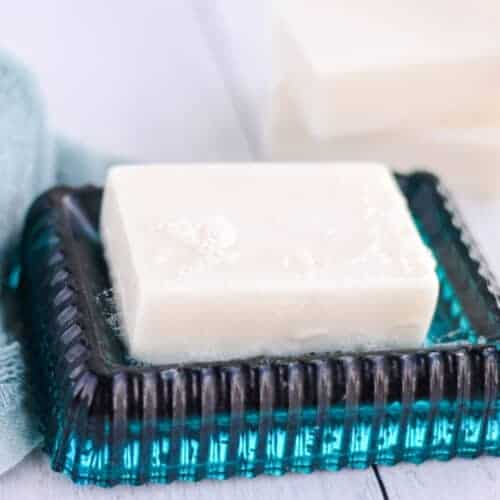
For storing these soaps next to the sink, I like these natural wooden bar soap holders.
goat milk melt and pour soap
Equipment
Ingredients
- 2 pounds melt & pour goat milk soap
- 10-20 drops essential oils of choice
Instructions
- Start off with setting up your double boiler. If you’re using a large pot, fill it a little less than halfway with water. Too much water could lead to it boiling over.
- Next, add your large bowl and turn your stove top to medium high heat. Bring your water to a boil and then reduce to a simmer.
- While the water is simmering, start cutting up the soap base and adding a little bit to the glass bowl at a time.
- Allow the soap base to melt completely and stir in the essential oils, if using. Start out with about 10 drops of oil and increase up to 20 if desired.
- Pour the melted soap bars into molds and allow them to cool and set completely (about 24 hours) before removing the soaps from the molds.

Thank you for this information. I bought some Goats Milk Soap Base but haven’t tried to make anything yet. You explained it so simply. Im going to try it. My skin is so dry and can’t find anything to help, I live in New Mexico and its to dry, I moved from Florida. Hope this will help. Happy soap making, its my new hobby at 71 yrs old. Mary
Hope you enjoy it! 🙂
How many drops of Essential Oil per bar?
I didn’t add any specific amount because it will vary depending on how much of scent you’ll want. I like to keep mine on the lighter side. For my children’s soap bars I usually add between 10-15 drops of essential oil. And for my personal soaps, I’ll add between 20-30 drops per soap bar.
Thank you for your “recipe” and tips. Just made lavender soap and baby powder soap. Really enjoyed making it, new hobby at 80.
Thank you for sharing, Ann! I’m so glad that you’re enjoying making the soaps. 🙂
can you put mica in goat milk soap?
Yes, you can. Add it to the melted base and mix well. The amount would vary depending on how much soap you’re making.
hi, I love this idea to make soup 🙂 could you please share when do you add the goat milk and is it pure from the goat since I want to make my own soap but not sure when to add it and how much :). thanks
This recipe is for a melt and pour soap. All of the ingredients, including the goat milk are already in the soap block. 🙂
How do you go about adding color to your soaps?
Do these have to cure?
If so,, how long ?
Thanks
Did you experience any sweating with this soap recipe? I am reading up on other websites and some folks have had this issue. And it affected the lather as well.
Excited to try your recipe.
Thanks so much,
Annmarie
This recipe looks great. Can I use real goats milk, or do you have another recipe using real goats milk.
Ty,
Kathy Campo
Thank you! I have not tested a recipe with real goats milk since my children are young and I don’t want to mess with lye while they are in the house. This recipe is a simple melt and pour version.
When I hit the link it took me to Amazon but the site didn’t come up so what brand did you use. Also Sodium Hydroxide isn’t it linked to neurotoxicity at lie doses, as well as skin/eye/lung irritation, and cancer? So would this be good?