Guide to Raising Baby Chicks + Chick Care Tips for Beginners
Making the decision to get started with raising baby chicks is pretty simple. But it does take a bit of planning and preparation.
It’s not super complicated to get your new baby chickens off to a happy and healthy life. With a few basic steps, you can easily start raising your own backyard chickens. In this post, we are sharing our complete guide to learn the basics of raising baby chicks.
This post has been updated from its original publish date of June 2, 2021 to provide additional helpful information and images.
Raising Baby Chicks at Home
How do you get started with raising baby chicks? What supplies do you actually need? How long do baby chicks need to be kept in a brooder?
There’s so many questions many people face when getting started with raising chickens for the first time.
One of the very first animal purchases that led me into this homesteading lifestyle was new baby chicks.
You guys, I’m telling you, they are the gateway.
How does one actually resist walking out of the local feed store during “chick days” empty handed? If my husband isn’t with me, I literally can’t do it.
Raising baby chicks can be a delightful and rewarding experience. Here’s a comprehensive guide to help you navigate through the process:
Choosing the Right Breed
If you are brand new to raising baby chicks, determining which breed is right for you and your needs may take a bit of research.
But again, it doesn’t have to be complicated.
First thing… are you purchasing from an online source? Or maybe from a feed store or a local farm?
When purchasing online, be sure to make sure you find a breed that suits your needs best. For example, if you live in a colder climate, choose a chicken breed that can tolerate the cold weather.
Also be prepared when ordering them online as they will not deliver directly to your home. Instead you’ll need to plan ahead to pick them up at your local post office.
Usually the local farm supply store will have varieties available that will do well in your area.
A few other things to consider are:
- what the breed’s personality traits are
- if they make great egg layers
- or if you’re keeping them as pets, etc.
>> Related: Choosing the Best Backyard Chicken for Beginners (top chicken breeds)
Hatching vs Purchasing Chicks
Should you purchase your chicks or hatch them at home?
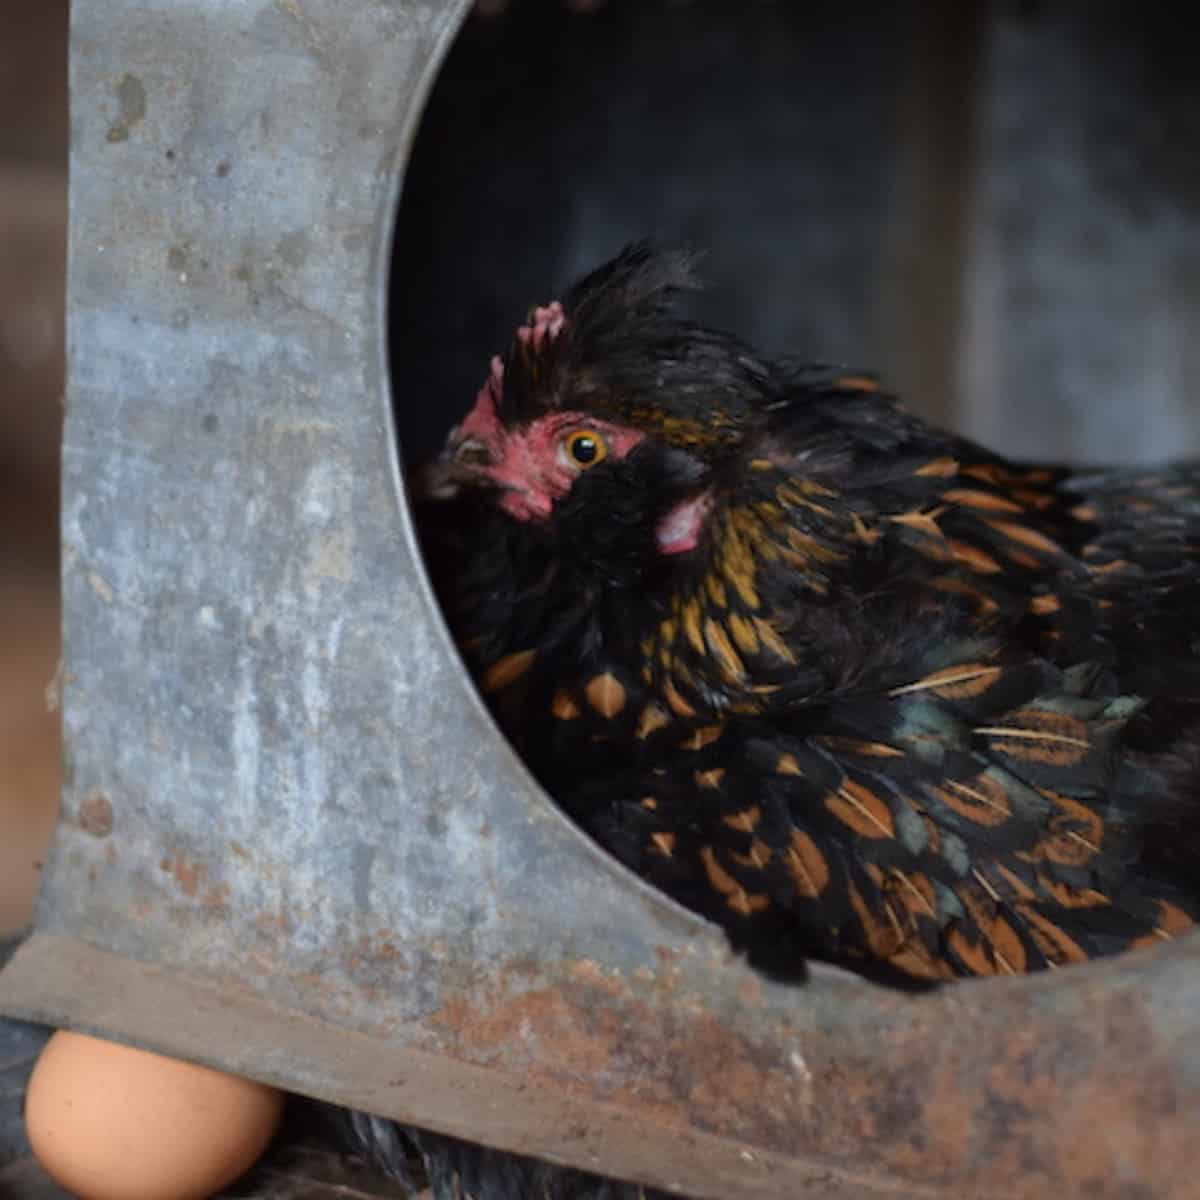
There are pros and cons to both. Hatching your own chicks is the more frugal choice. If you have a broody mother hen, you can set fertile eggs under her and you don’t have to worry about things like a heat lamp.
But hatching chicks using an incubator is time consuming and hatch rates aren’t always 100%. But it is also such a fun & rewarding experience!
Hatching your own chicken eggs does make a great science experiment for the children! My little ones love it…and its also a great lesson in patience for them.
What Supplies Do You Need?
When purchasing your new chicks, you’ll need to make sure you have a few supplies. I’ll have links to what I recommend using at the end of this post.
Here’s what you’ll need & you can find all of these items at the local farm store and at most hardware stores.
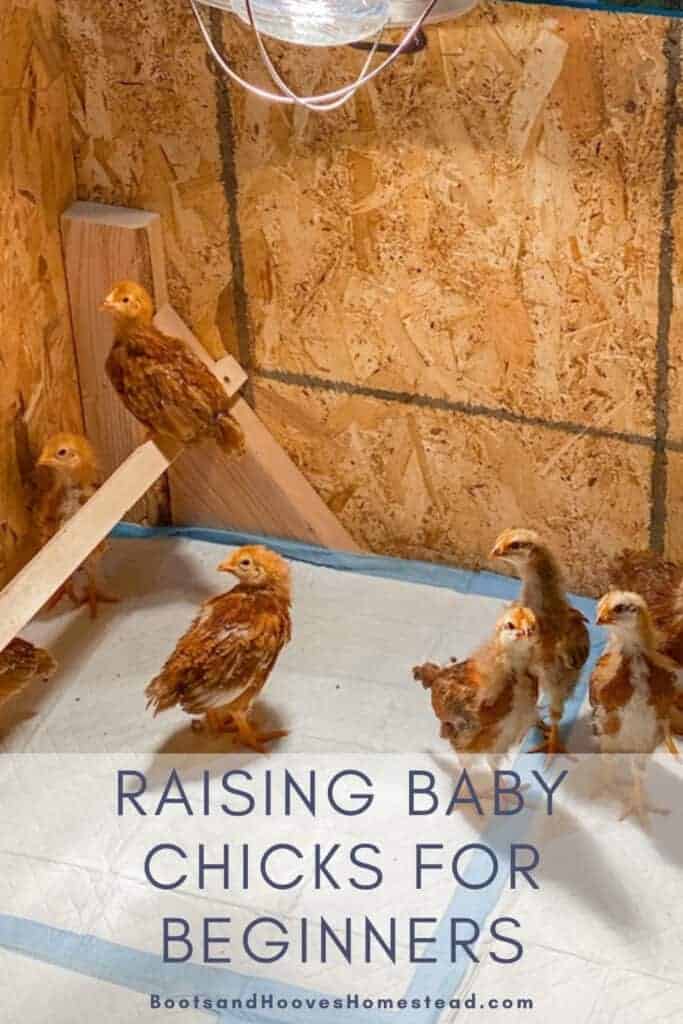
Brooder
Set up a brooder box or area where the chicks will be kept warm and safe. This can be a large cardboard box or a plastic tub lined with clean bedding like pine shavings or straw.
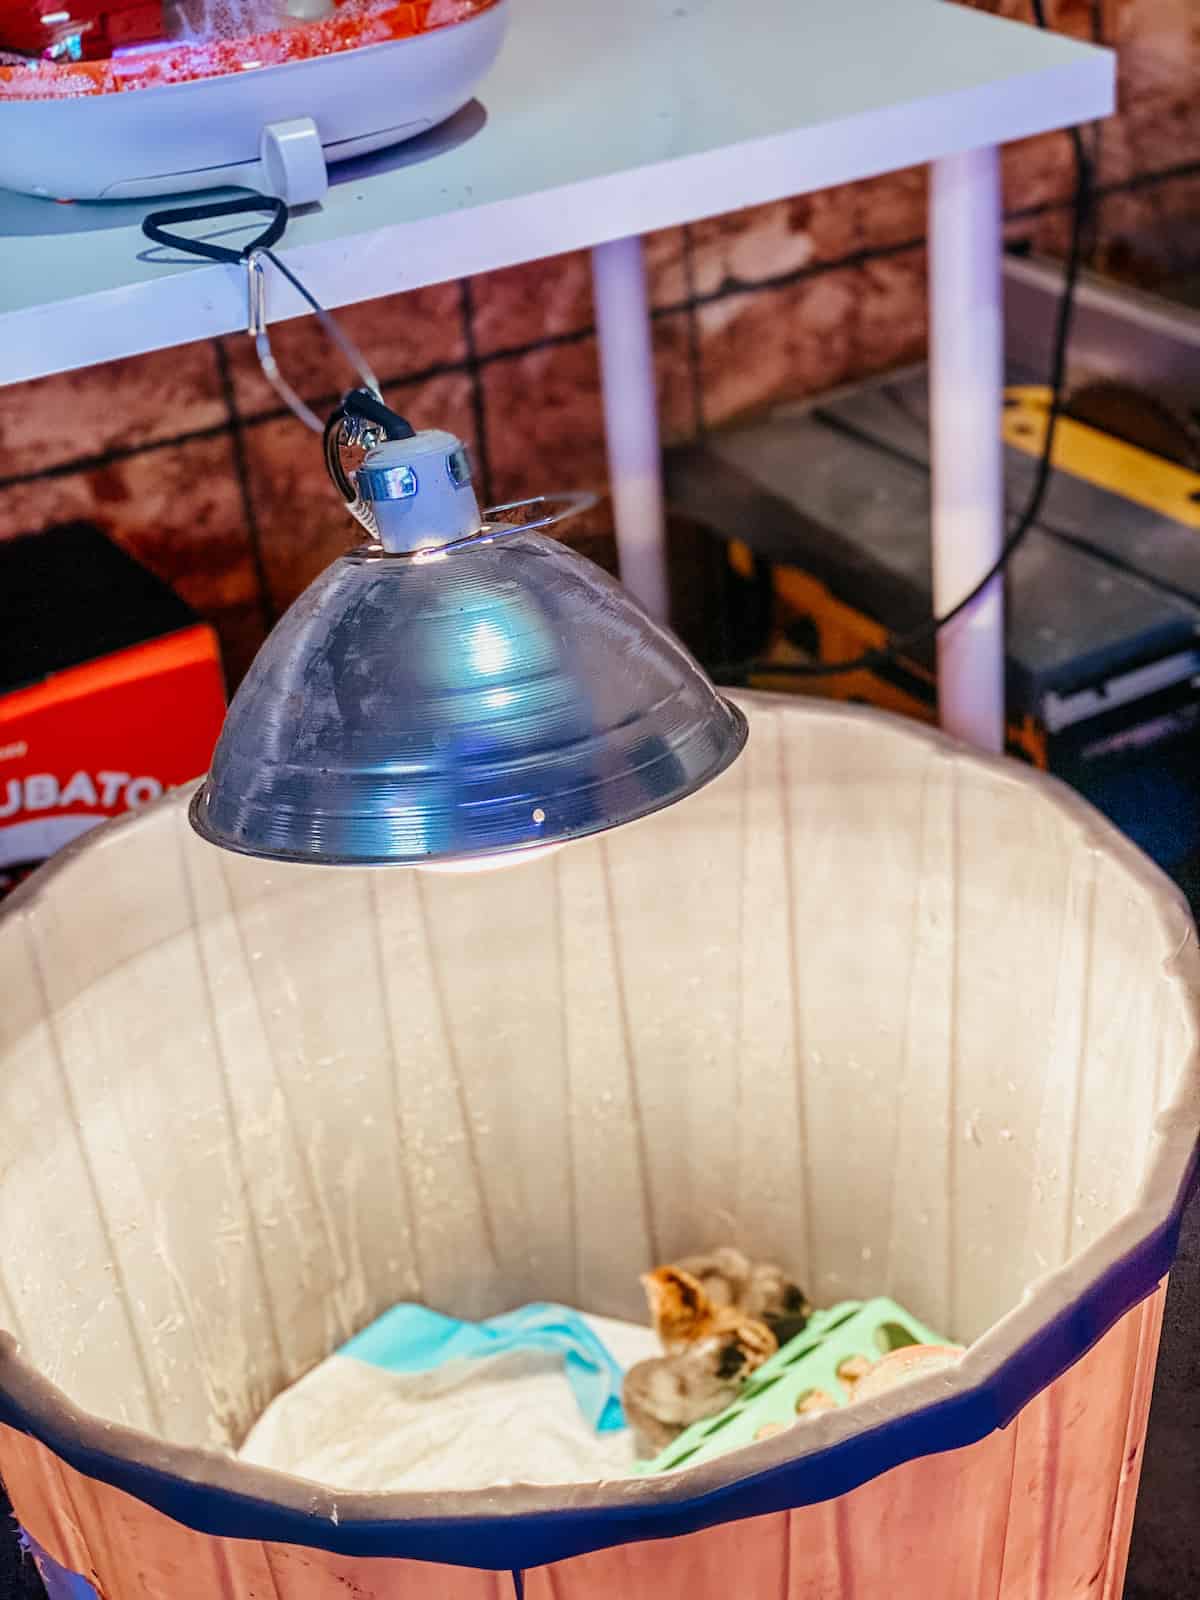
A simple DIY brooder will do. And a big storage or plastic tote will work for most. Or something that we have done in the past, is to use an old mineral tub. just be sure to clean it out really well first.
My husband built a simple brooder out of old plywood we had leftover from a project. See the examples below.
More Supplies
- chick feeder & chick waterer
- chick starter
- fresh “ bedding” – although not the most frugal option, I like pet potty training pads. They help keep the moisture away and make it easy to clean up after the chicks. Line the floor of the brooder with clean bedding material like pine shavings, paper towels, or straw. Avoid using newspaper as it can become slippery and cause leg problems for the chicks.
- heat lamp or chick heat plate
Please note: wood shavings on the bottom of the brooder are fine to use if using something like large pine shavings. Do not use small shavings or sawdust. Also avoid using cedar because they are toxic to baby chicks.
Want to save this?
Feed and Water: Provide chick starter feed and fresh clean water in shallow dishes or chick-specific feeders and waterers. Make sure the water is clean and that the chicks can’t drown in it.
We like to purchase our feed from Azure Standard in bulk. They have great organic / non-gmo chick starter and layer feed!
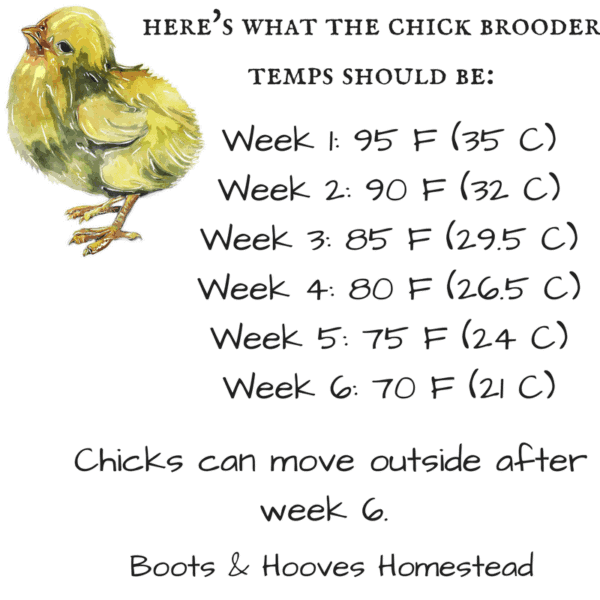
Brooder Temperature Guide
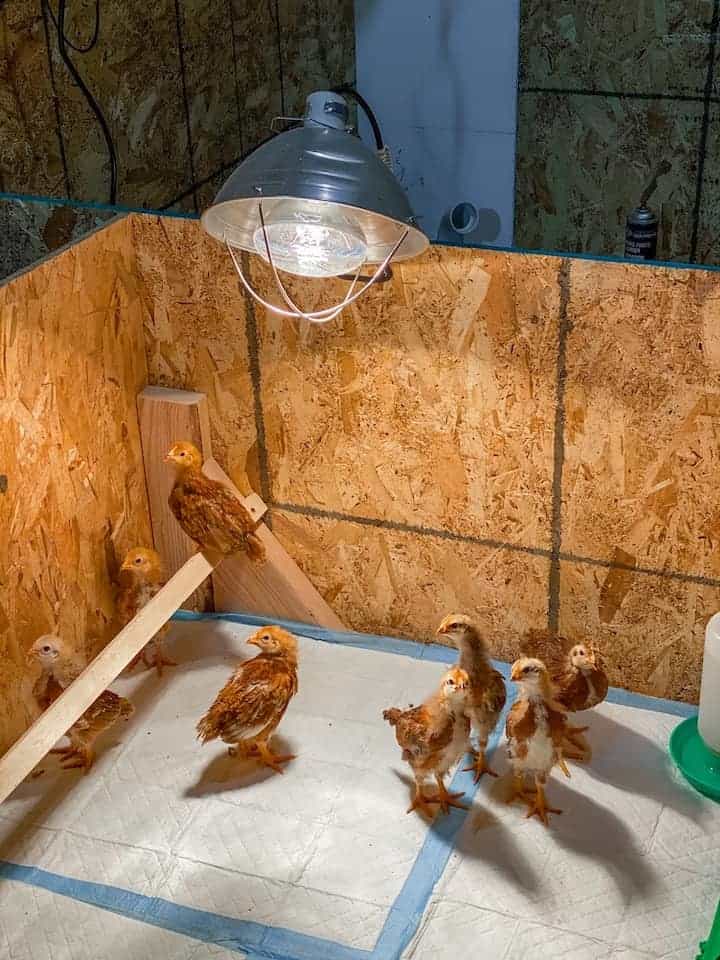
Heat Source: Install a heat lamp or a specialized chick brooder heater to maintain a temperature of around 95°F (35°C) in one area of the brooder — usually attached to the side of the brooder . Adjust the height of the heat source to ensure the chicks can move away from the heat if they get too warm.
Ensure the brooder is located in a draft-free area away from direct sunlight, cold drafts, and predators.
When raising baby chicks, its important to make sure their temperature is well regulated and they’re staying warm for the first six weeks.
If you don’t have a broody hen or mama chick to keep the babies warm, a brooder will be sufficient. How big the brooder should be will depend on how many chicks you’re starting out with.
The next most important thing for the brooder is a heat lamp.
There seems to be controversy in choosing between a red infrared bulb vs a standard white heat bulb.
In over 10+ years, our preference has always been the standard white bulbs vs using red light — mostly because that’s what our feed store has available and recommended.
We have used both options, but always go back to the white. And we’ve never had any issues with our baby chicks. But I will suggest researching it a bit and making the best option that works for you.
If you’re concerned about the safety of the heat lamps or have to be away from them during the day, a chick heating plate might be a good idea.
Here’s a handy guide on what temperatures to keep in your brooder:
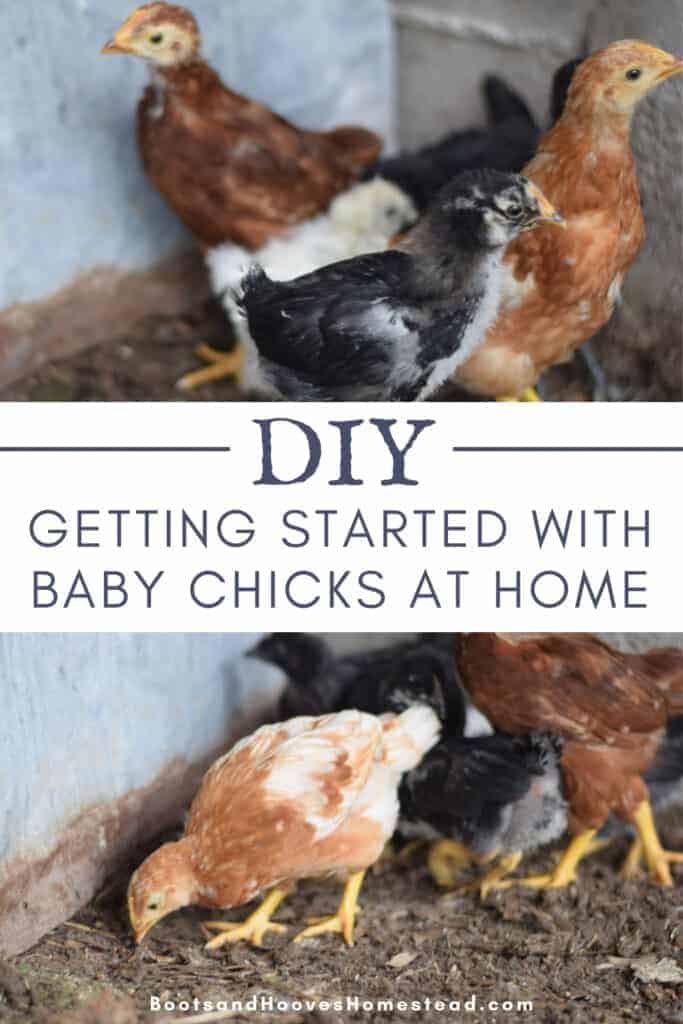
When the Chicks Arrive
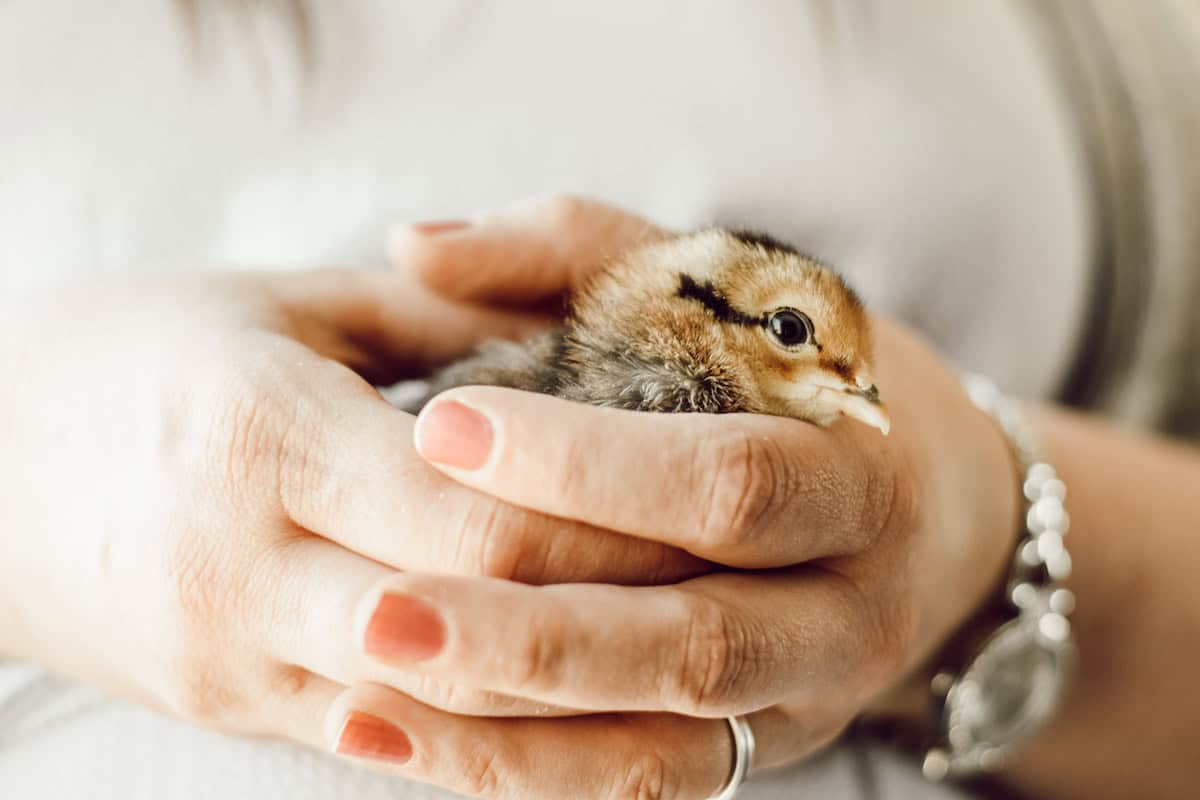
Carefully Unbox Them: Handle the chicks gently and transfer them to the brooder. Dip the chick’s beak in the water to encourage them to drink.
Observe and Monitor: Keep a close eye on the chicks during the first few days to ensure they are eating, drinking, and staying warm. Check for any signs of illness or distress.
Introduce Food: Sprinkle some chick starter feed on a shallow dish to encourage them to eat. Chicks will typically start pecking at food within the first 24 hours.
Maintain Temperature: Monitor the temperature in the brooder regularly and adjust the heat source as needed. After the first week, reduce the temperature by around 5°F (2-3°C) each week until they are fully feathered and can regulate their own body temperature.
Provide Space: As the young chicks grow, make sure they have enough space in the brooder to move around comfortably. Overcrowding can lead to stress and aggression.
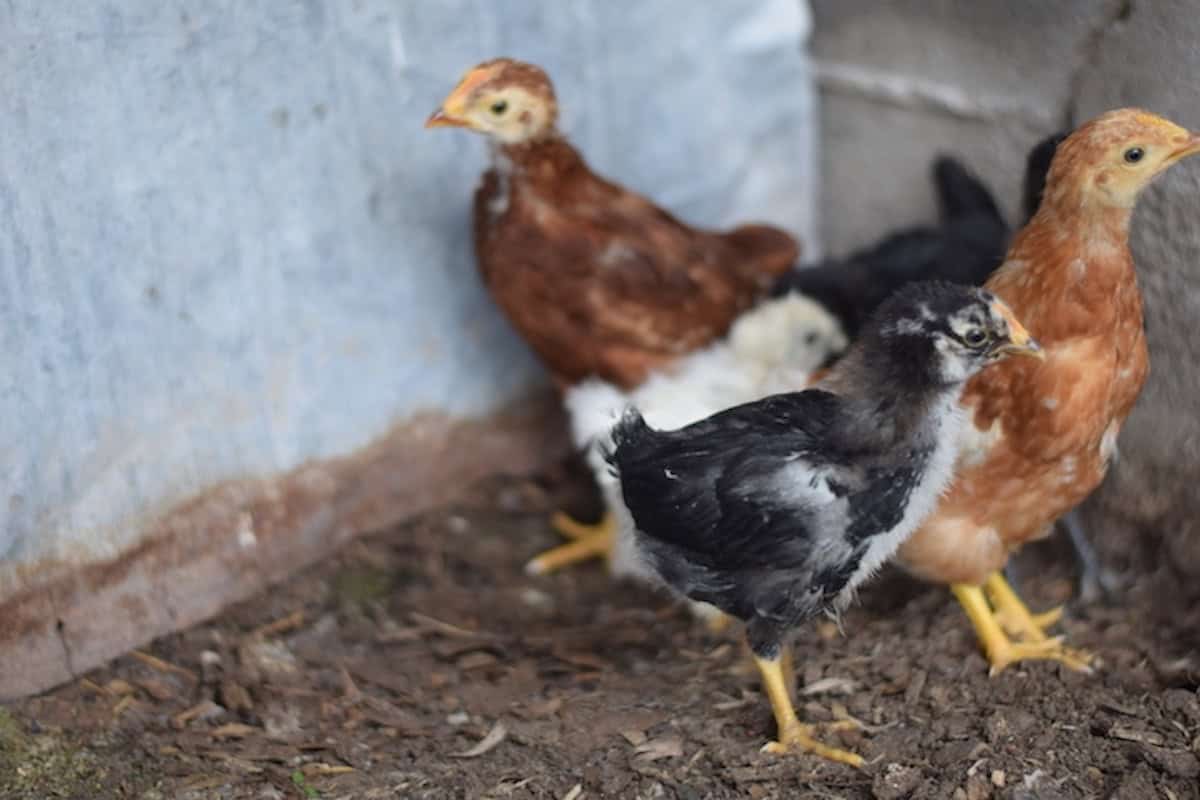
Daily Chick Care
Feed and Water: Check and refill their feed and water regularly, ensuring they have access to fresh food and fresh water at all times.
Clean Bedding: Replace soiled bedding regularly to maintain a clean and healthy environment.
Socialization: Spend time with the chicks daily to help them become familiar with human interaction. This will make them more docile and easier to handle as they grow. If you skip this step, the chickens will grow to be skittish and difficult to handle.
Provide Health Checks: Keep an eye out for any signs of illness or injury, such as lethargy, pasty butt, abnormal droppings, or respiratory issues. Consult a veterinarian if you notice any concerns.
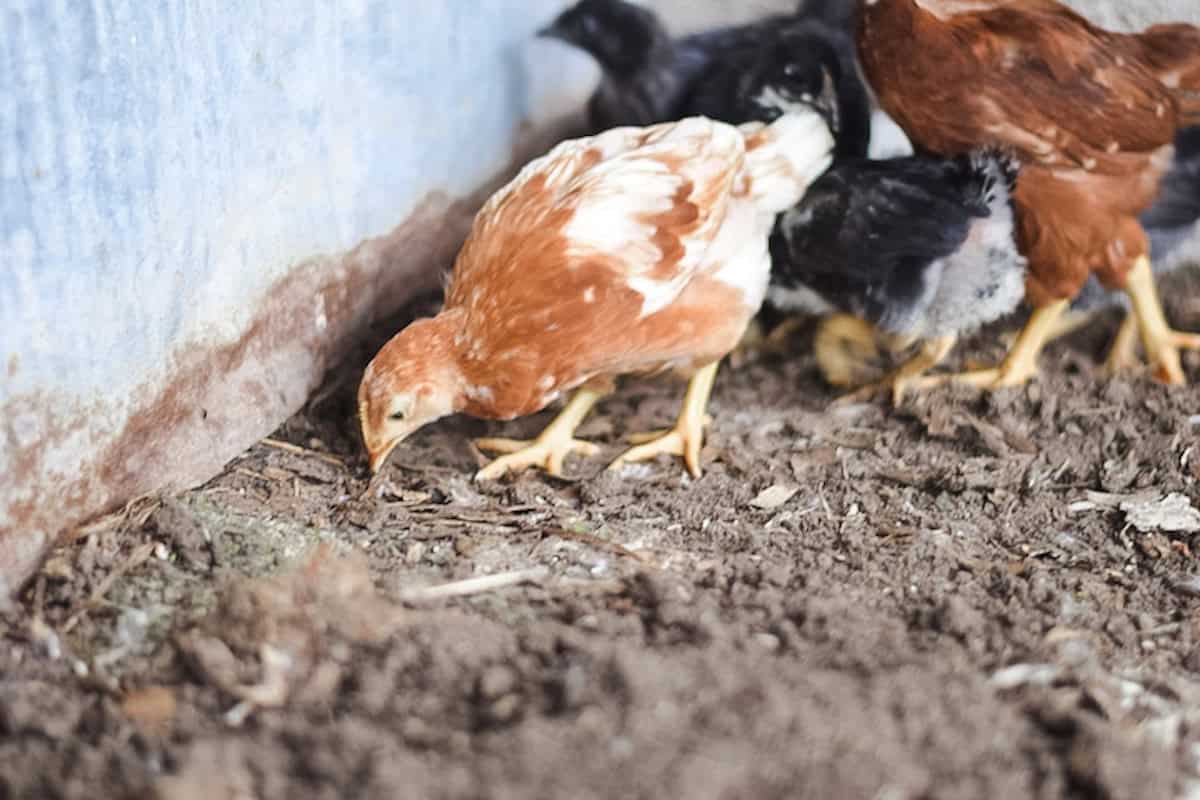
Gradual Transition: After about 6-8 weeks, gradually introduce the chicks to the outdoors if weather permits. This process, called “hardening off,” helps them acclimate to the outdoor environment.
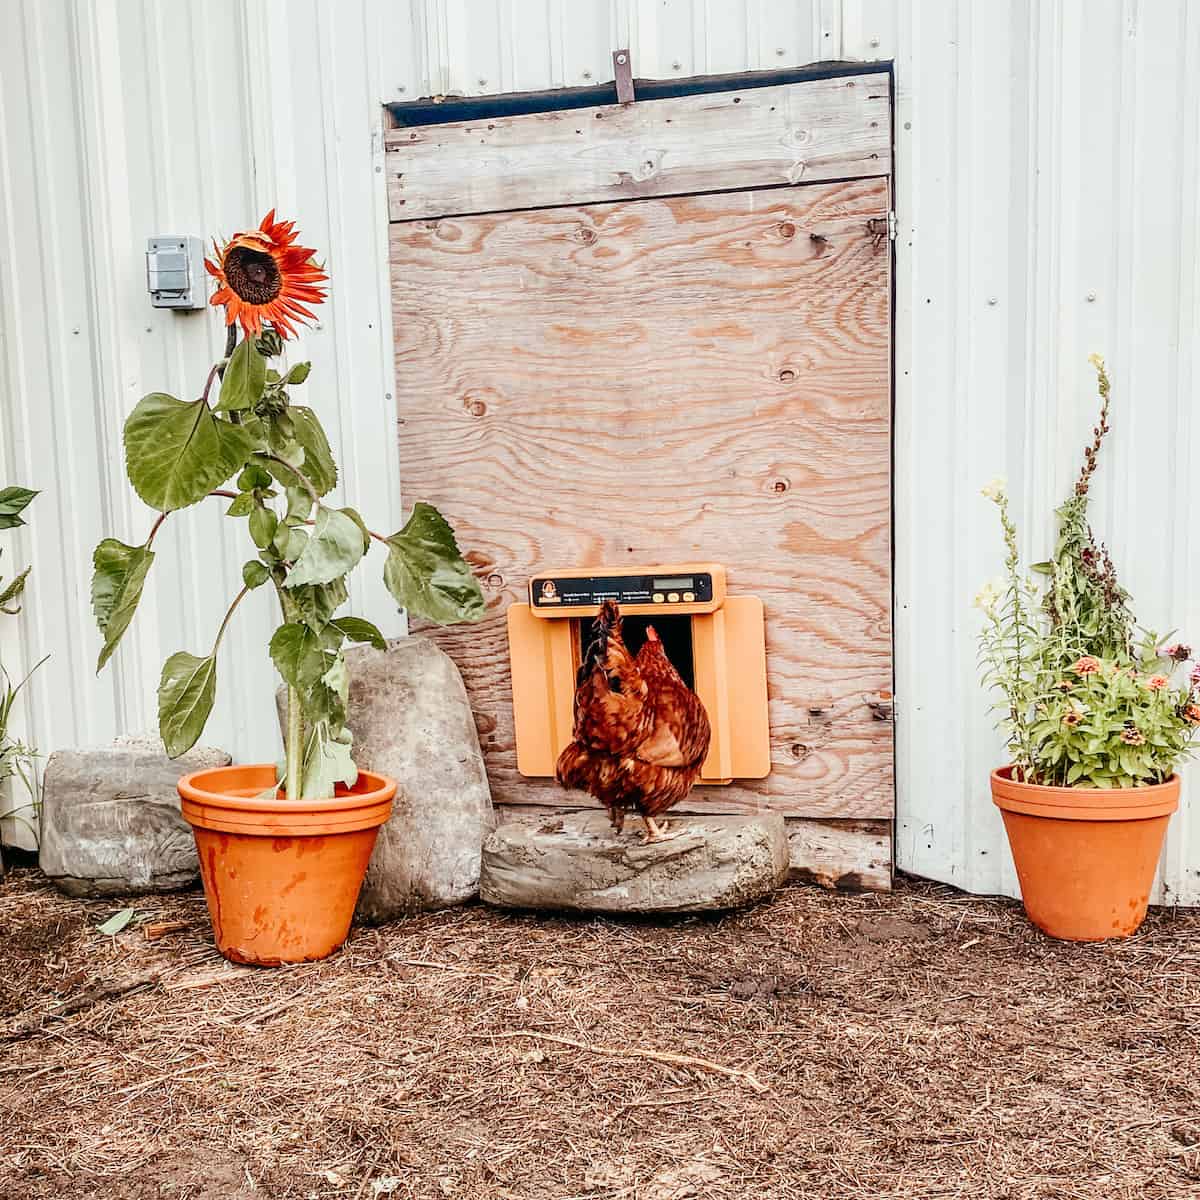
Moving Baby Chicks to the Coop
If you have an established flock, ensuring your new chicks safety by slowly introducing the chicks with the other hens.
Related: How to Introduce New Chickens to an Established Flock
Raising new chickens doesn’t have to be super complicated. But ensuring that you take a few steps will help keep your new flock healthy and happy.
If you’re new to raising chickens in general, here’s more information on getting started with raising chickens for beginners.
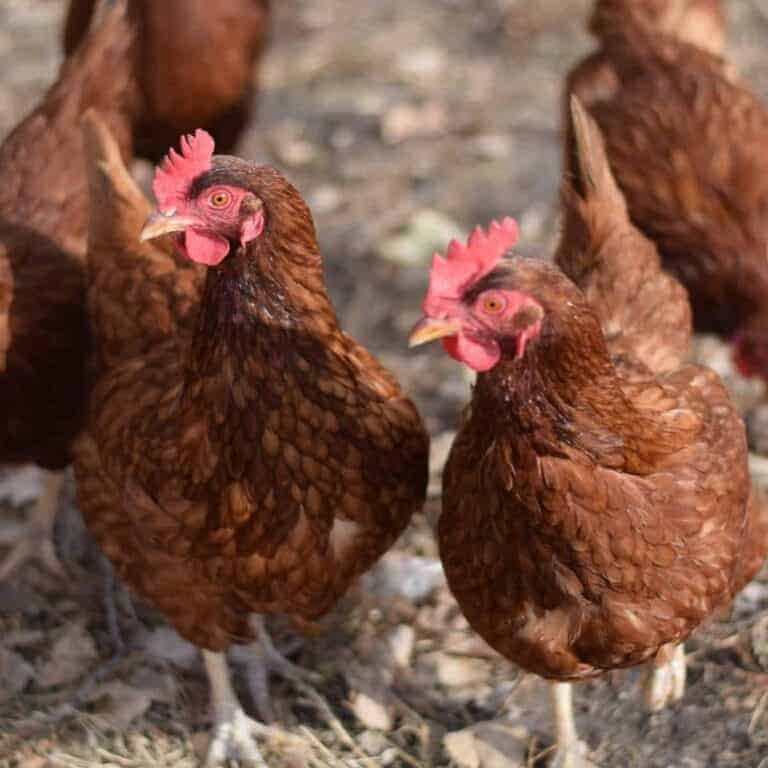
Raising baby chicks requires dedication, attention to detail, and plenty of care. By providing a warm, safe environment, a balanced diet, and regular monitoring, you can ensure that your chicks grow into healthy and happy chickens.
Enjoy the journey of watching them grow and develop into productive members of your flock!