How to Hatch Chicks in an Incubator (Guide to Hatching Eggs)
Hatching chicken eggs in an incubator can be a rewarding experience. In this post, we are sharing the best egg incubator to hatch chickens easily. Plus a step by step guide to hatching eggs safely & effectively at home.
I know that many of us often get sucked into the lure of the chick days at the local feed stores & that instant gratification of filling our flock with cute chicks. But hatching chicken eggs is so much more cost effective and beneficial!
Learn tips and tricks of starting own chicken eggs what you’ll need to get started with your own chicks.
This post is sponsored by Chickcozy, however all opinions and information provided are my own. PS, I have a coupon code for you below.
How to make Hatch Chicken Eggs — Step by Step
Materials Needed
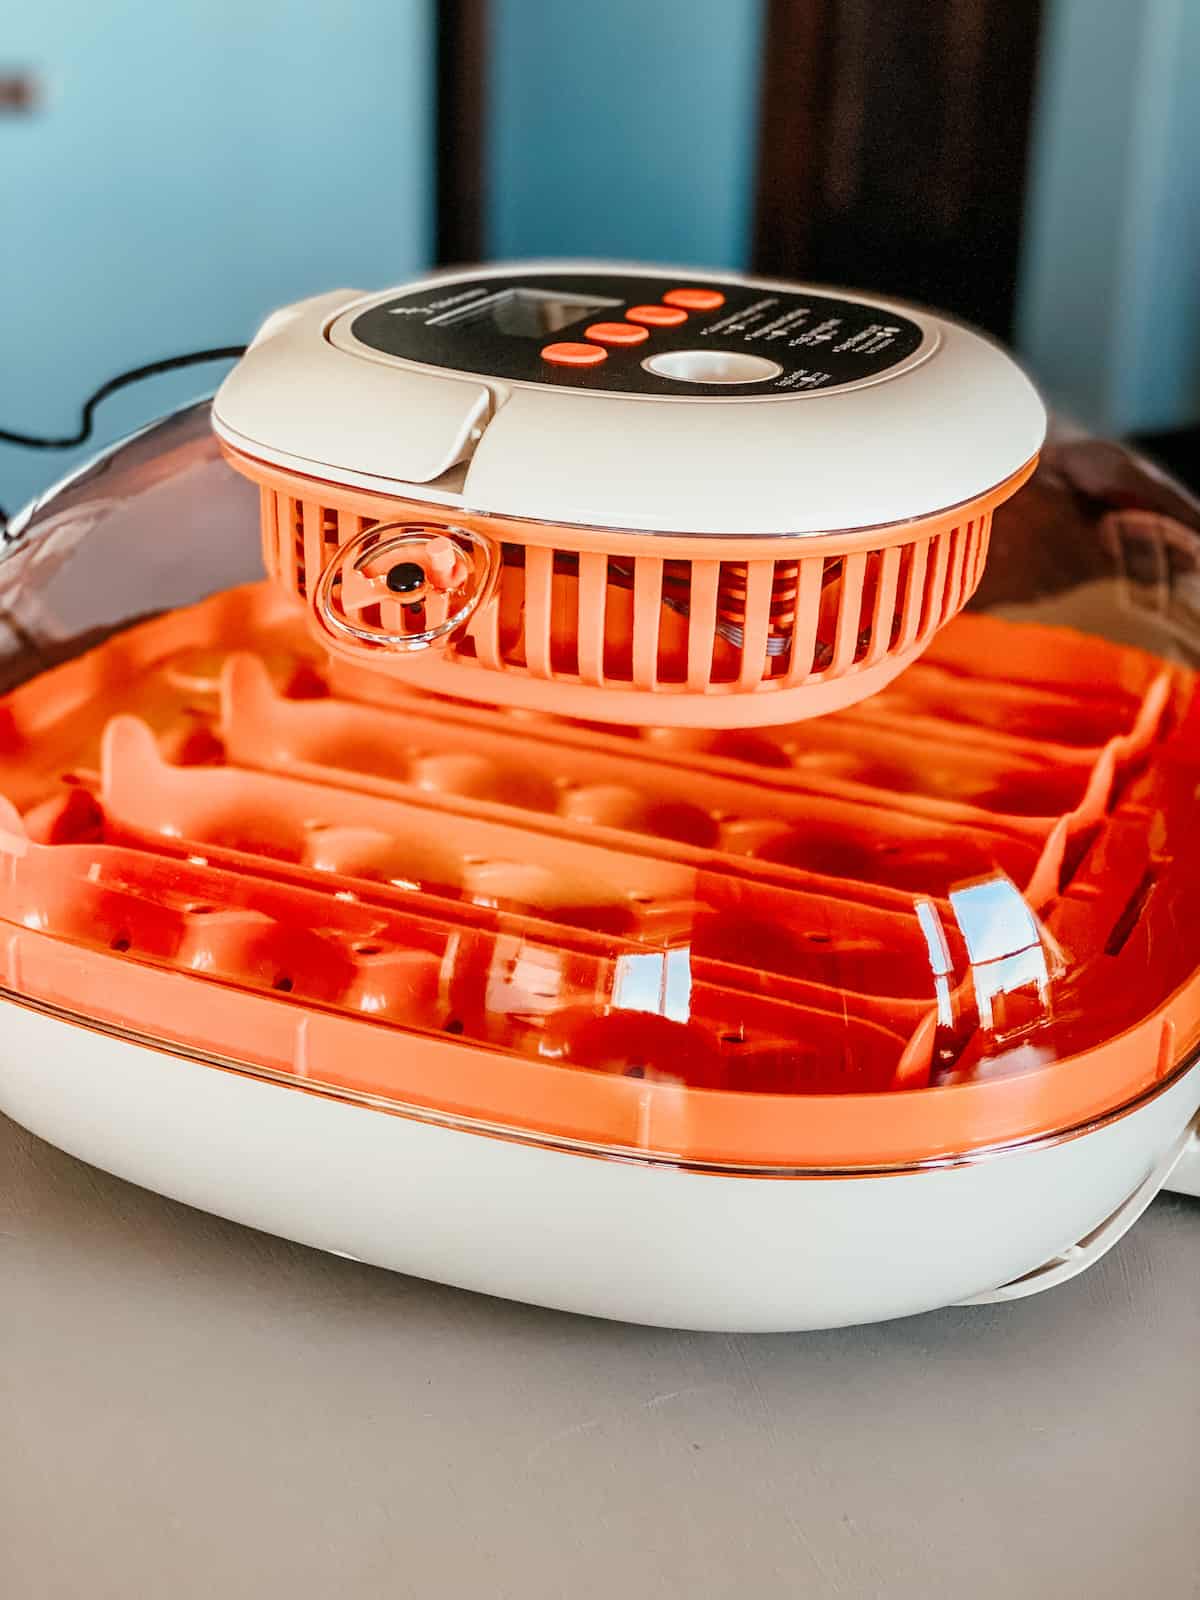
Features of the Chickcozy Egg Incubator
We have used a lot of chicken egg incubators over the years with some success at hatching. We’ve hatched chickens, ducks and even guinea fowl by using an automatic egg incubator.
We’ve even placed eggs under a broody hen. There’s nothing better than watching the love and care of a mother hen!
Recently the folks at Chickcozy reached out to us again to provide a review of their new chicken egg incubator. And I thought it would be a fun project for the children in our little homeschool. I wasn’t wrong! The children thoroughly enjoyed the process.
I will have to say that as usual, I am very impressed and pleased with the design, features, and forethought with this Chickcozy product.
Some of the great features include:
- built in automatic egg turner
- 25 egg capacity
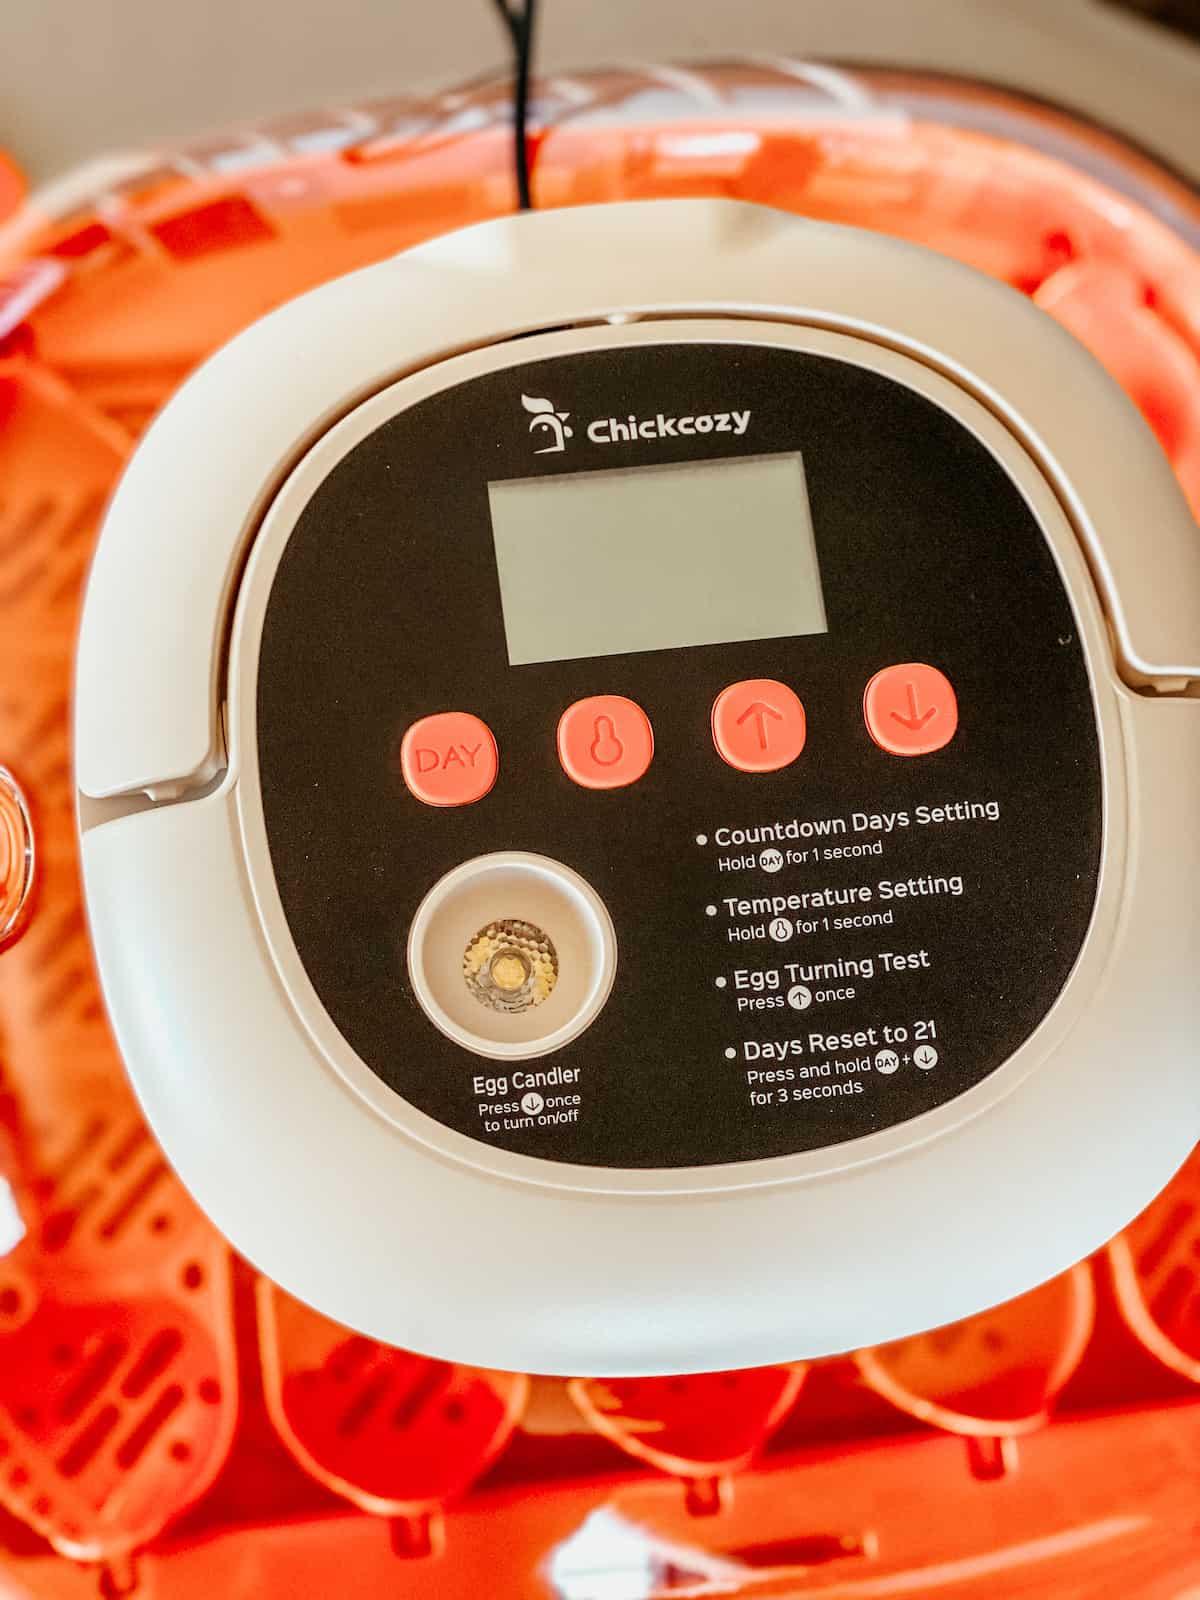
- clear digital display
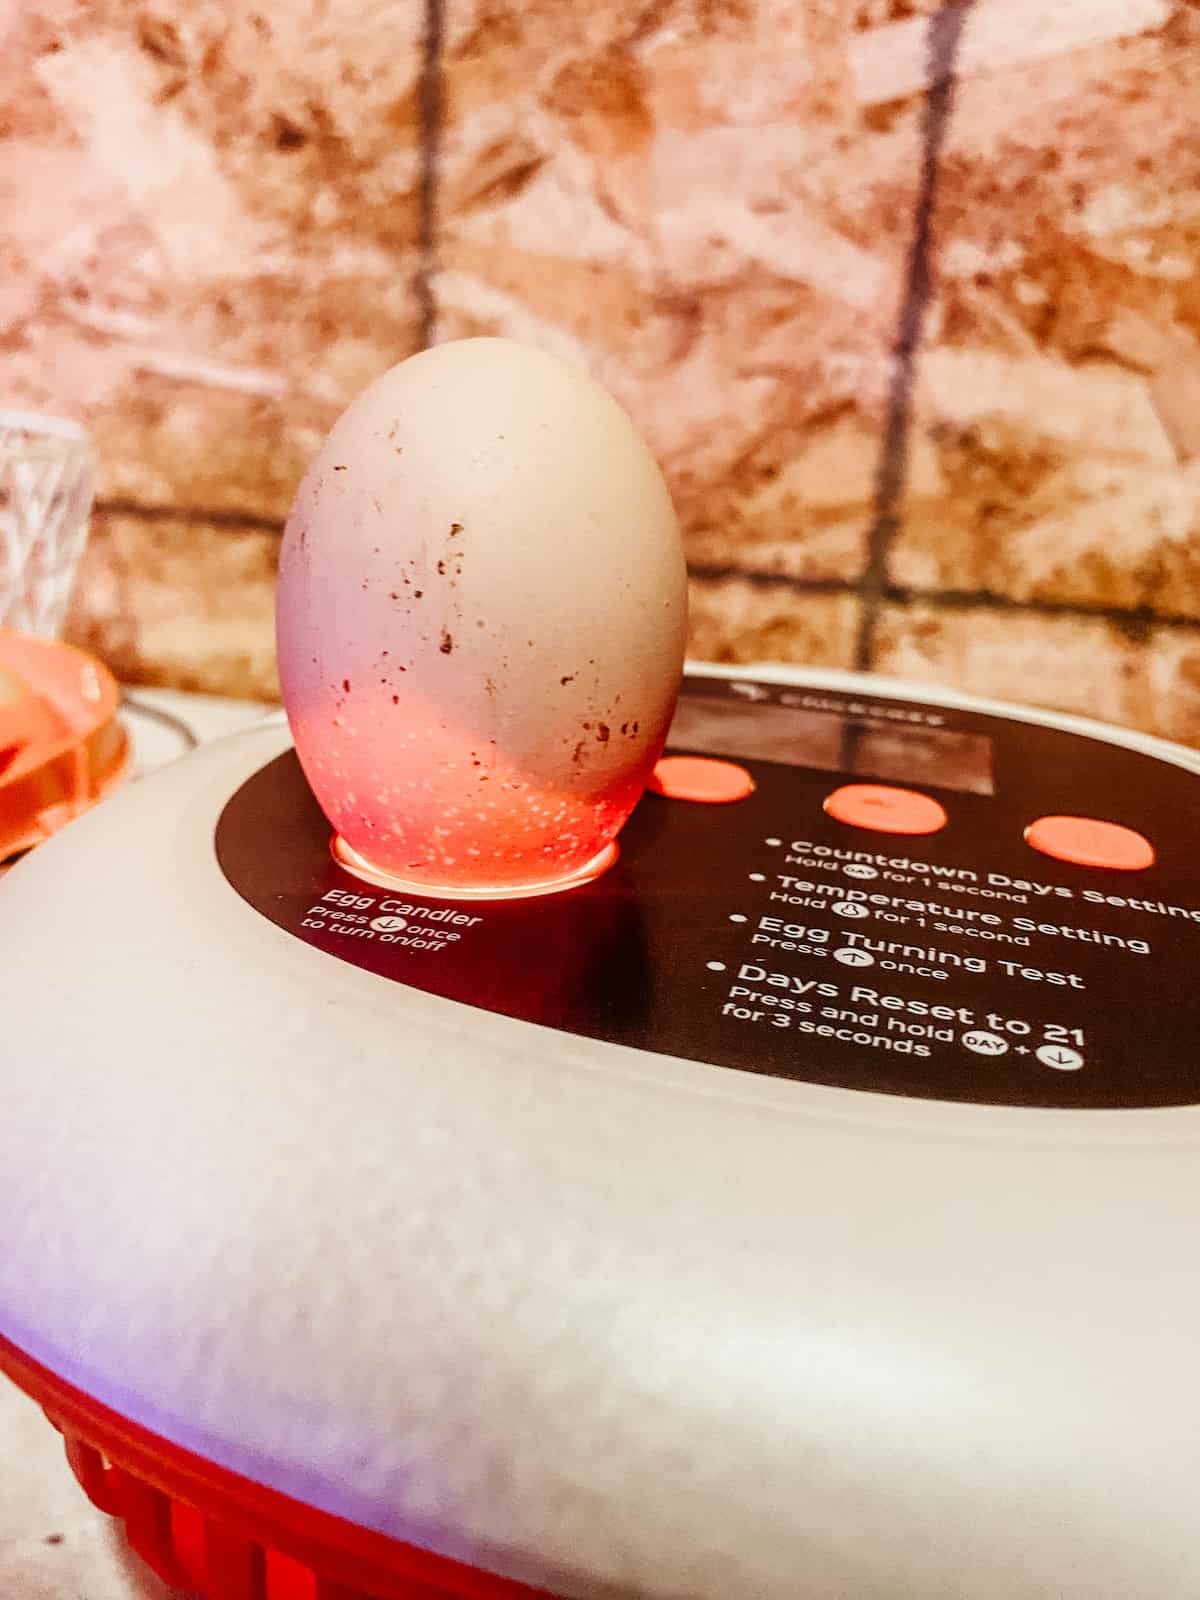
- really great built in egg candler
- large interior space & non-slip mat for the chicks
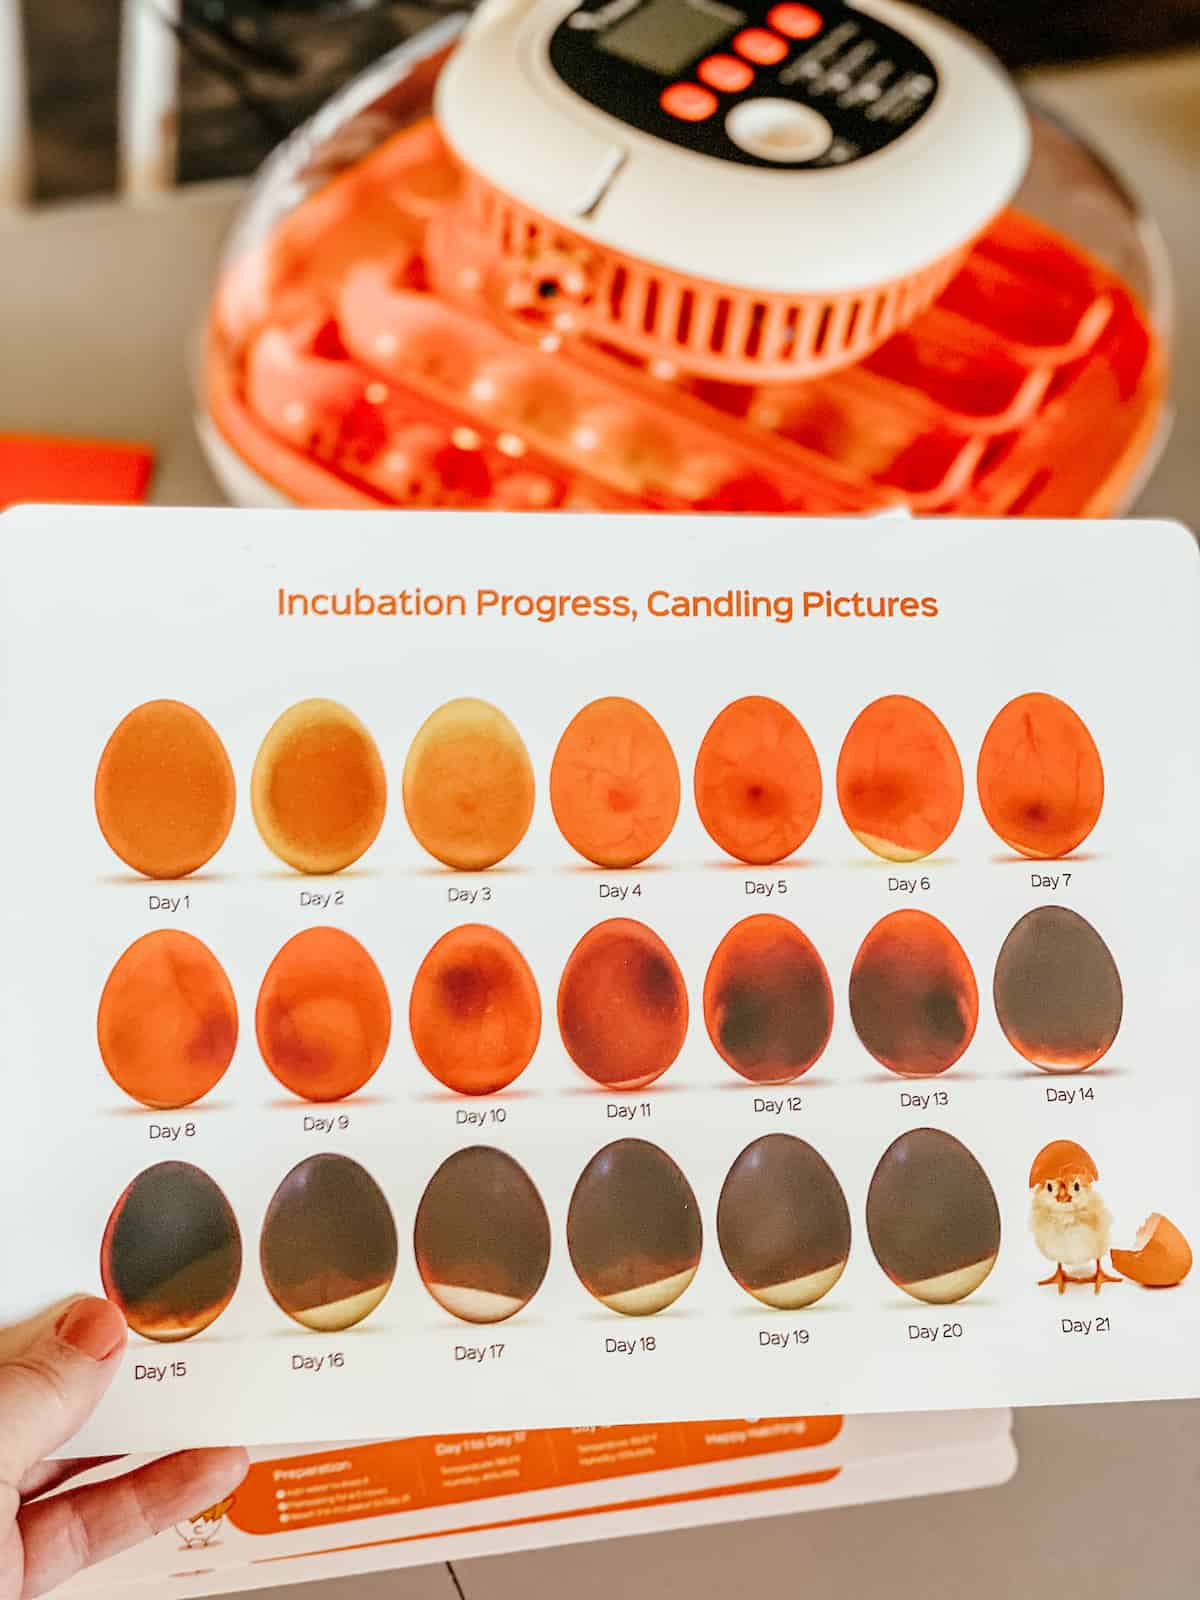
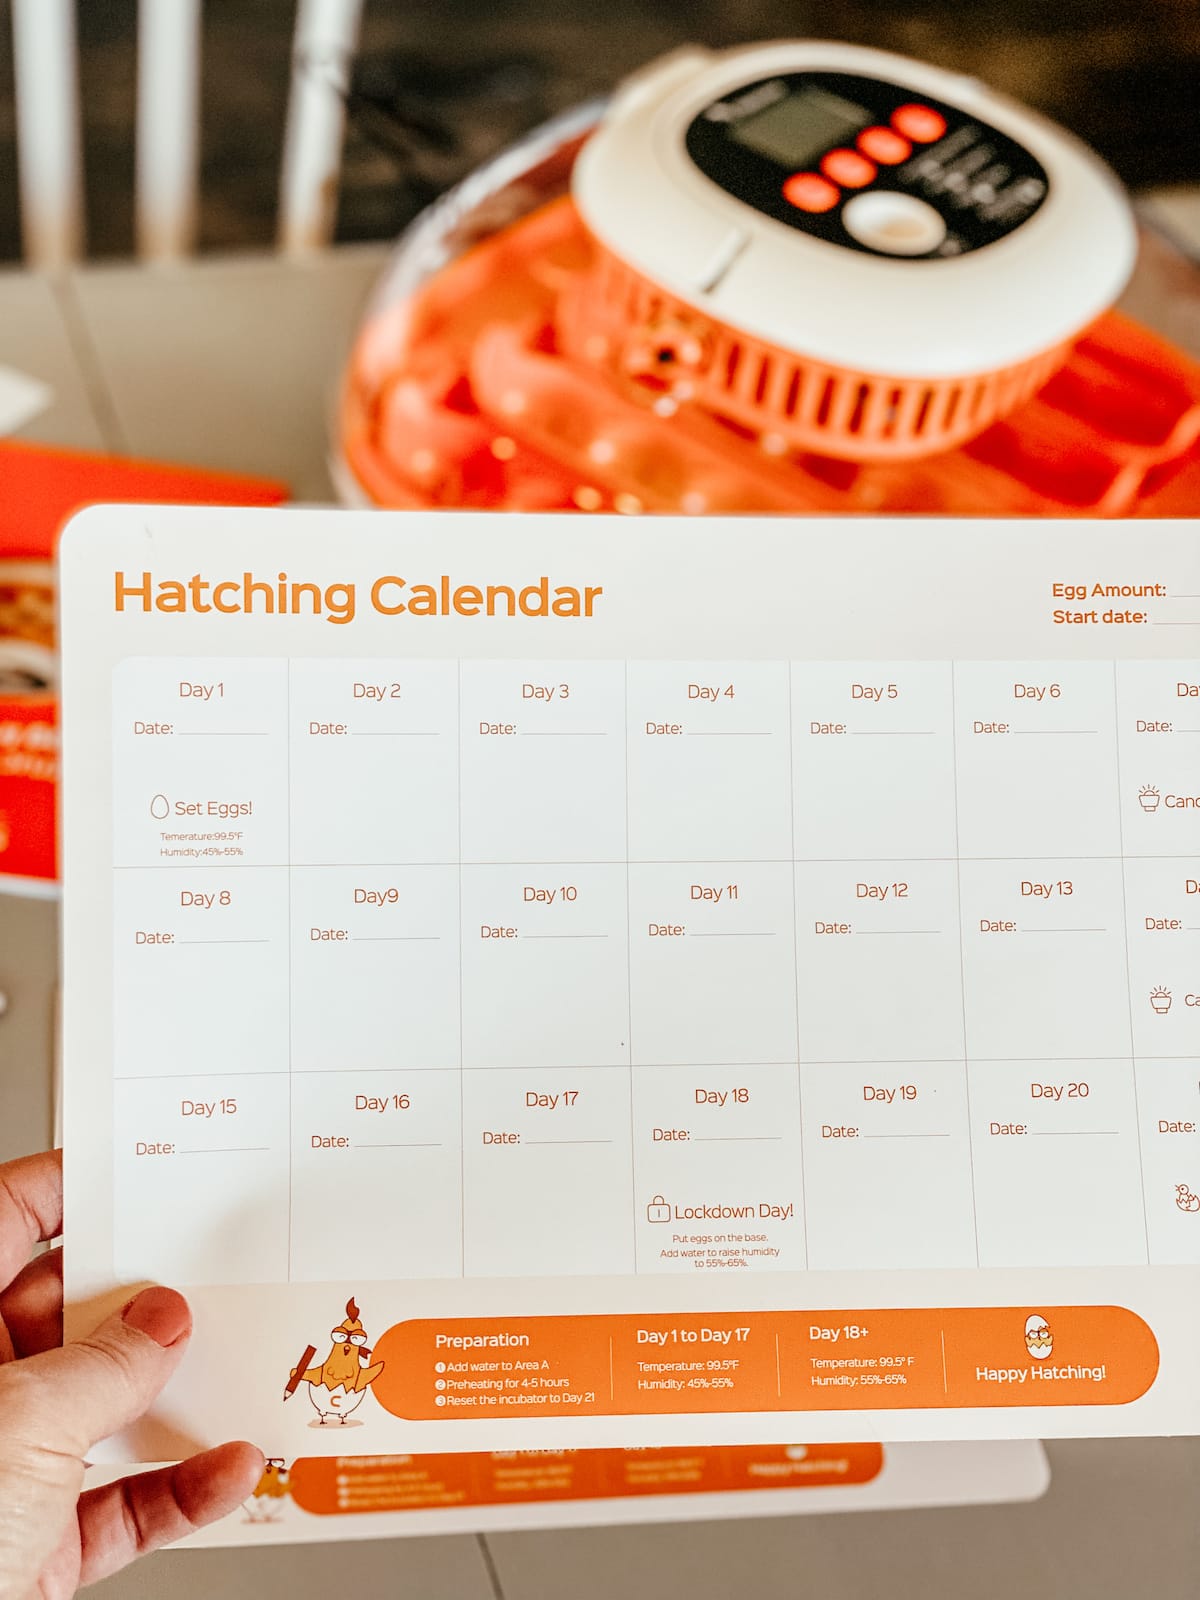
- handy chart to display the incubation process & customizable hatching calendar
- super clear instructions & easy to use!
- precise temperature control
- unique water drawer design
How to Hatch Chick Eggs
The ease of use of our recommended chicken incubator is perfect for first time or beginner backyard chicken keepers. Here’s what you’ll need to do to for successful hatch rates.
Step 1 — Prepare the incubator: Clean the incubator thoroughly with a disinfectant to remove any bacteria or contaminants. Ensure that the temperature and humidity settings are appropriate for hatching chicken eggs.
Generally, the temperature should be around 99.5°F (37.5°C) and the humidity should be around 45-55% during the incubation period.
I love the controls on the Chickcozy Egg Incubator. The display is nice and large and super user friendly. This really has been the best incubator we’ve used!
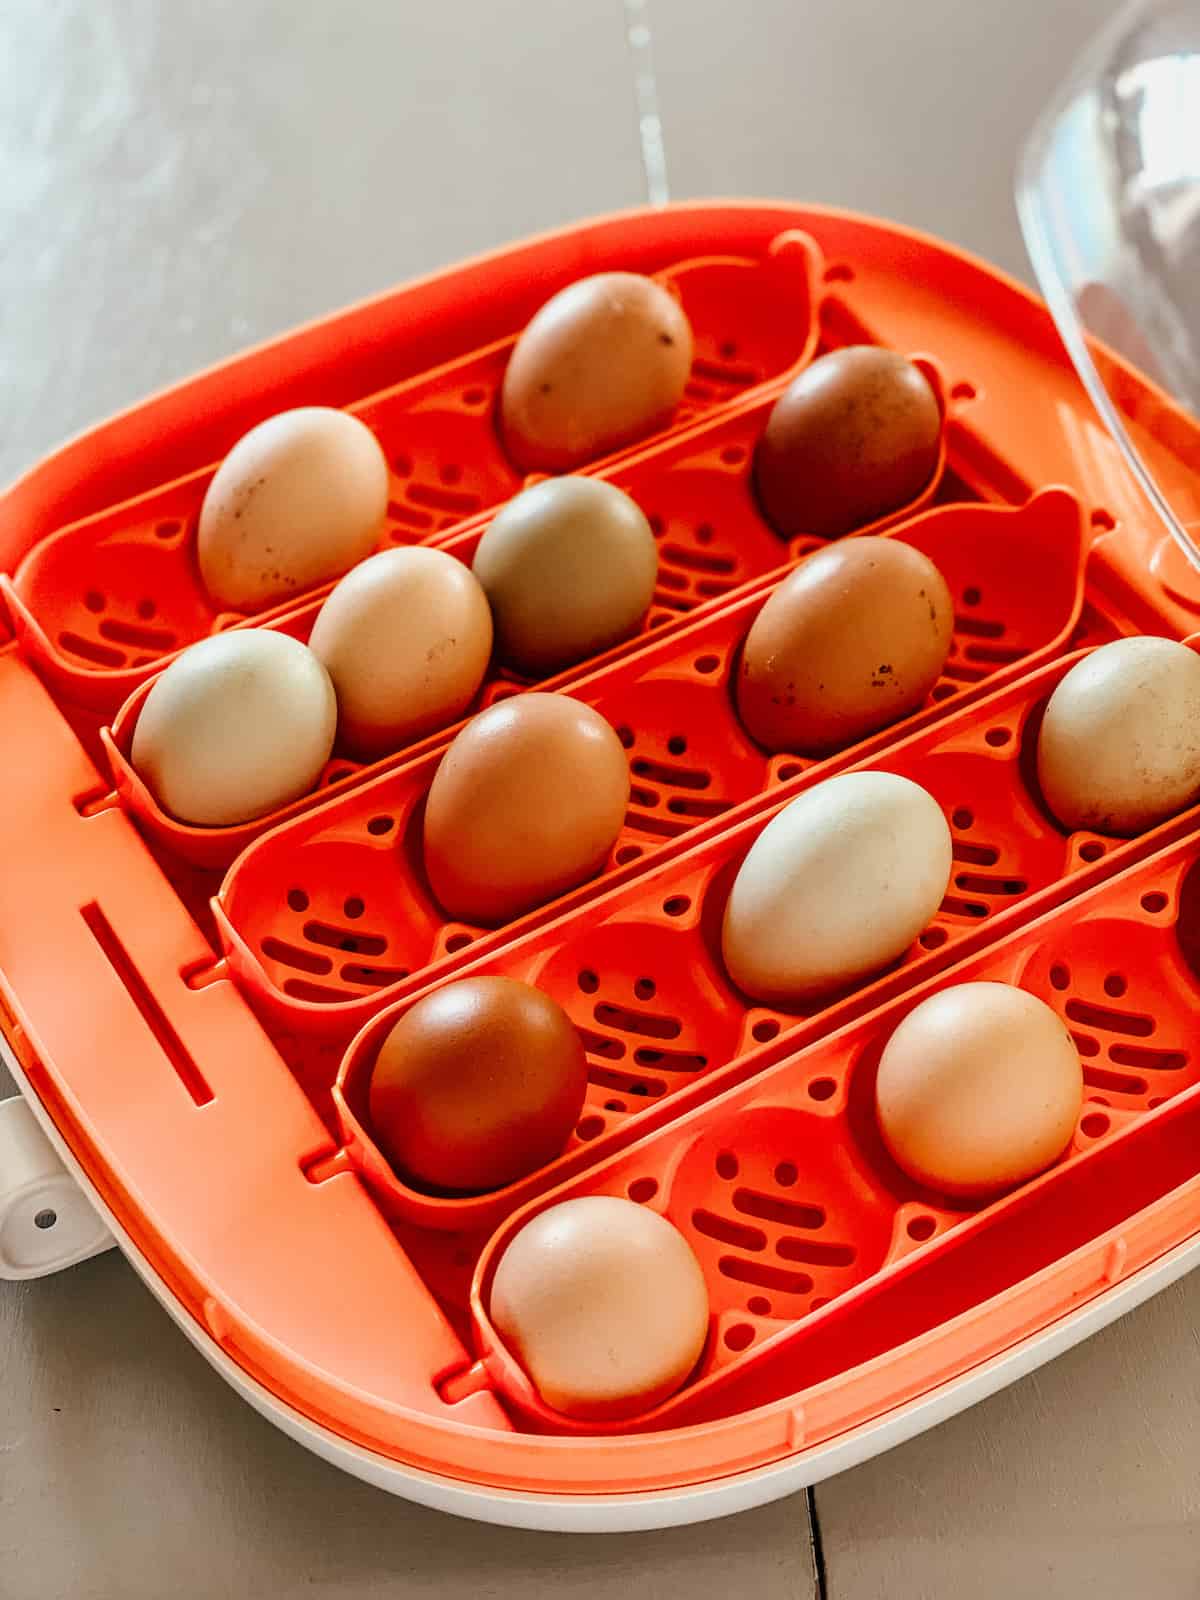
Step 2 — Collect eggs: Choose fresh, fertile eggs from healthy chickens. Avoid eggs with cracks or deformities, as they may not hatch successfully.
Carefully clean the eggs to remove any debris by just wiping them gently with a dry cloth. I did not get too fussy with cleaning the eggs perfectly, but I did want to make sure they were mostly cleaned off before going into the incubator.
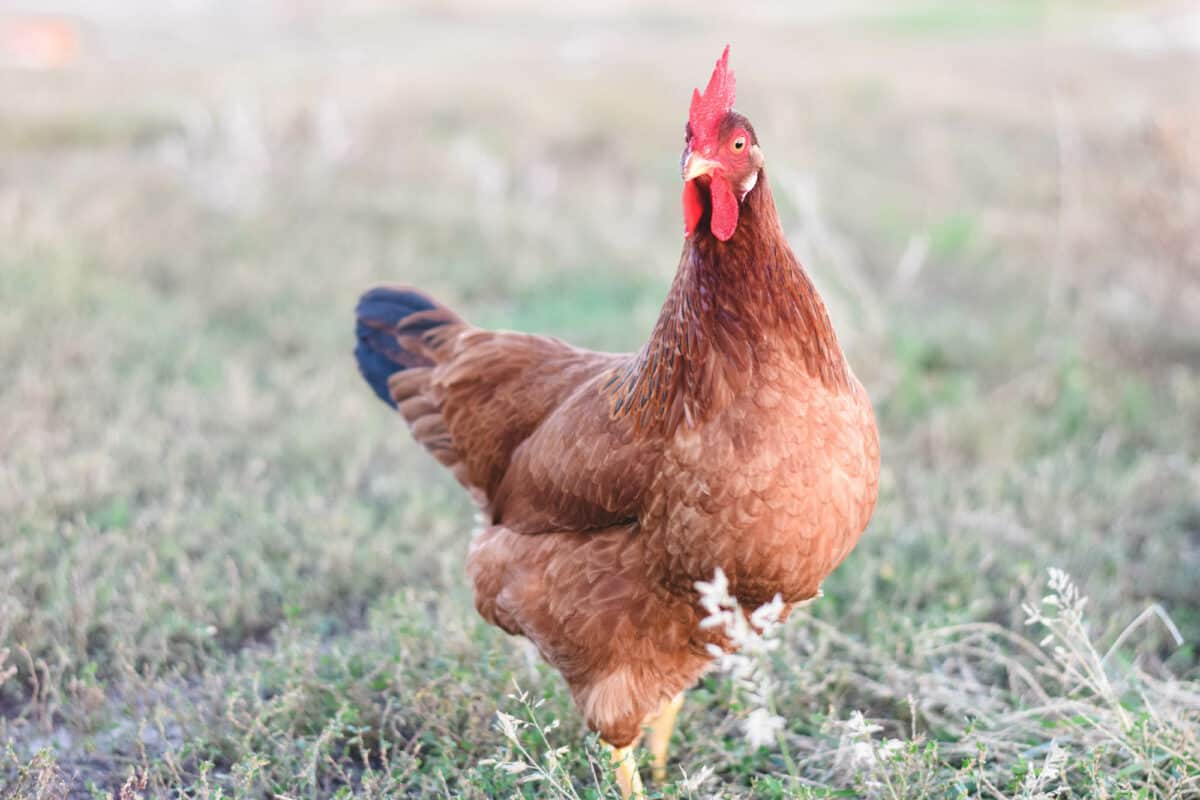
If you don’t have an established flock or a rooster in your flock, there are many reputable sources online or check with your local farmers to purchase fertilized eggs.
We’ve even had success with purchasing eggs on eBay in the past!
Step 3 — Set up the eggs: Place the eggs in the incubator with the pointed ends slightly down. Use an egg turner if your incubator has one, as this helps to ensure even heating and prevent the embryos from sticking to the shell membrane.
The Chickcozy Incubator has a built in egg turner which means no more manual egg turning. The automatic turner was super nice and has been hands off for us during this incubation process. 👏
The vertical placement and turning of the eggs ensures better development of the air cell, making it easy to achieve a high hatching rate.
What to do during the incubation period
Monitor temperature and humidity: Check the temperature and humidity levels regularly using the recommended thermometer. Make adjustments as needed to maintain the correct conditions to provide for a successful hatch.
Candle the eggs: After about a week of incubation, you can candle the eggs to check for signs of development of the developing chick. Use a bright light source to illuminate the eggs. Look for veins and signs of movement inside the eggs. Remove any eggs that appear infertile or contain dead embryos.
Maintain humidity: As the hatch date approaches, increase the humidity in the incubator to around 65-70% to prevent the chicks from drying out in their shells.
Hatch Day!
Prepare for hatching: A day or two before the expected hatch date, stop turning the eggs and increase the humidity in the incubator. This mimics the natural conditions that a hen provides for her eggs when she’s ready to hatch them.
This is also an excellent time to get your brooder setup and ready to go to move your chicks once they’re ready.
Want to save this?
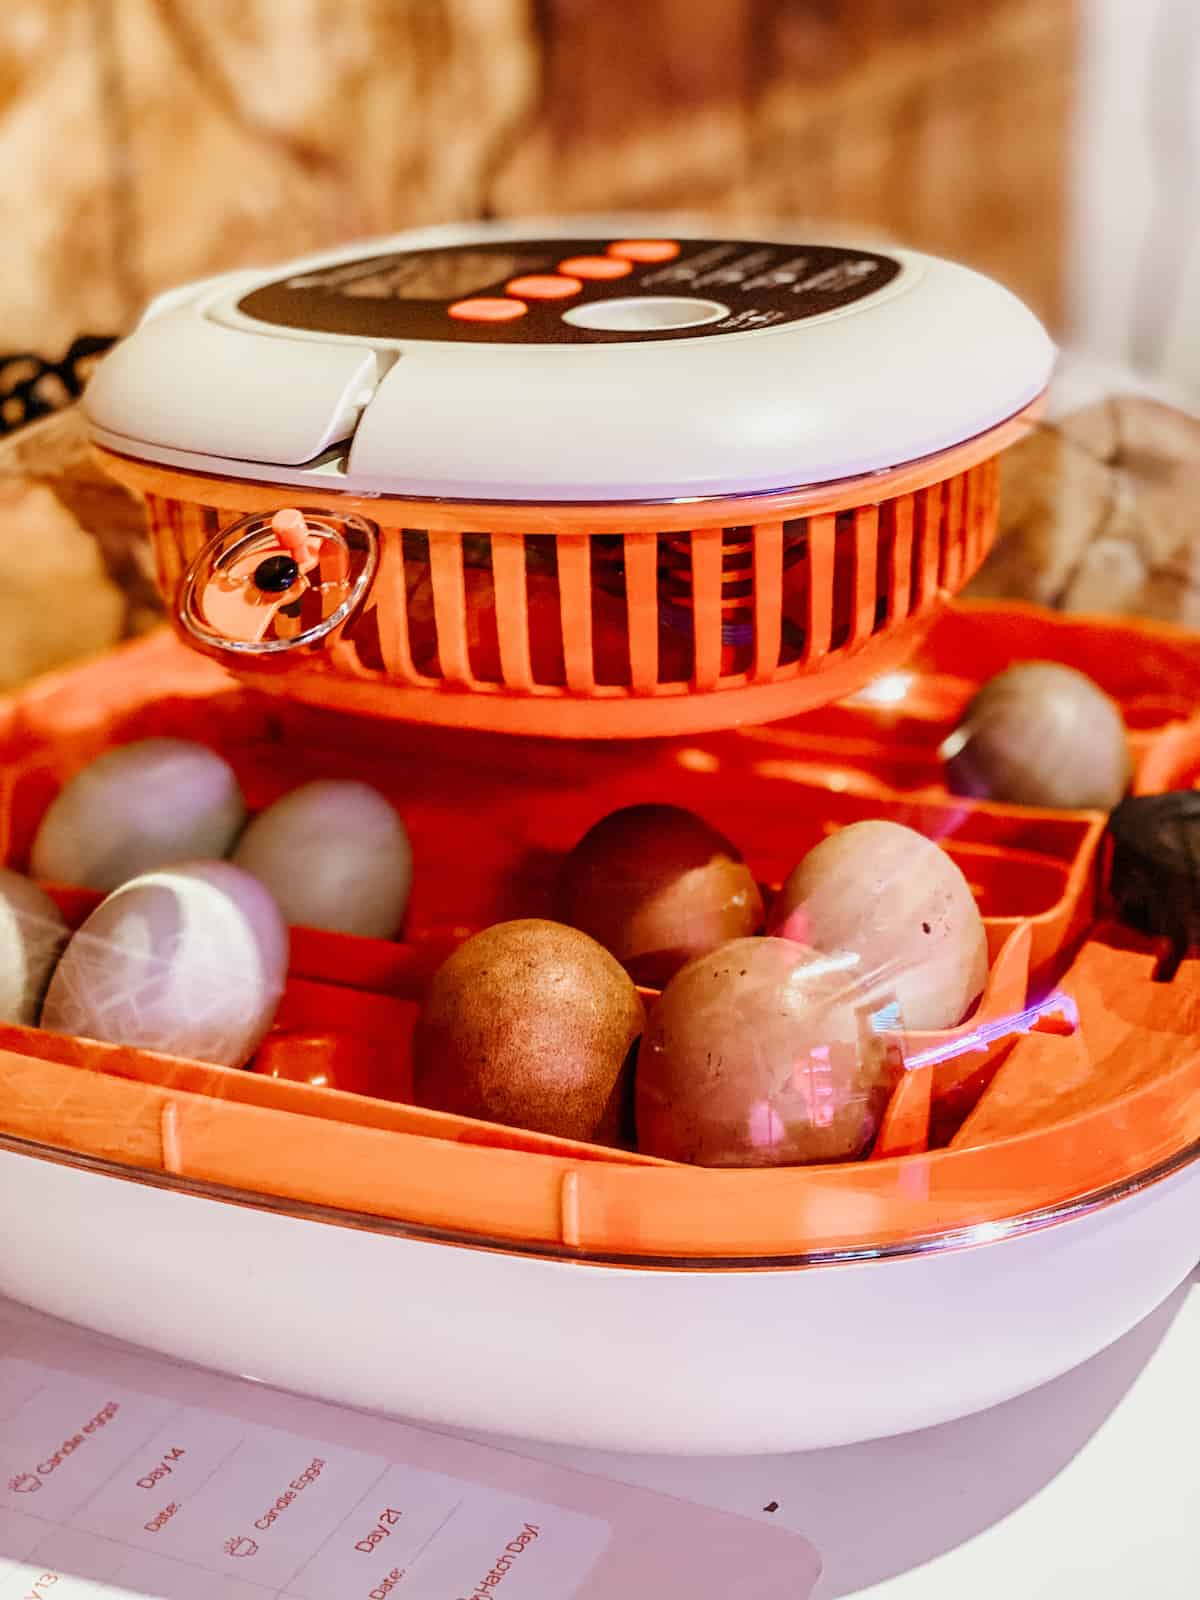
We have found that hatching chicken eggs should take about 20-23 days depending on the breed.
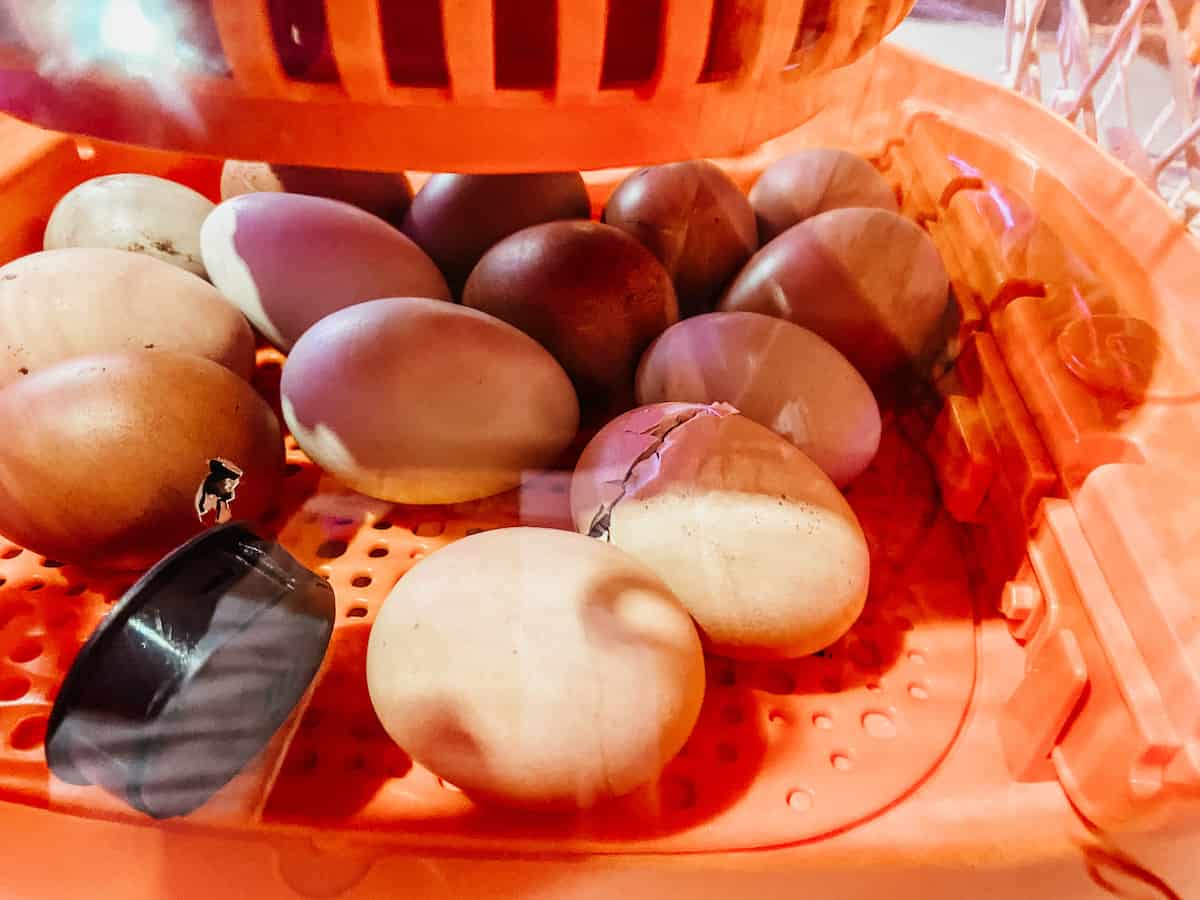
With the Chickcozy incubator, it’s as simple as removing the egg holders and placing the eggs on the non-slip base.
Be patient and allow the chicks to hatch on their own. It’s normal for hatching to take several hours or even a day or two. Avoid opening the incubator unnecessarily, as this can cause fluctuations in temperature and humidity that may harm the chicks.
Basically, put the incubator and chicks on lockdown while waiting for them to hatch.
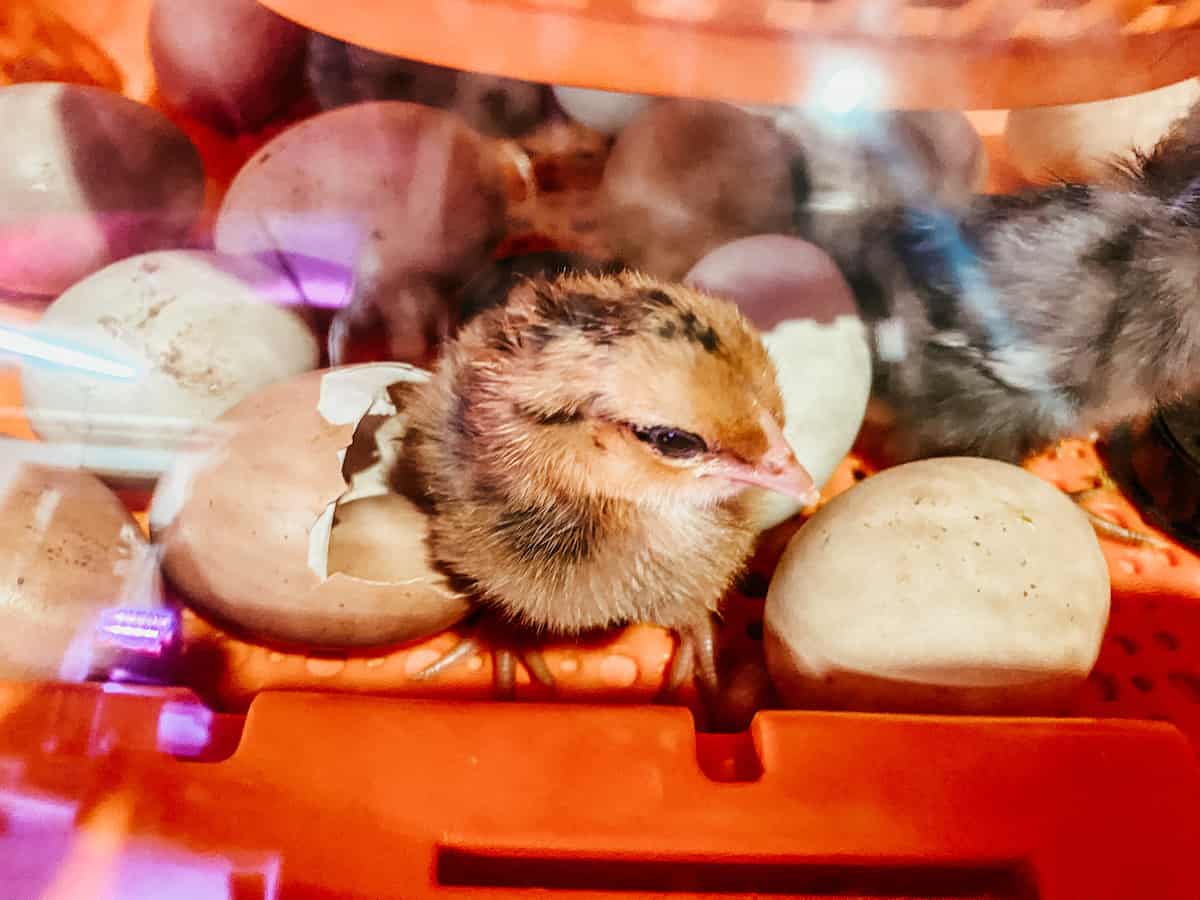
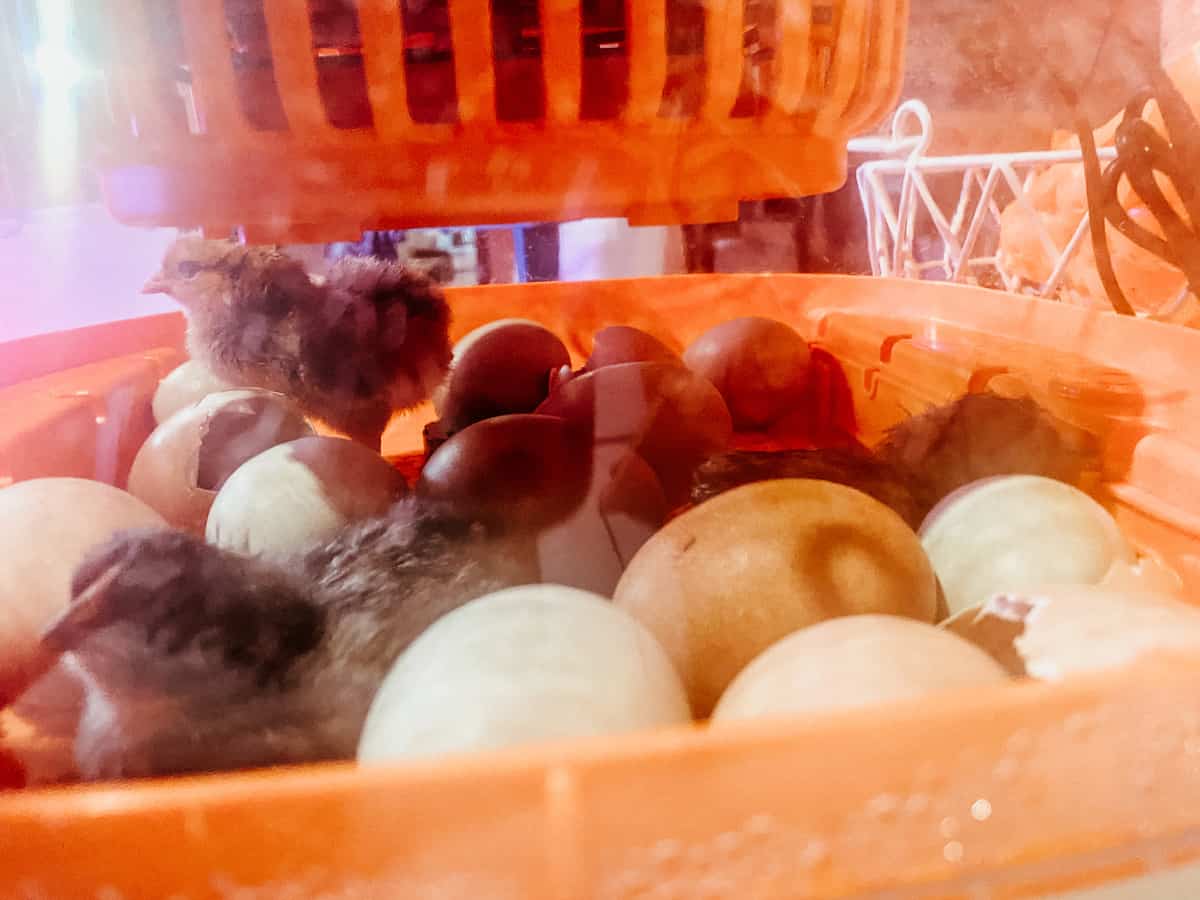
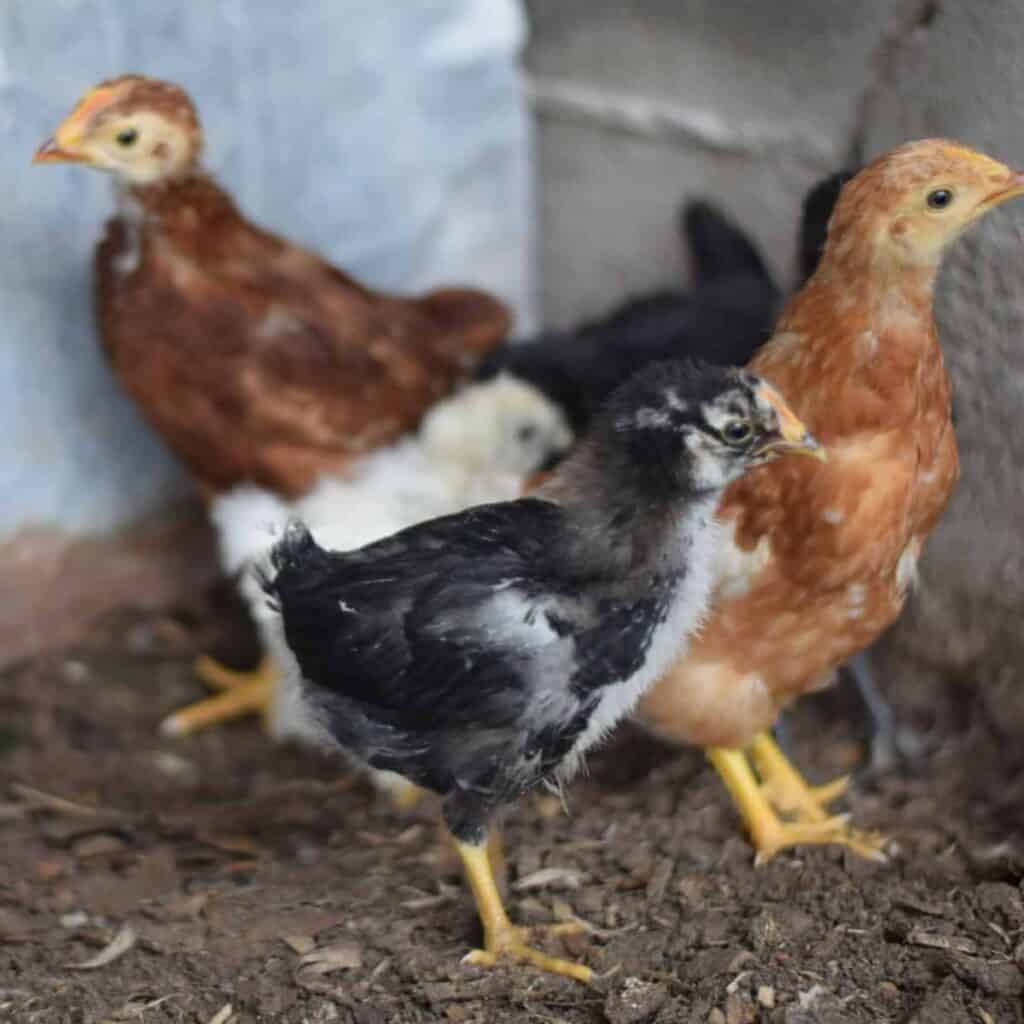
Once the chicks have hatched, leave them in the incubator for a few hours to dry off and fluff up. Then transfer them to a brooder where they can continue to stay warm and receive food and water.
You’ll want to provide the new chicks with a clean and warm environment. Using a heat lamp is recommended, but for extra safety, you may be interested in using something like this chick heat mat.
By following these steps, you can increase the chances of successfully hatching chicken eggs in an incubator. Good luck with your hatch!
🖤 Chickcozy coupon code: Use code BHH5 for 5% OFF of your order!
Setting up the brooder
Setting up a chick brooder is essential for providing a warm, safe, and comfortable environment for newly hatched chicks.
We’ve used a variety of homemade items over the years for setting up a brooder. From old cleaned up mineral tubs and using old scrap wood leftover from projects. There are mini brooders for sale too if that’s what you prefer.
You can use various containers as brooders, such as cardboard boxes, old tanks, plastic tubs, or specially designed brooder pens. Ensure that the brooder is large enough to accommodate the number of chicks you have and has high enough walls to prevent them from escaping.
Next, provide bedding: Line the bottom of the brooder with clean, dry bedding material such as pine shavings or straw.
We like using disposable puppy training pads because they’re super easy for cleanup and absorb really well. They make it easy for the children to help tidy up the brooder without making a huge mess.
Avoid using newspaper as it can become slippery and may cause leg issues for the chicks.
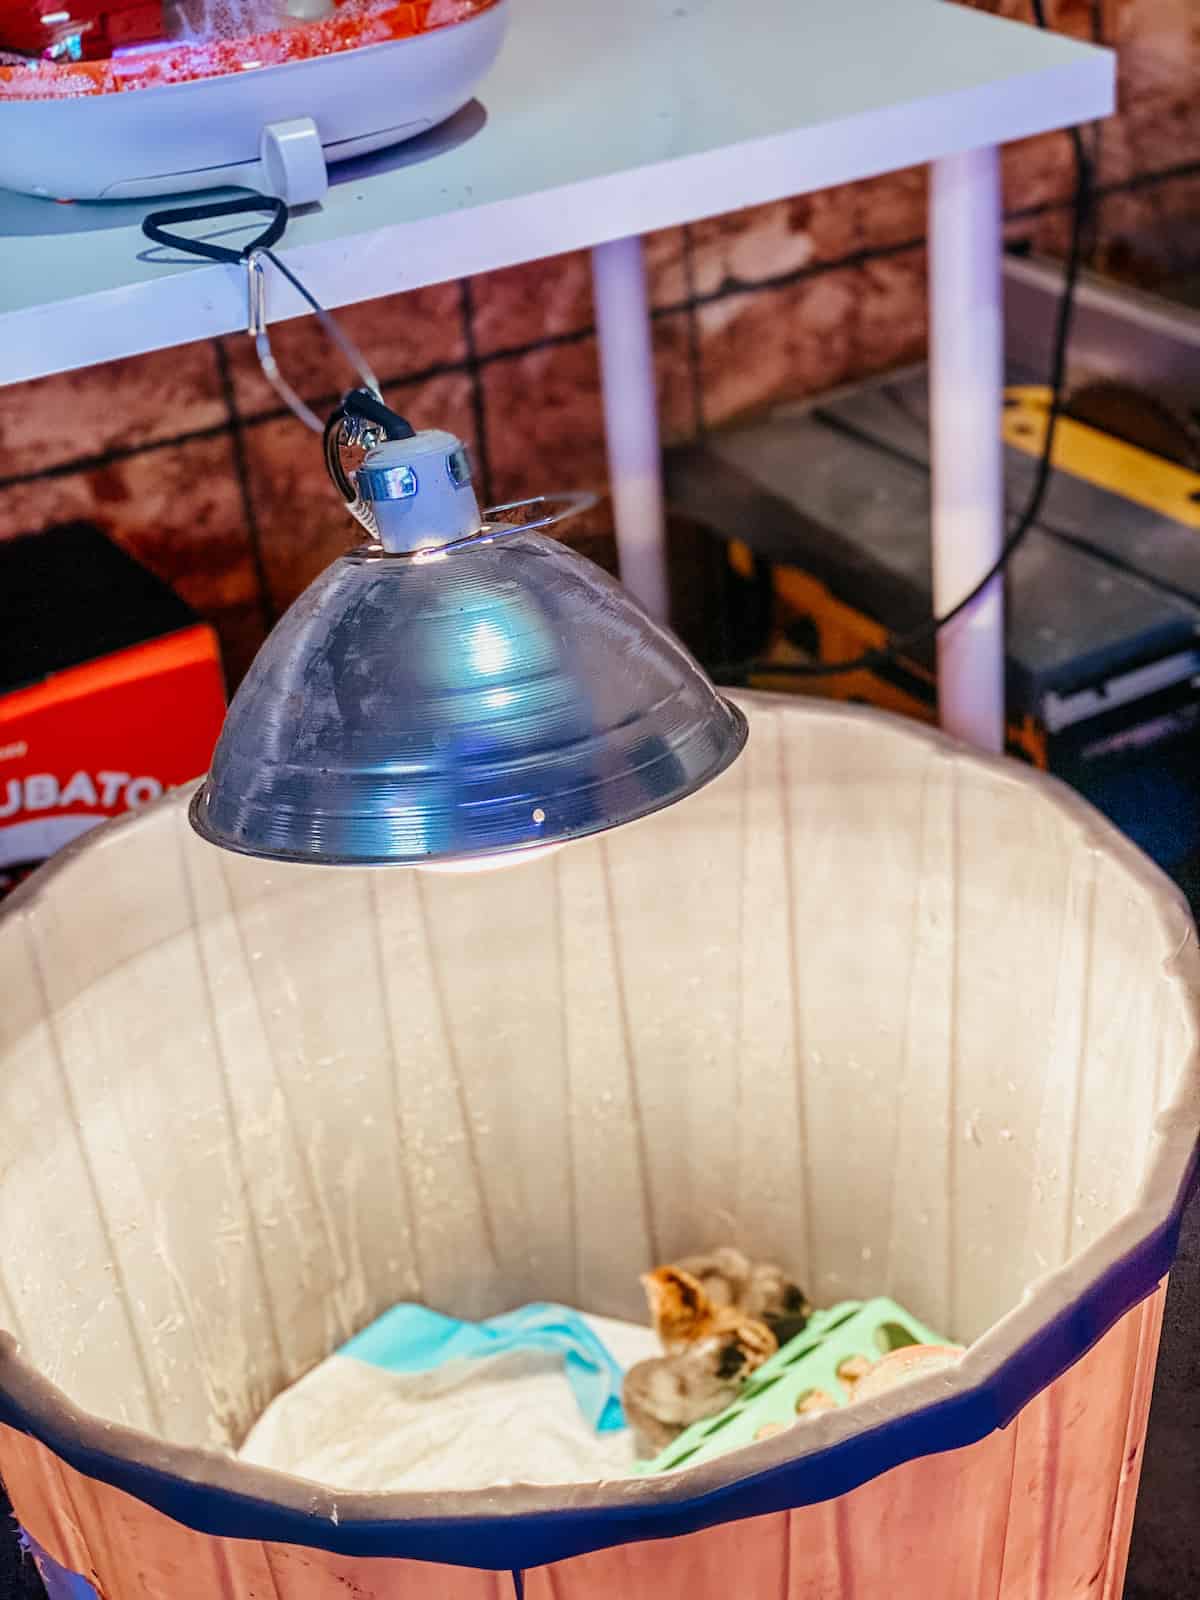
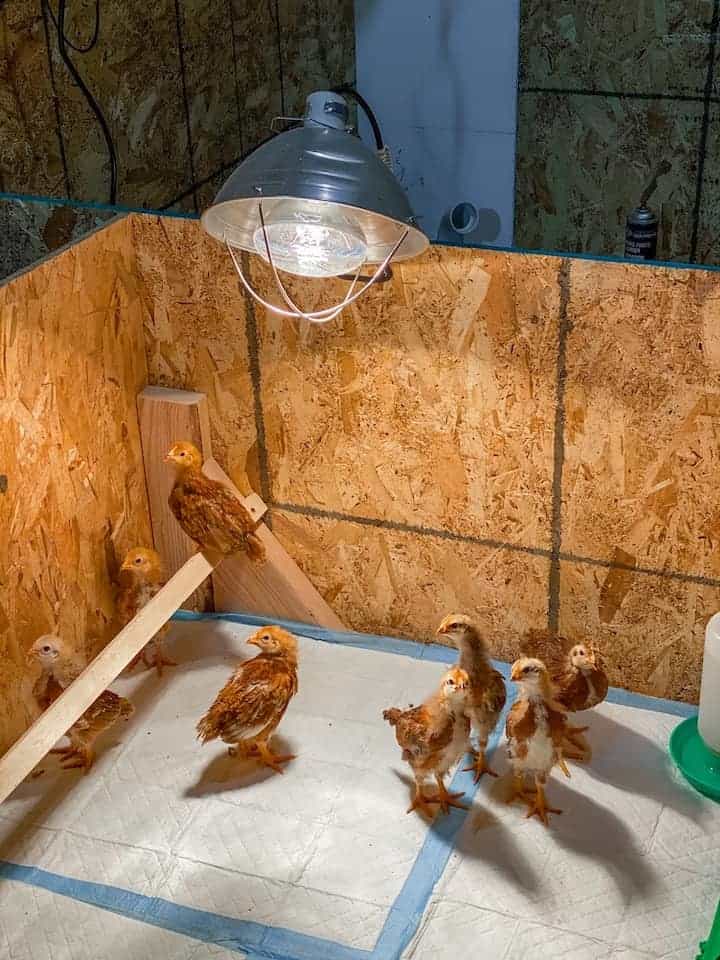
Set up a heat source: Chicks need a warm environment, especially in the first few weeks of life. A heat lamp suspended above the brooder is a common heat source. Position the heat lamp so that it provides a warm spot at one end of the brooder while leaving the other end cooler. This allows the chicks to regulate their body temperature by moving closer to or farther away from the heat source as needed.
Use a thermometer to monitor the temperature inside the brooder. The ideal temperature for newly hatched chicks is around 95°F (35°C) for the first week. You can gradually reduce the temperature by 5°F (2-3°C) each week until the chicks are fully feathered and can regulate their body temperature.
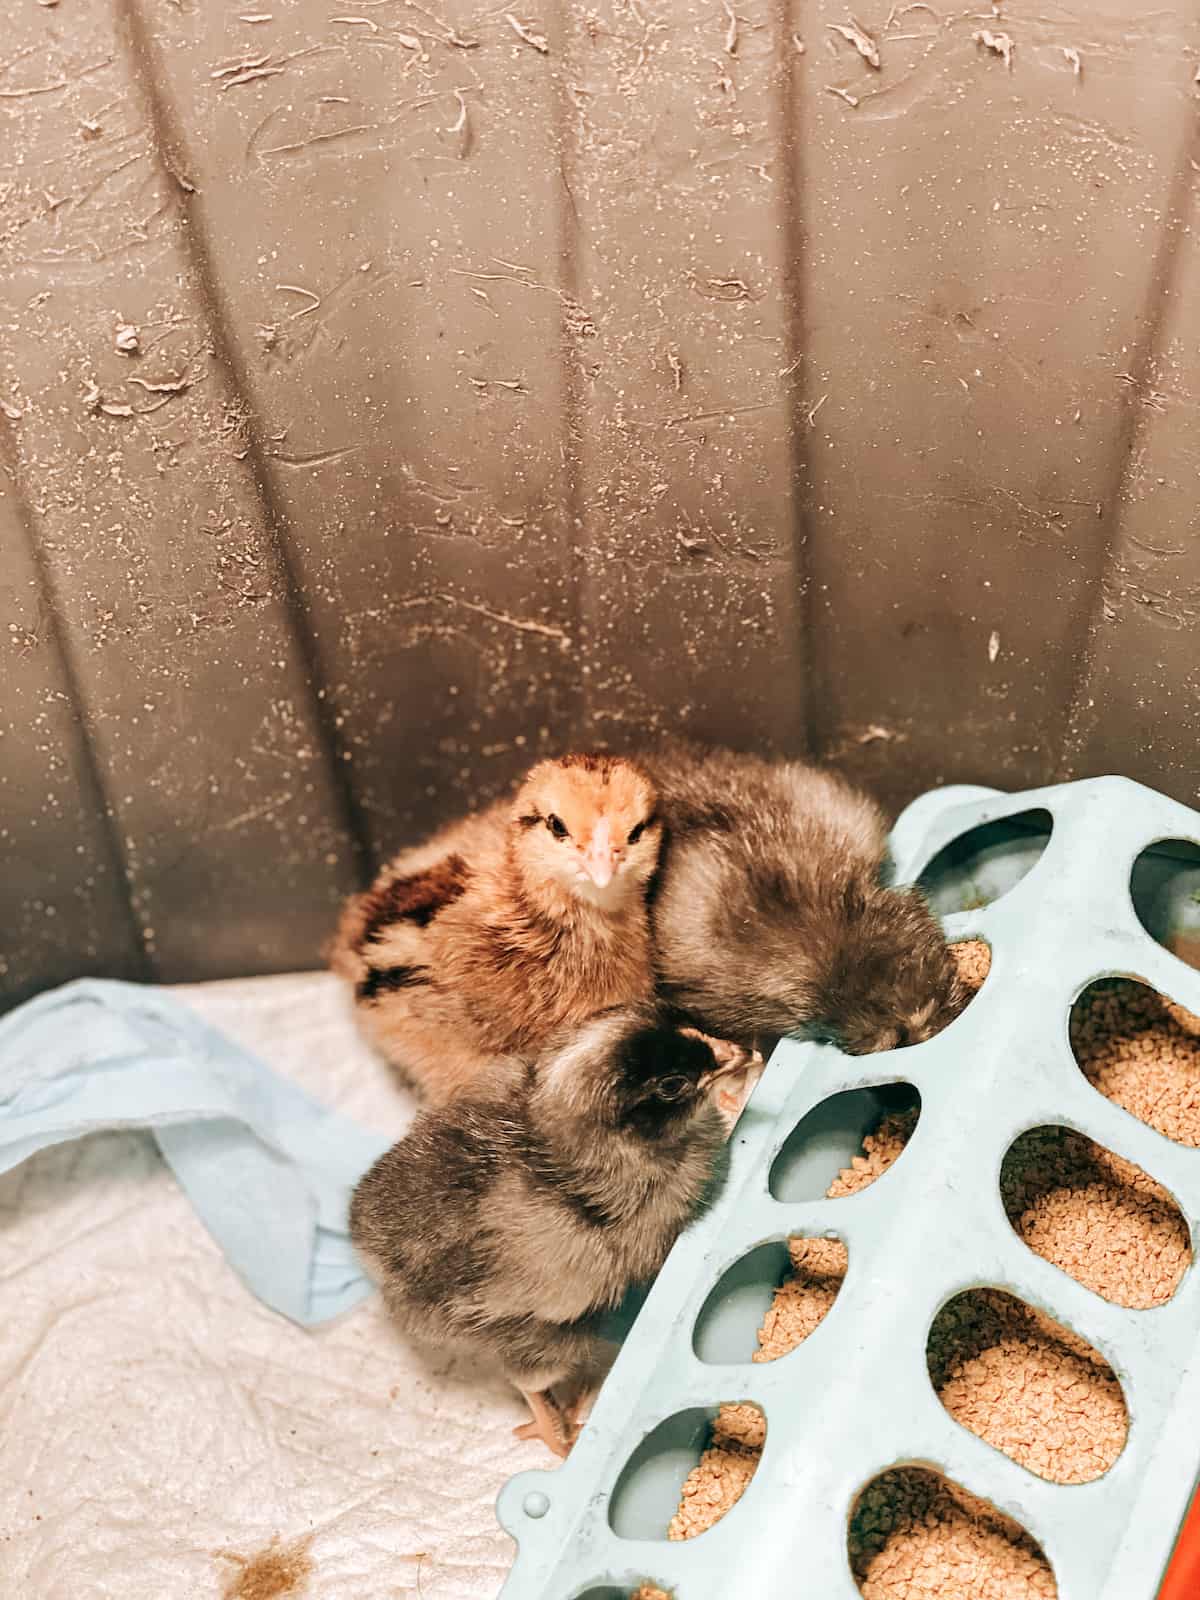
Provide food and water: Place chick feeders and waterers inside the brooder, making sure they are easily accessible to the chicks. Use shallow dishes or chick-specific feeders and waterers to prevent drowning accidents.
Keep the brooder clean: Clean the brooder regularly to maintain a hygienic environment for the chicks. Remove soiled bedding and replace it with fresh bedding as needed. Clean and refill the waterers and feeders daily to prevent contamination.
Answers to your questions about hatching chicken eggs
Can you incubate freshly laid eggs?
It is best to incubate fresh eggs laid within 7-10 days at most.
When should you remove chicken eggs that aren’t developing?
If you’re noticing a non developing embryo at Day 14, remove and discard these eggs.


How do you set the dial that regulates air flow