How to Hatch Duck Eggs + Duckling Care Guide
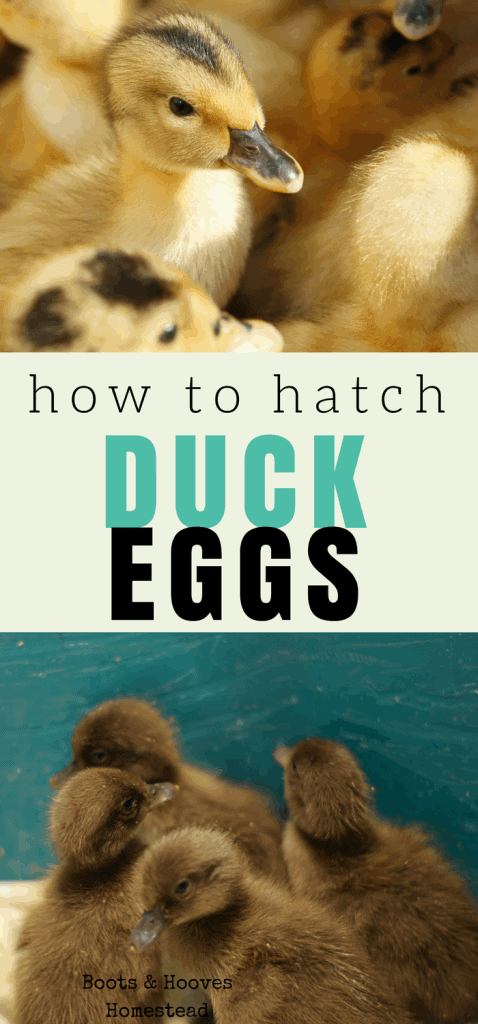
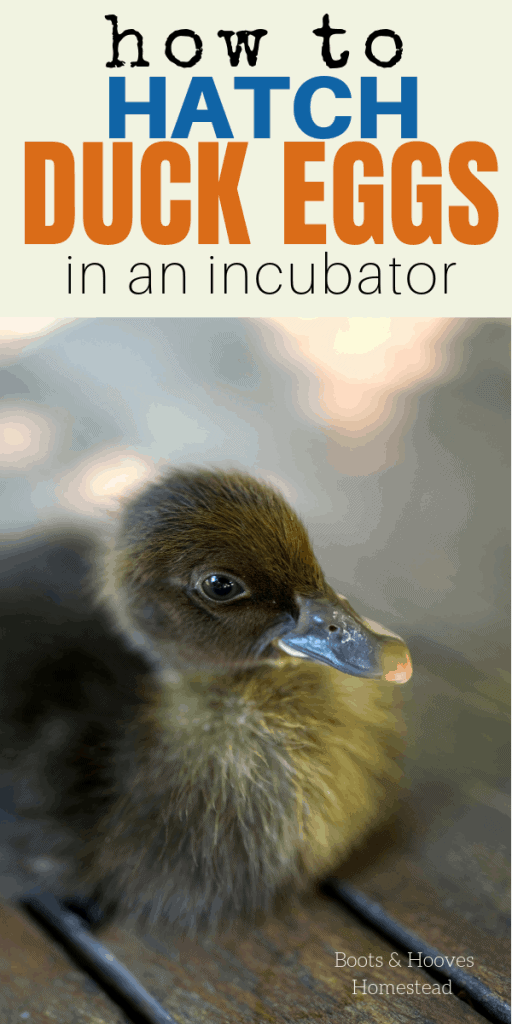
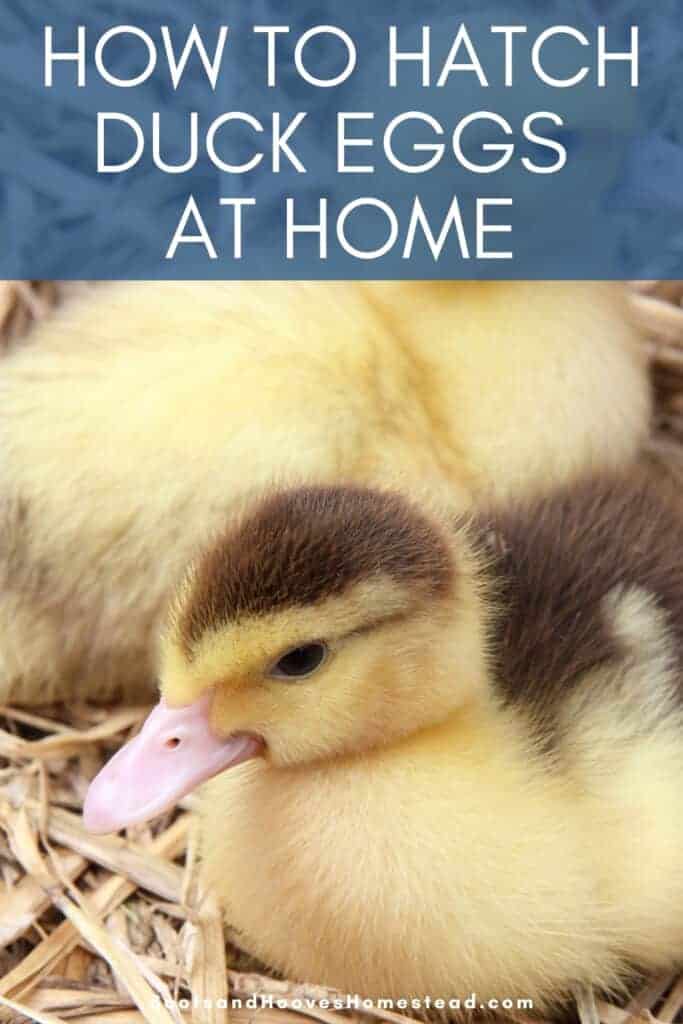
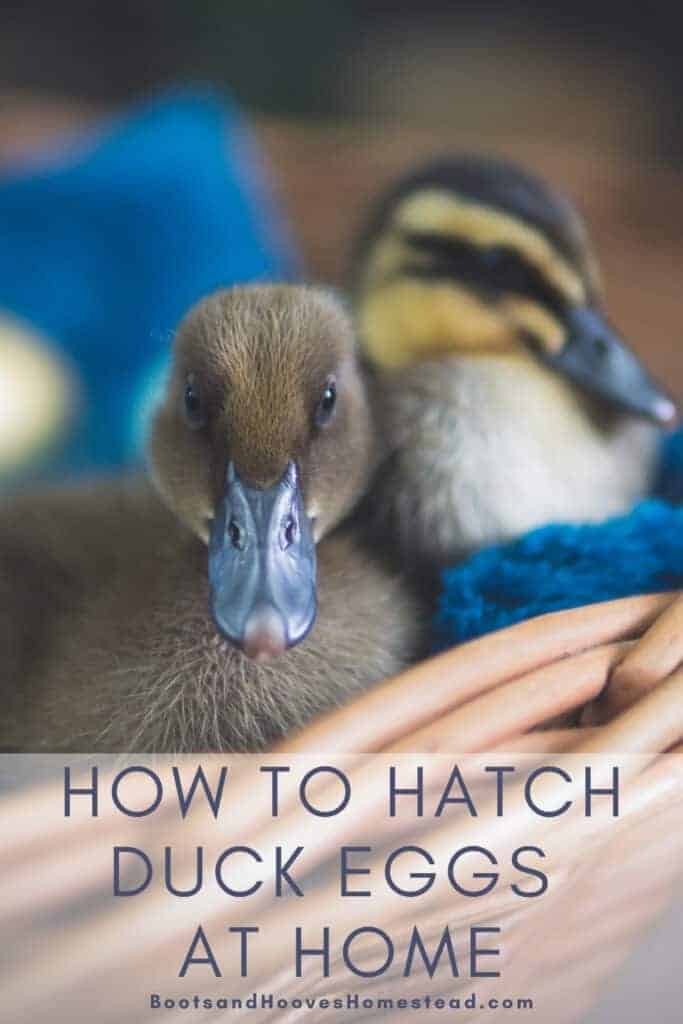
Have you ever wanted to add little ducklings to the homestead? Learn just how to hatch duck eggs. And this can be done easily at home with an incubator.
Hatching duck eggs with an incubator makes the process much easier and even helps with ensuring hatch rate.
This post has been updated from the original publish date of June 2017.
How to Hatch Duck Eggs – step by step
Generally, we wait until we have a broody chicken to hatch our eggs, but when in the off season, we like to choose an egg incubator.
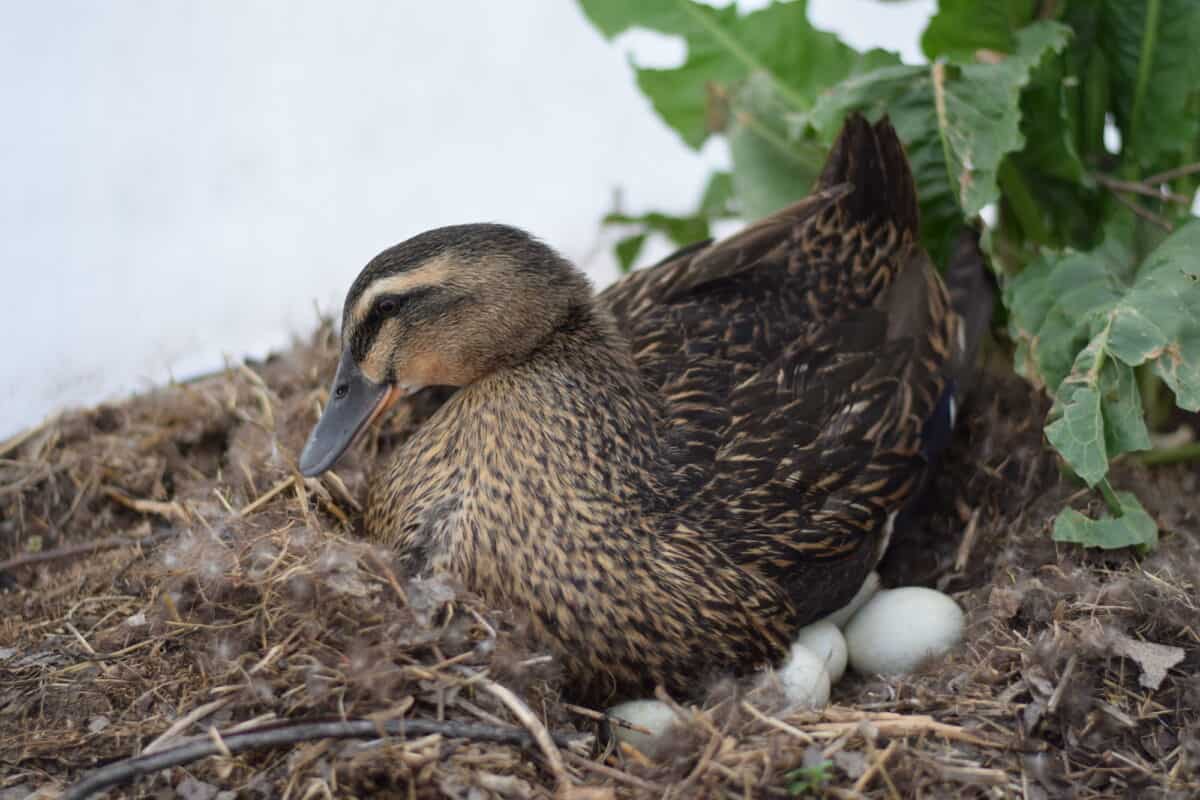
Choose Fertile Eggs: Obtain fertile duck eggs from a reliable source. Eggs should be clean but not washed, as washing can remove the protective bloom on the shell.
You’ll want to make sure that you’re starting with clean eggs, (if possible, but don’t wash them!) and a clean incubator.
Then you’ll also want to start up the incubator a day or two prior to hatching to allow it to stabilize and ensure it’s working properly.
Settle the Eggs: Let the eggs rest for 12-24 hours at room temperature before placing them in the incubator. This helps stabilize the internal temperature.
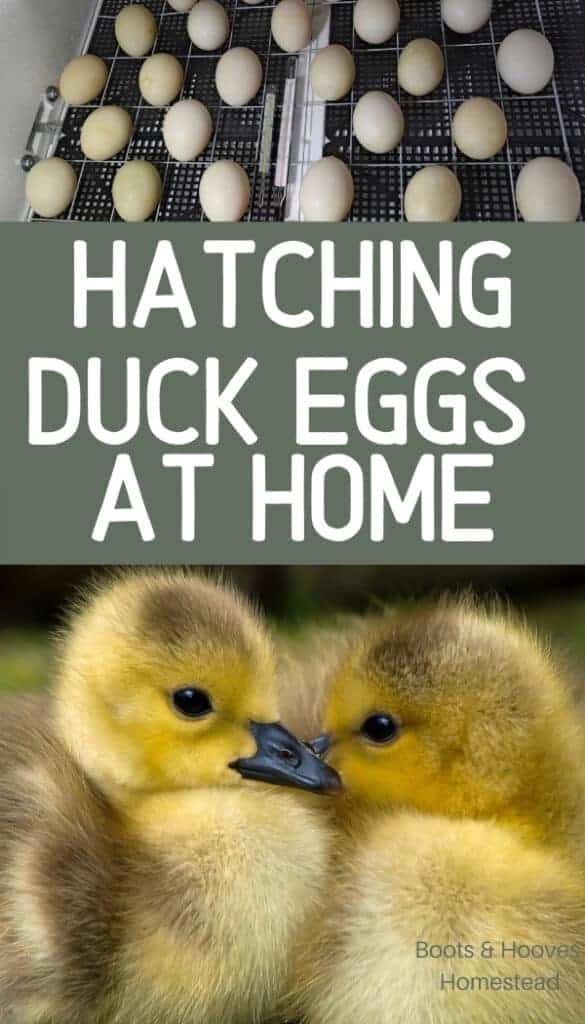
Hatching duck eggs with an incubator
After you have your incubator and eggs ready to go, these are the steps that I followed to successfully hatch all of my duck eggs.
Observe eggs before adding them to incubator and make sure that there aren’t any cracks, double yokes, misshapen, oversized, etc.
And again the cleaner, the better. I ordered ours online and they were quite dirty, so it was pretty much beyond my control. I cleaned them off as best as I could without disturbing the bloom.
Setting Up the Incubator:
- Temperature: Set the incubator to 99.5°F (37.5°C). A consistent temperature is crucial throughout the incubation period.
- Humidity: Maintain a humidity level of 55-60% for the first 25 days. You can measure humidity using a hygrometer.
- Ventilation: Ensure the incubator has proper ventilation to allow fresh air circulation, which is important for the developing embryos.
Temperature needs to remain consistent at 99.5 F or 37.5 C and relative humidity at 55% (84.5 F on a bulb thermometer). This handy thermometer works well with the incubator we used.
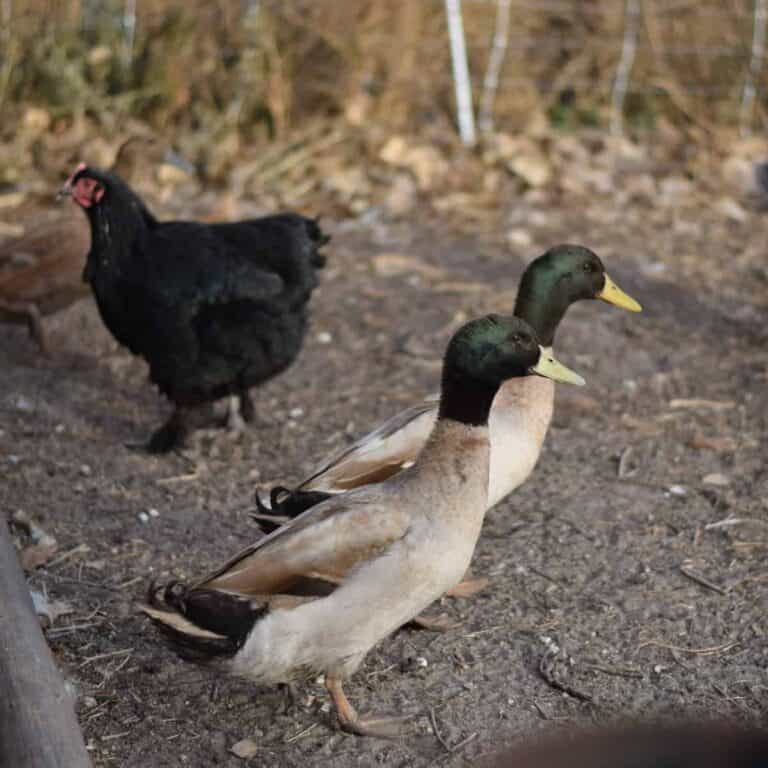
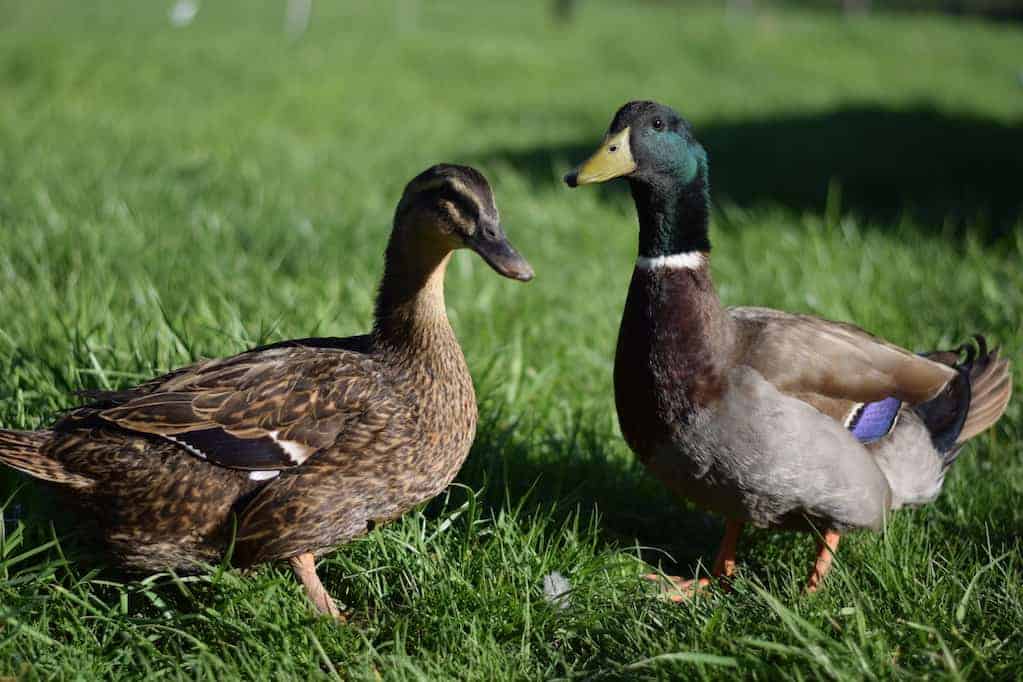
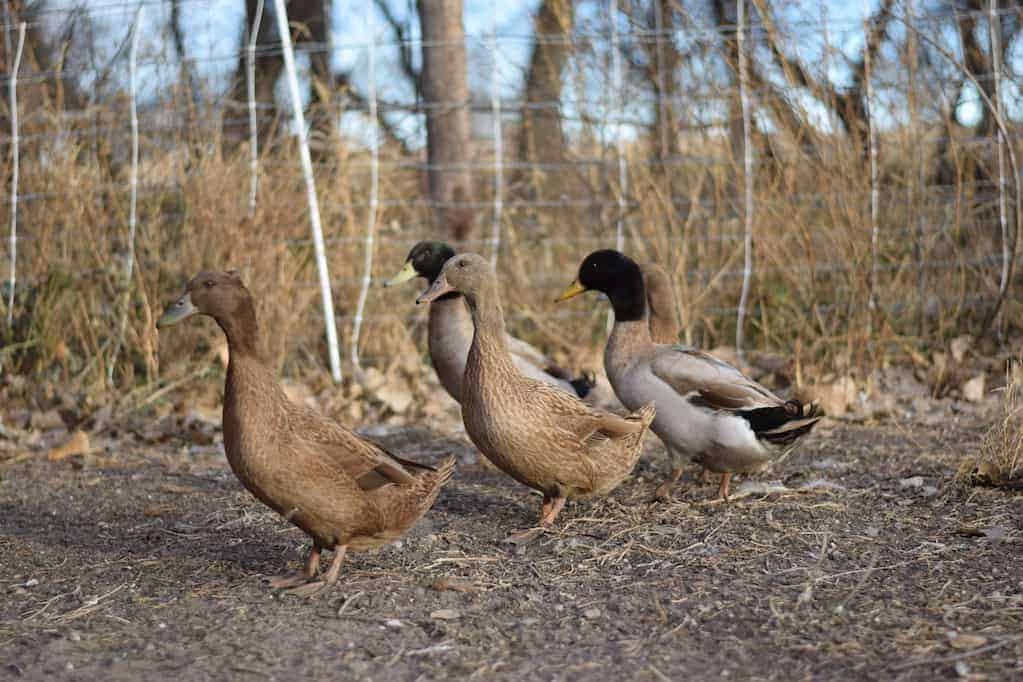
We already had American Black ducks and I wanted to add some Khaki Campbell ducks to the mix. Next on the list is Runners!
On the homestead, we also recently switched to this incubator and hatched out a batch of new chicks this spring. Highly recommend!
During the Incubation Period
You’ll need to make sure that your eggs are being turned a minimum of four times a day!
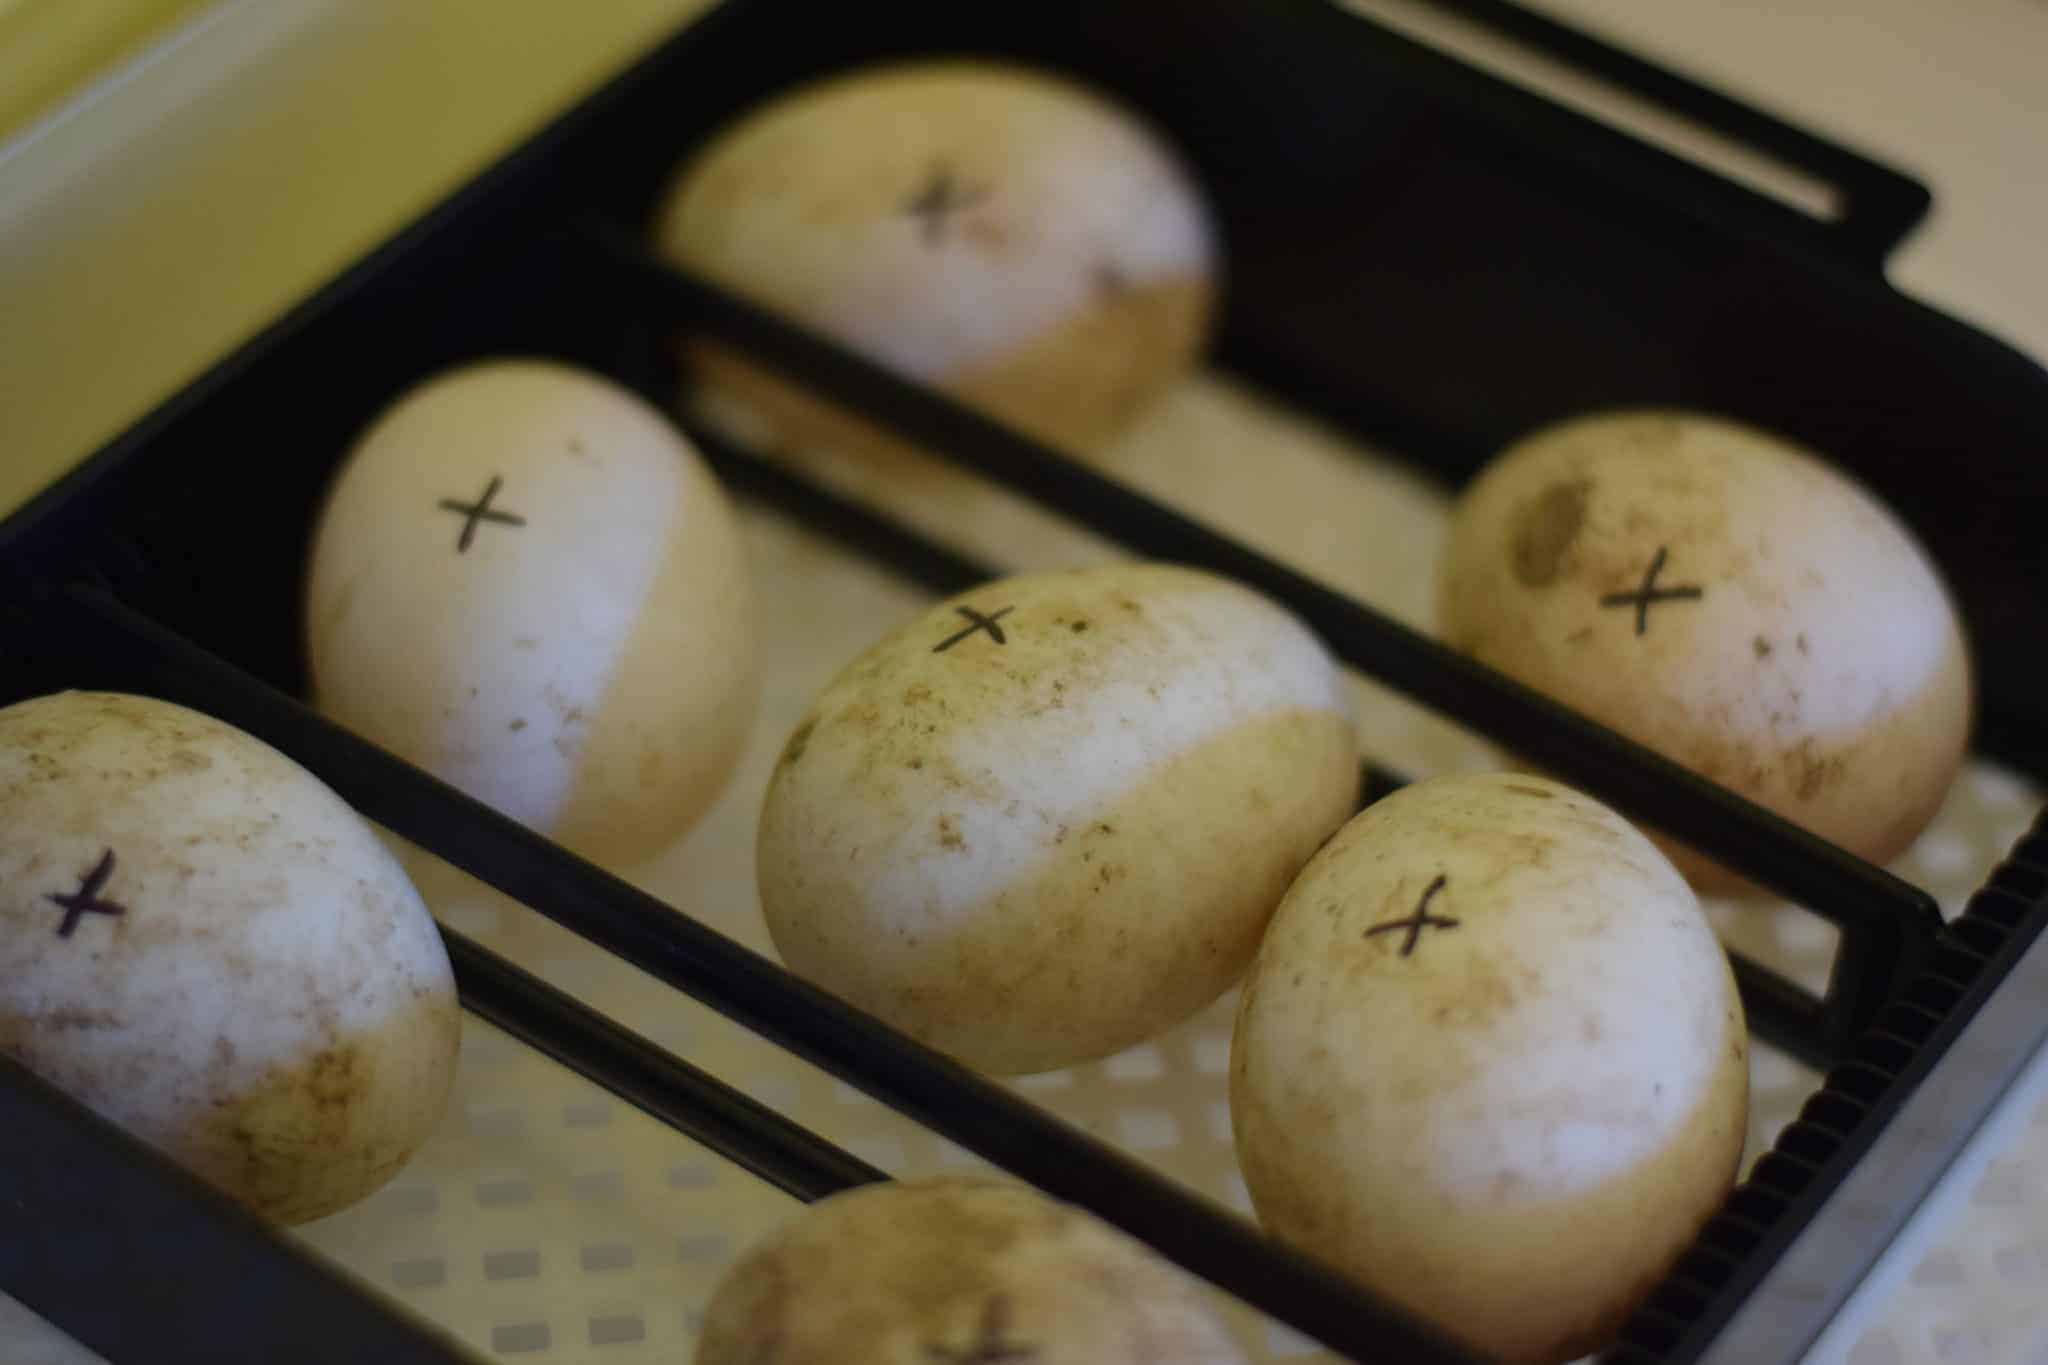
Manual Turning: If your incubator doesn’t have an automatic turner, manually turn the eggs 3-5 times a day to prevent the embryo from sticking to the shell. Mark each egg with an “X” on one side and an “O” on the other to keep track of turning.
Automatic Turner: If using an automatic turner, make sure it is functioning correctly.
Want to save this?
Preferably odd numbers to prevent the eggs from resting too long on one side. I marked mine with an X on one side to help me keep track of turning them.
Turning the eggs helps to ensure higher hatch rates, plus it allows the eggs to cool a little. This should be done periodically throughout the day, but no more than 10-15 minutes in total cool down time each day.
I made sure that the water level was consistent with my incubator recommendation. But I did not spray or mist my eggs like I often see recommended.
Candle the eggs at the end of the first week. Remove any eggs that are infertile and clear or if cloudy. And candle them again at the end of the third week to ensure they are developing.
Incubation Period:
- Duration: Duck eggs typically take 28 days to hatch, although it can vary slightly by breed.
- Candling: Around day 7, candle the eggs (shine a light through them) to check for embryo development. Discard any unfertilized or non-developing eggs.
- Adjusting Humidity: On day 25, increase the humidity to 65-70% to prepare for hatching. This helps soften the shell, making it easier for the ducklings to hatch.
Lockdown Period:
- Stop Turning: On day 25, stop turning the eggs. This is known as the “lockdown” period.
- Hatching: The ducklings should begin to pip (crack the shell) around day 26-28. Do not open the incubator during this time, as it can cause a drop in humidity.
How long does it take for duck eggs to hatch?
The entire process for hatching duck eggs from common ducks like Khaki Cambells will take about 28 days. And Muscovy ducks take about 35 days to hatch.
Once they start hatching, try not to open the incubator. As tempting as this is, it’s very important. Once the ducks start pipping their eggs and the humidity escapes from the incubator, the membranes almost shrink wrap around the duckling and it can’t properly hatch.
Patience. The process for duck hatching is very slow. They will take breaks and move very slowly. It can take anywhere from 24-36 hours, sometimes longer for them to fully hatch.
We had one duck hatch at 26 days, 3 at 27 days and the last two on the 28th day.
What to do After the Hatch
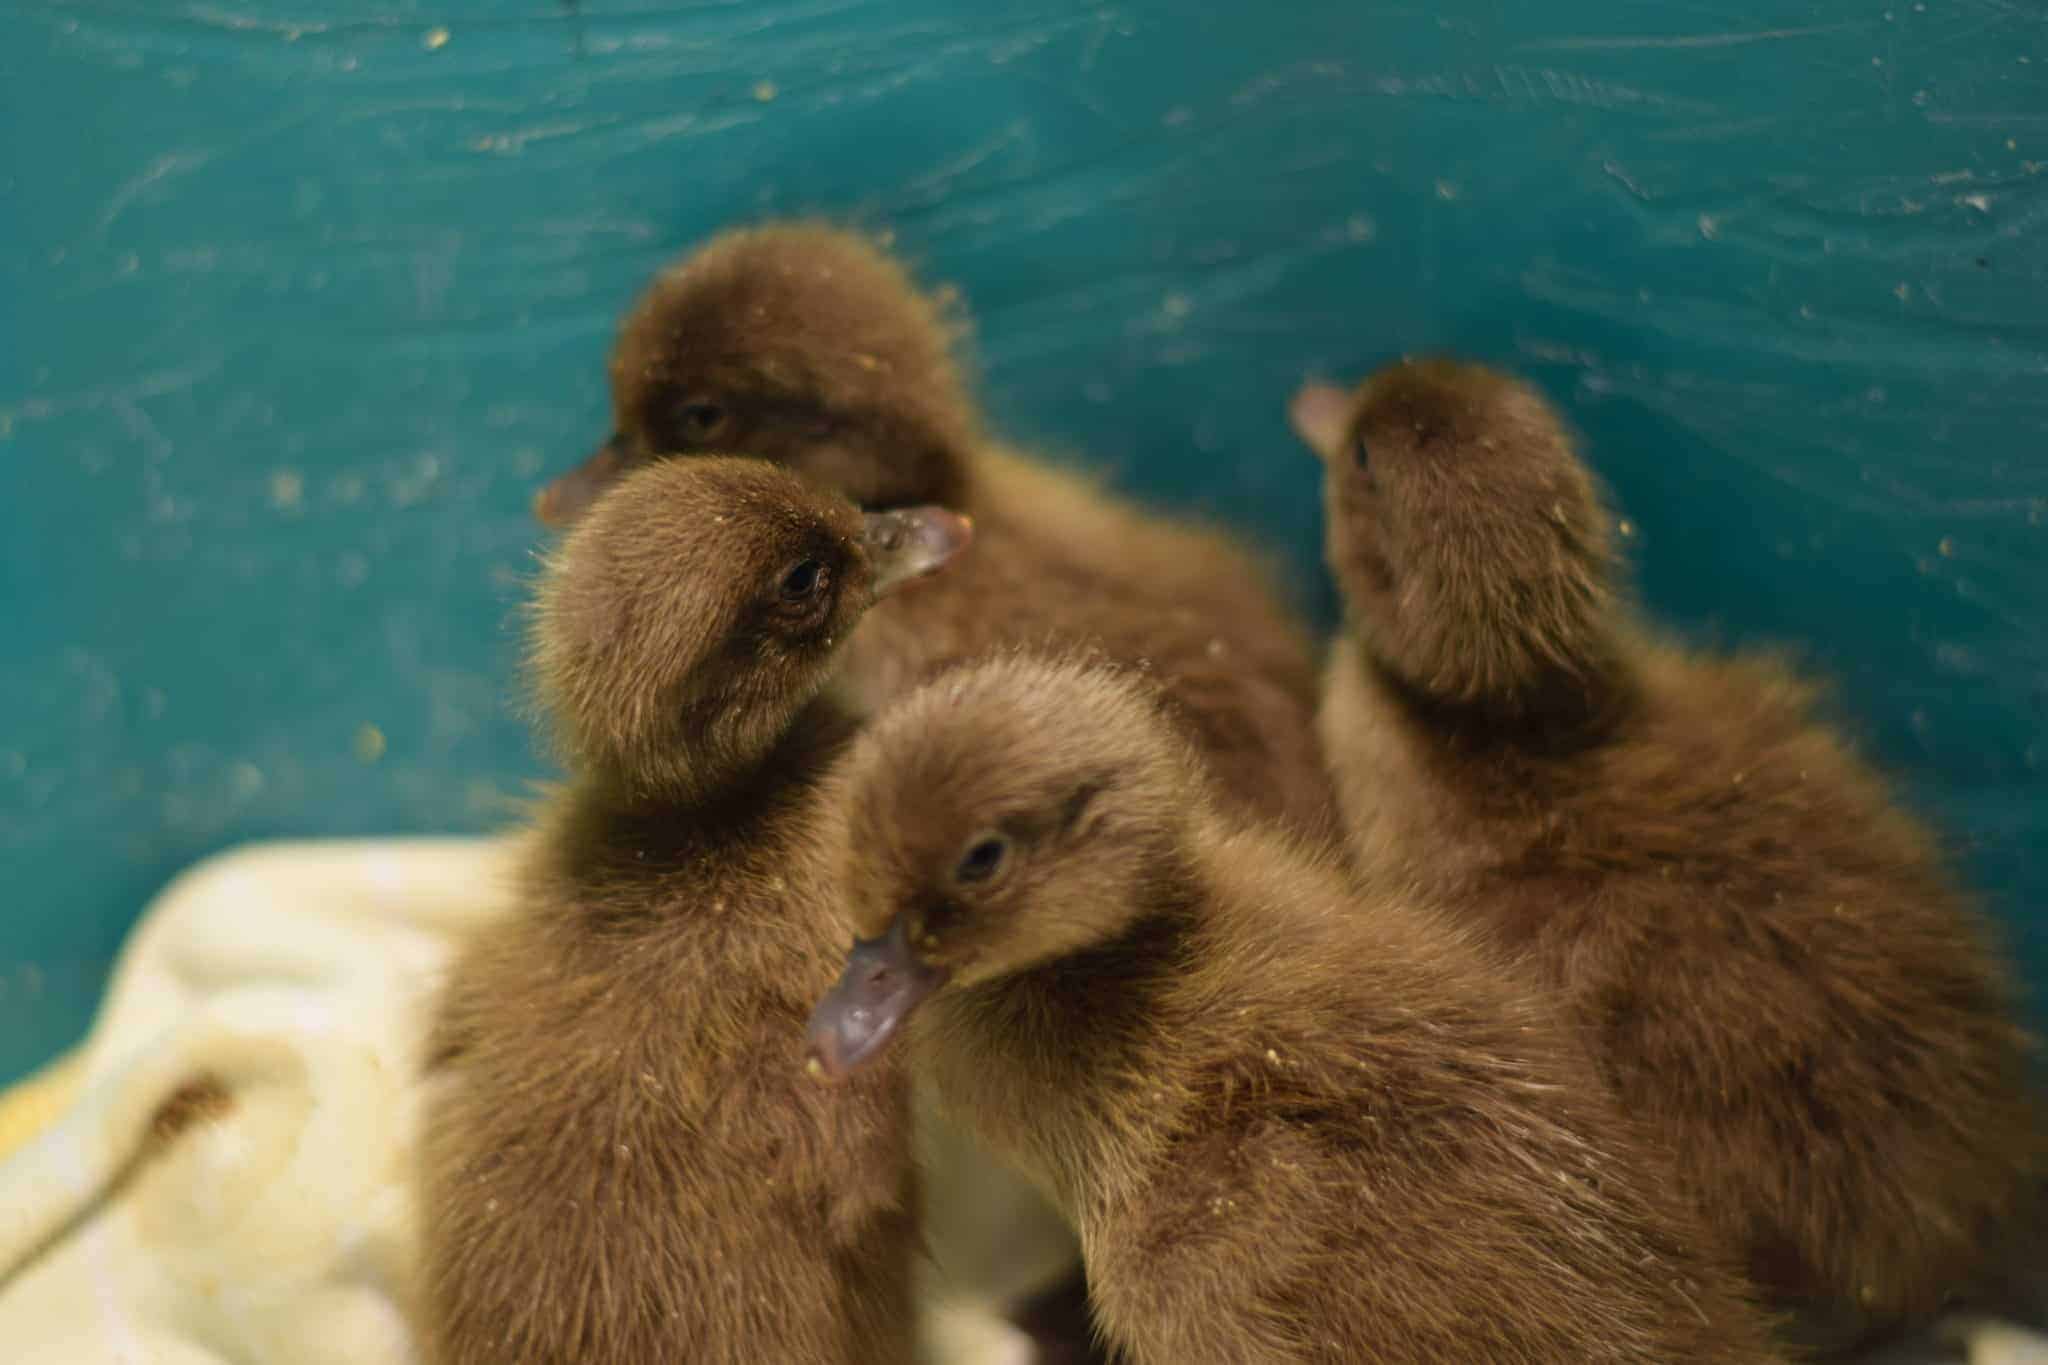
After ducks hatch, they rest a bit and they may not want to eat right away.
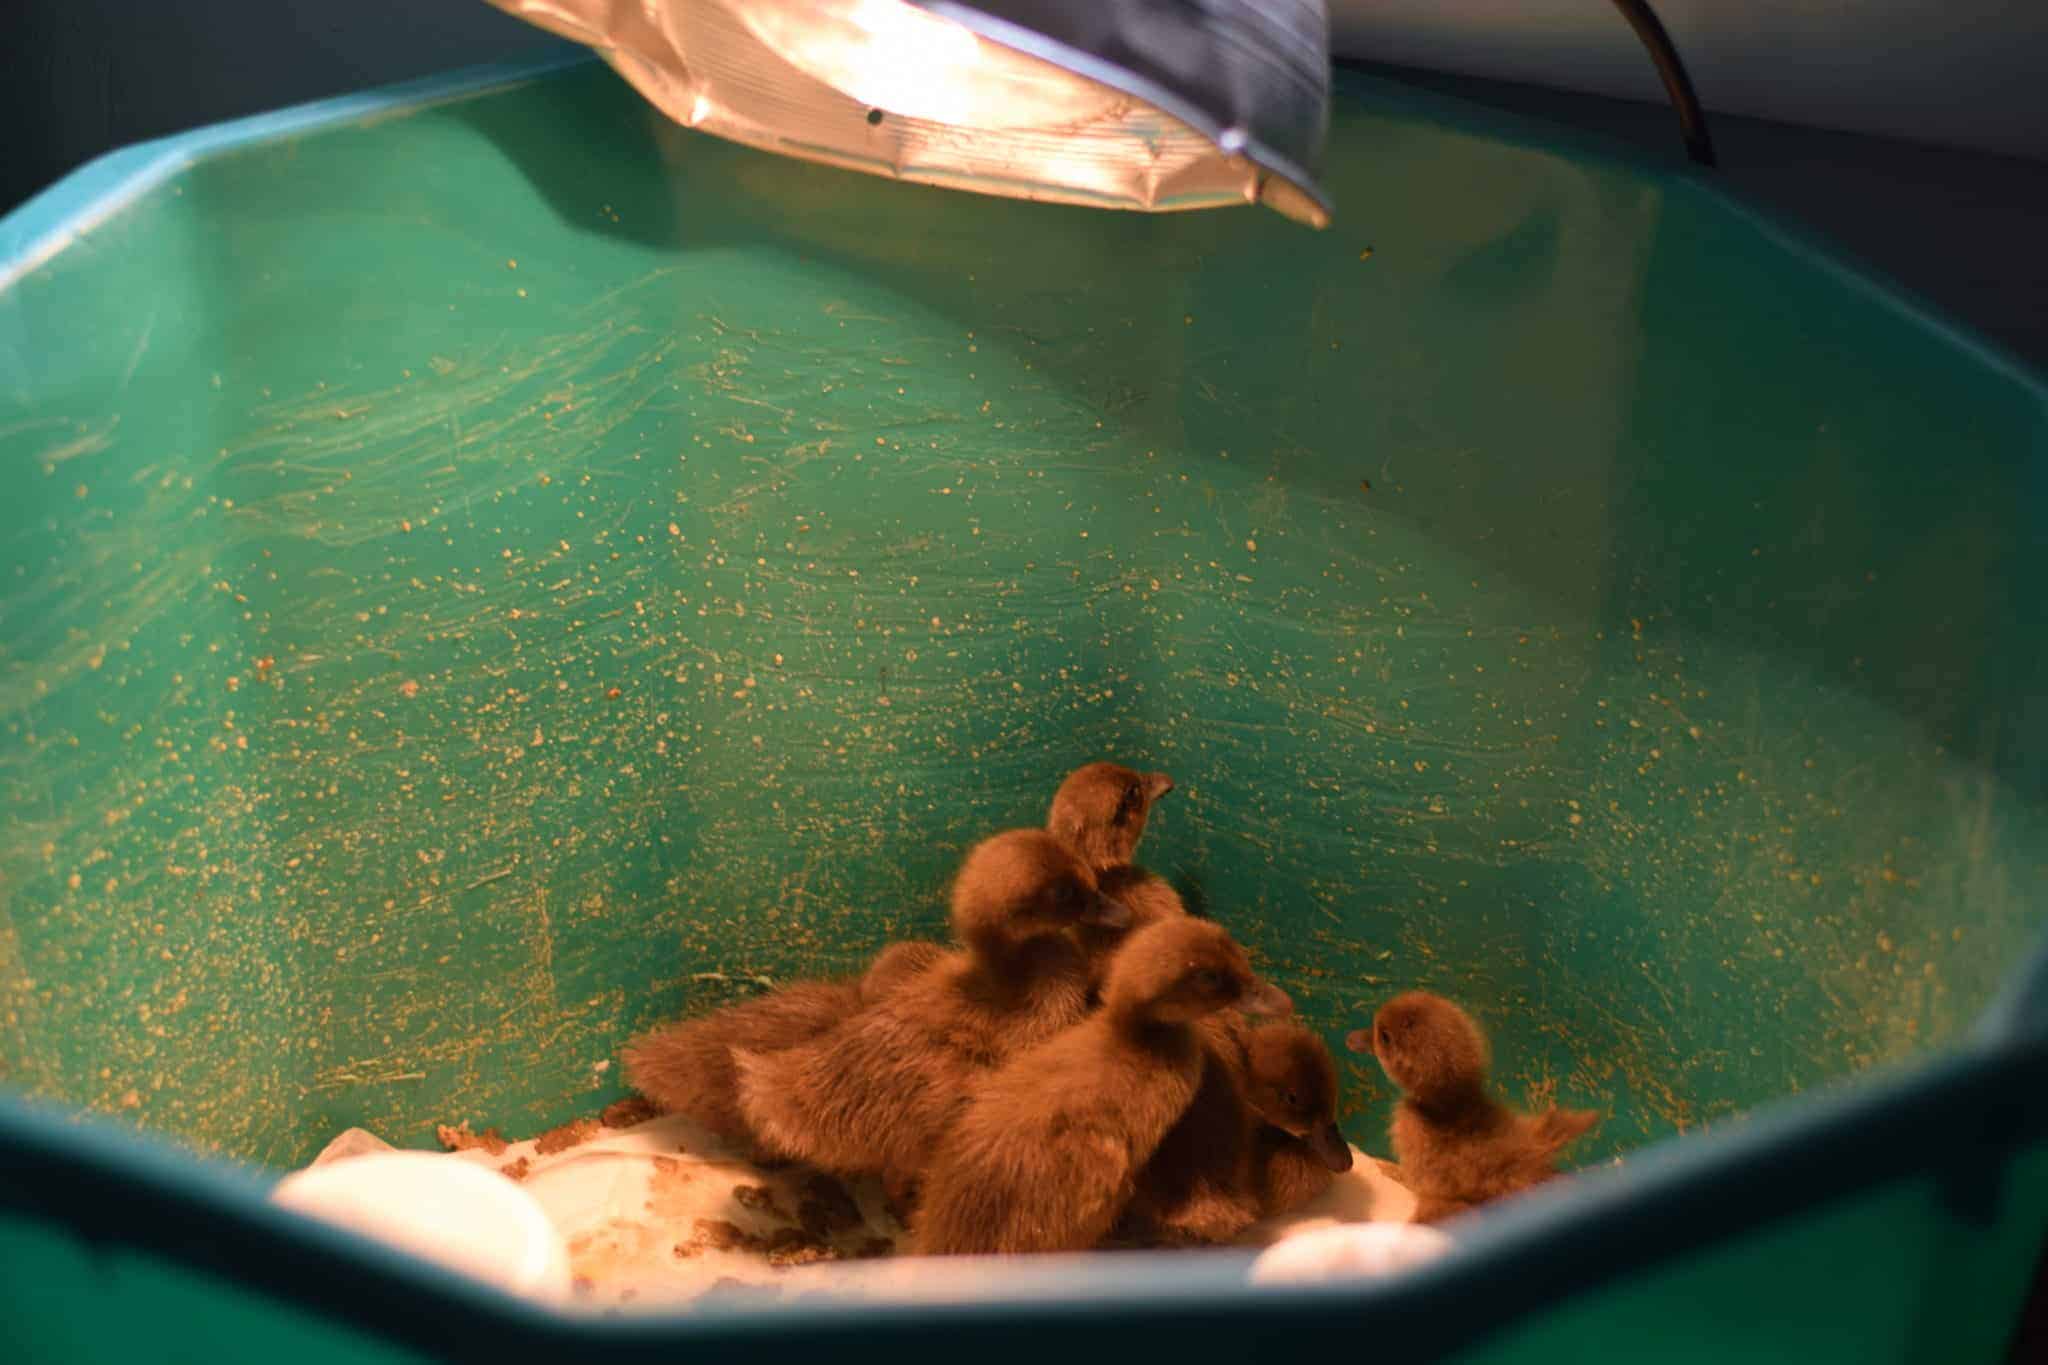
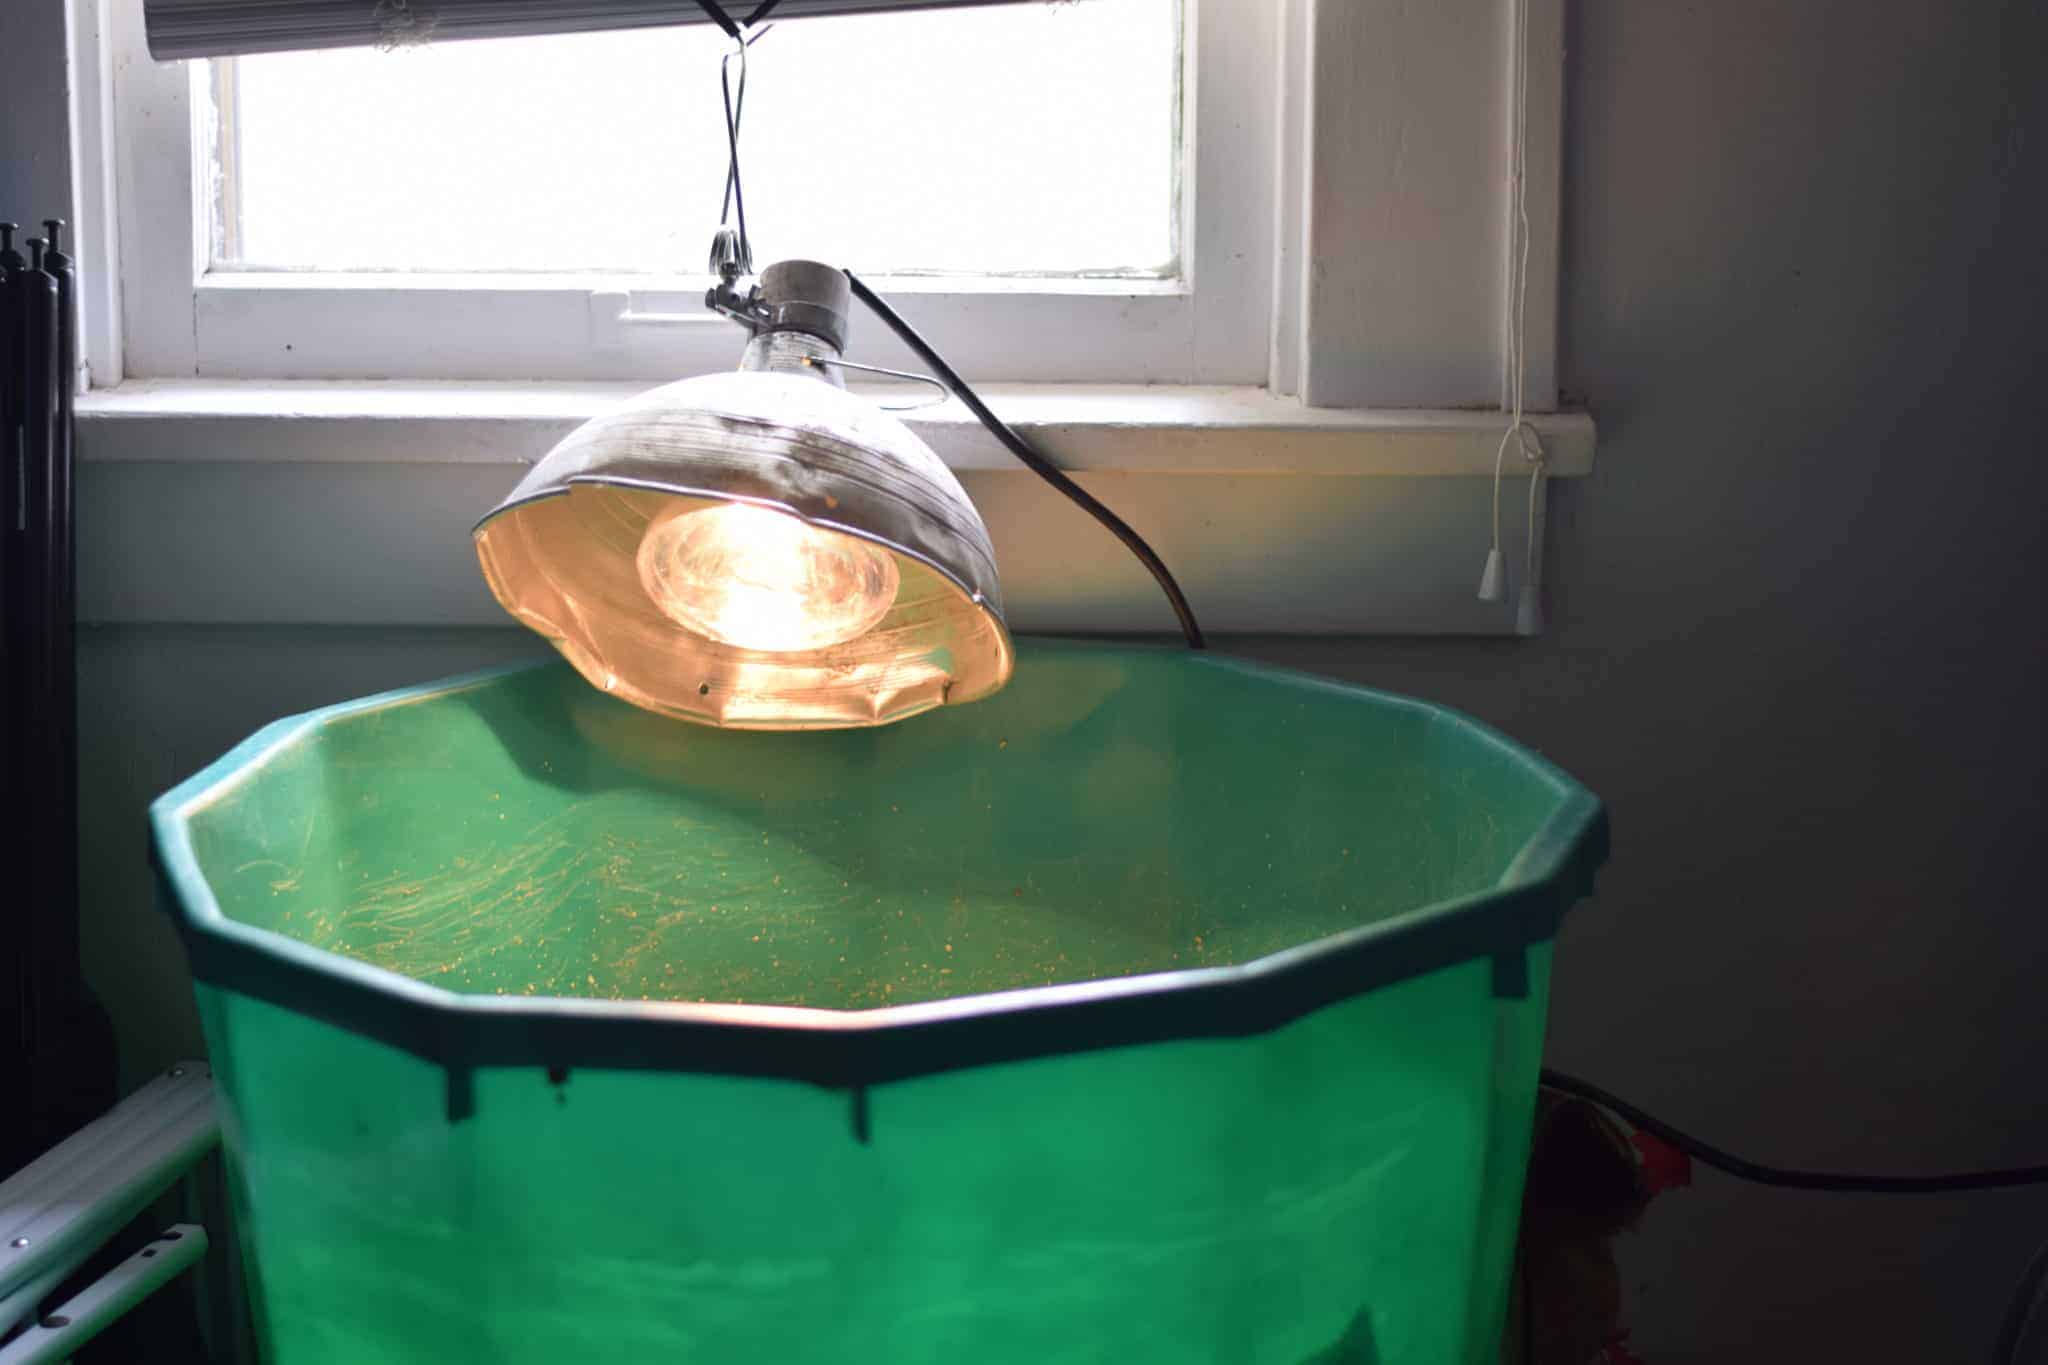
Once they are fluffed up a bit, I moved them to my homemade brooder (an old feed tub cleaned well), training pads for easy clean-up and a regular heat lamp (not the red bulbs!). The lights with the clamp are super handy!
After Hatching:
- Drying Off: Once hatched, leave the ducklings in the incubator until they are completely dry, which usually takes a few hours.
- Move to Brooder: Transfer the ducklings to a brooder with a heat source (around 90°F/32°C) and provide fresh water and food suitable for ducklings.
You’ll want to make sure that you are introducing them to food and water right away. I use these little feeders for two reasons: one, I don’t want the water too deep until they are ready and two, ducks are crazy messy!
I dip their little beaks in the food and water to help them get started and monitor to see how they are progressing a little at a time. A regular chick starter with 18% protein is what we start ours out with.
Final Duck Egg Hatching Tips
If you’re new to hatching duck eggs, here’s a few tips that helped me get through our hatch. Collect and store eggs at room temperature for up to 10 days. But, the longer they are stored, the lower the hatch rate.
And ensure that you’re using clean eggs, but aren’t washing them before setting them in the incubator.
In order to hatch eggs, you’ll need a drake to get fertile eggs.
Caring for the Ducklings:
- Heat: Gradually reduce the temperature in the brooder by 5°F each week until they are fully feathered and can regulate their own body temperature.
- Water and Food: Provide water in a shallow dish to prevent drowning and feed them a balanced starter feed formulated for ducklings.