How to Test Seeds for Germination
How do you know if seeds are still viable? I’m sharing a simple experiment to learn how to test seeds for germination or if they will sprout that can be done easily at home.
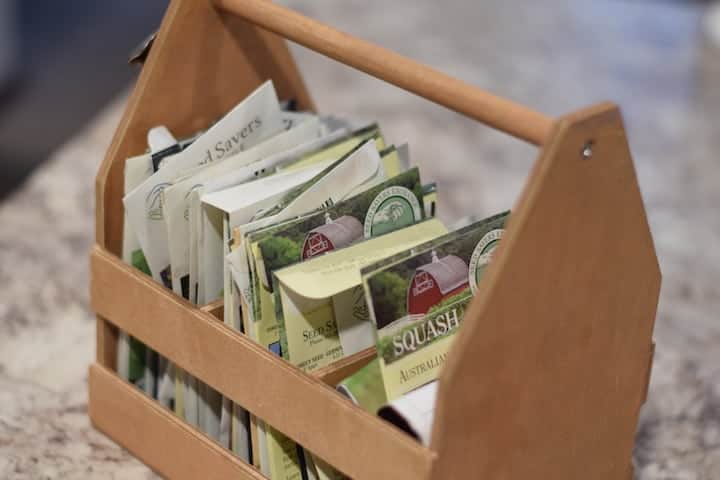
If you’re like me, you may have quite a collection of seed packets from over the years.
In between pregnancies and moving homes over the last couple of years, my garden has been kind of disorganized.
But with recent events, we are more determined than ever to grow more of our food at home.
Related: The Family Garden Plan: Growing a Year’s Worth of Vegetables at Home.
How to Test Seeds for Germination
Checking to see if your seeds are still viable isn’t super complicated. And it can be done over a few days for most variety of seeds.
Plus, finding out that your seeds are still good, will save money when placing the next seed order!
And if you have little ones at home, it makes a great project or science lesson in the homeschool!
My littles asked to check on the seeds multiple times a day! Their excitement is encouraging.
It was actually in the process of planning out lessons, that I thought about trying this project.
When testing seeds for germination, remember that some seeds take longer than others.
What is needed for this project:
Just a few simple everyday things are needed.
- seeds to test
- half size paper towels or plain coffee filters
- spray bottle
- snack size plastic bags with ziplock
- sharpie (handy for labeling, especially if testing a large amount)
Want to save this?
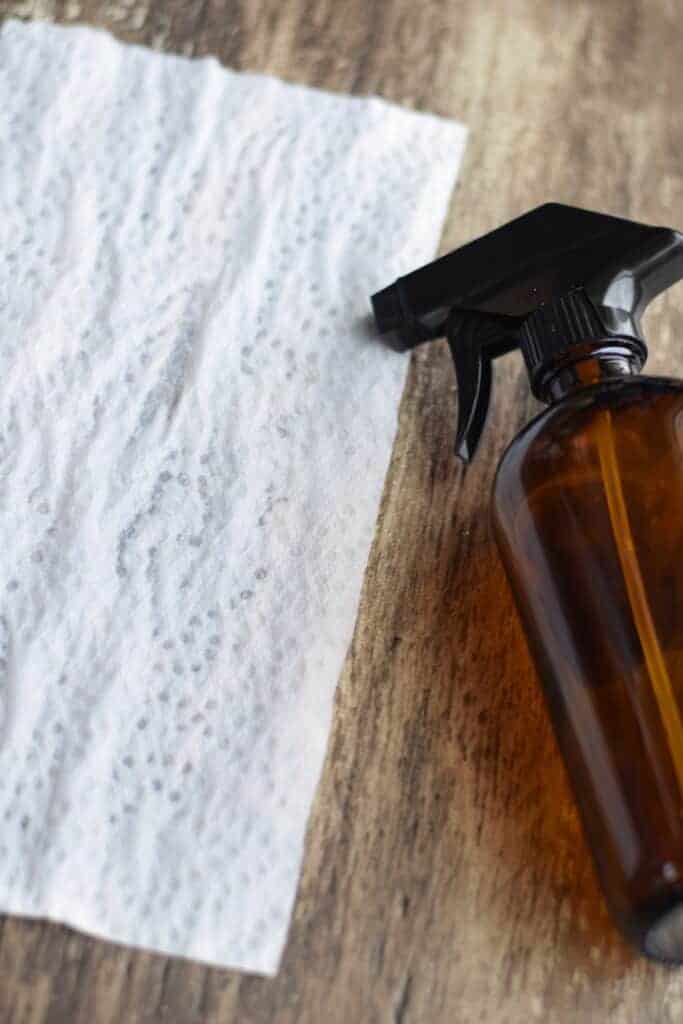
Start by spraying the paper towel with water. It should be thoroughly wet, but not dripping.
Place desired seeds on the paper towel and fold in thirds and then in thirds again. The seeds should be easy to see when you flip over the paper towel.
This will make it easier for seeing the seeds and sprouts.
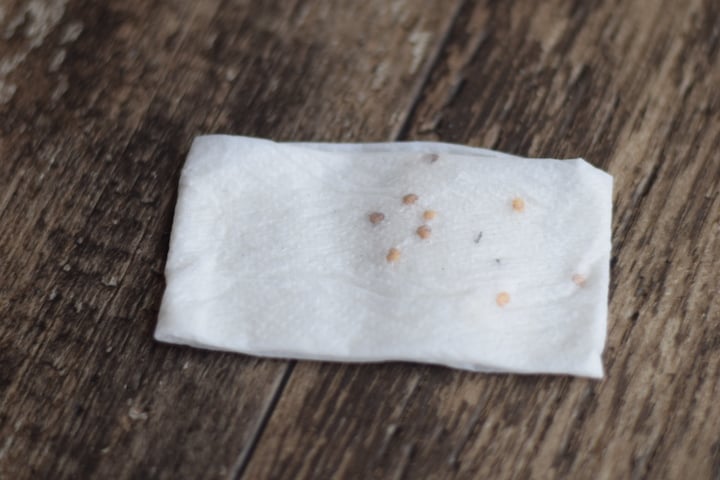
To test the germination percent easiest, add 10 seeds. If all 10 seeds sprout, then you have 100% germination. 9 would be 90%, and so on.
Place the paper towel inside of the plastic snack bag and seal up more than half way, leaving a bit of the bag open at one end.
If testing a lot of varieties, be sure to label the bag with the variety and date if you need to track it.
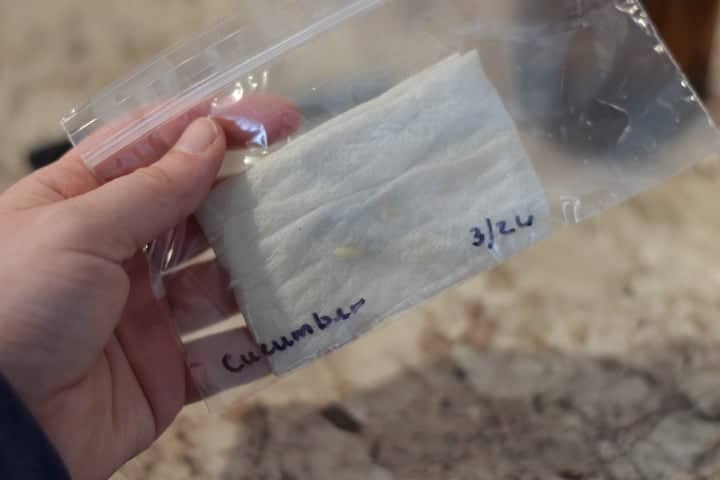
Set the seed packets in a warm place for a few days. But some varieties may take a couple of weeks.
So, we checked ours often.
If the paper towel starts to become dry, be sure to spray with more water. Don’t allow it to become dry.
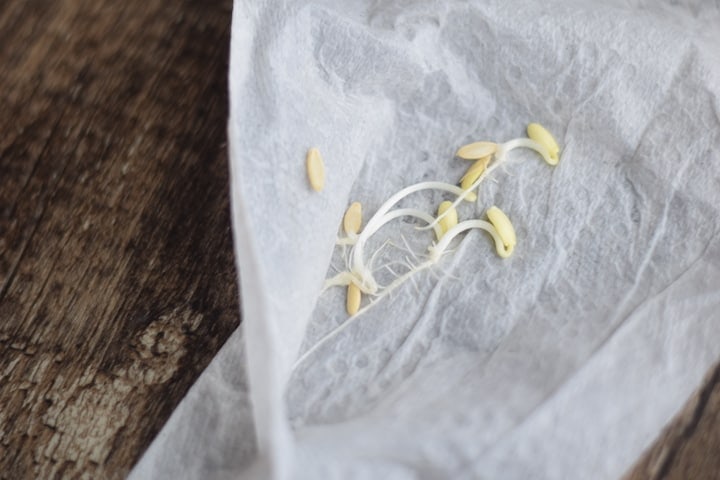
What Do You Do with the Sprouted Seeds?
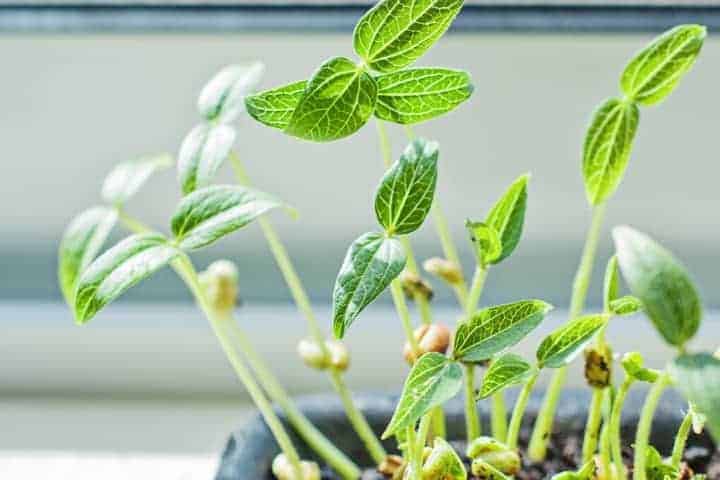
After testing the seeds, you’ve found some still to be viable for germination. Now what do you do with these germinated seed sprouts?
We decided to plant several of ours. And a couple that we weren’t quite ready for, got sent off to the chickens.

Testing Seeds for Viability
Equipment
- spray bottle
Ingredients
- seeds for testing
- paper towels
- or coffee filters
- snack size plastic bags
Instructions
- First, gather all supplies and select the seeds that you want to test for germination.
- Use your spray bottle and fully saturate the paper towel. It should be thoroughly wet, but not sopping/dripping.
- Place the desired seeds on the paper towel and fold into thirds lengthwise. Then in thirds again so that the seeds are visible through the backside.
- Place the paper towel inside of the snack bag and zip shut a bit more than halfway, leaving the end unzipped.
- Label the baggie with a sharpie and repeat for each additional seed variety you are testing.
- Place in a warm place for 2-14 days. Check on the seeds for germination after a couple of days.
- If the paper towel starts to become dry, spray with more water…never allowing it to dry out.

