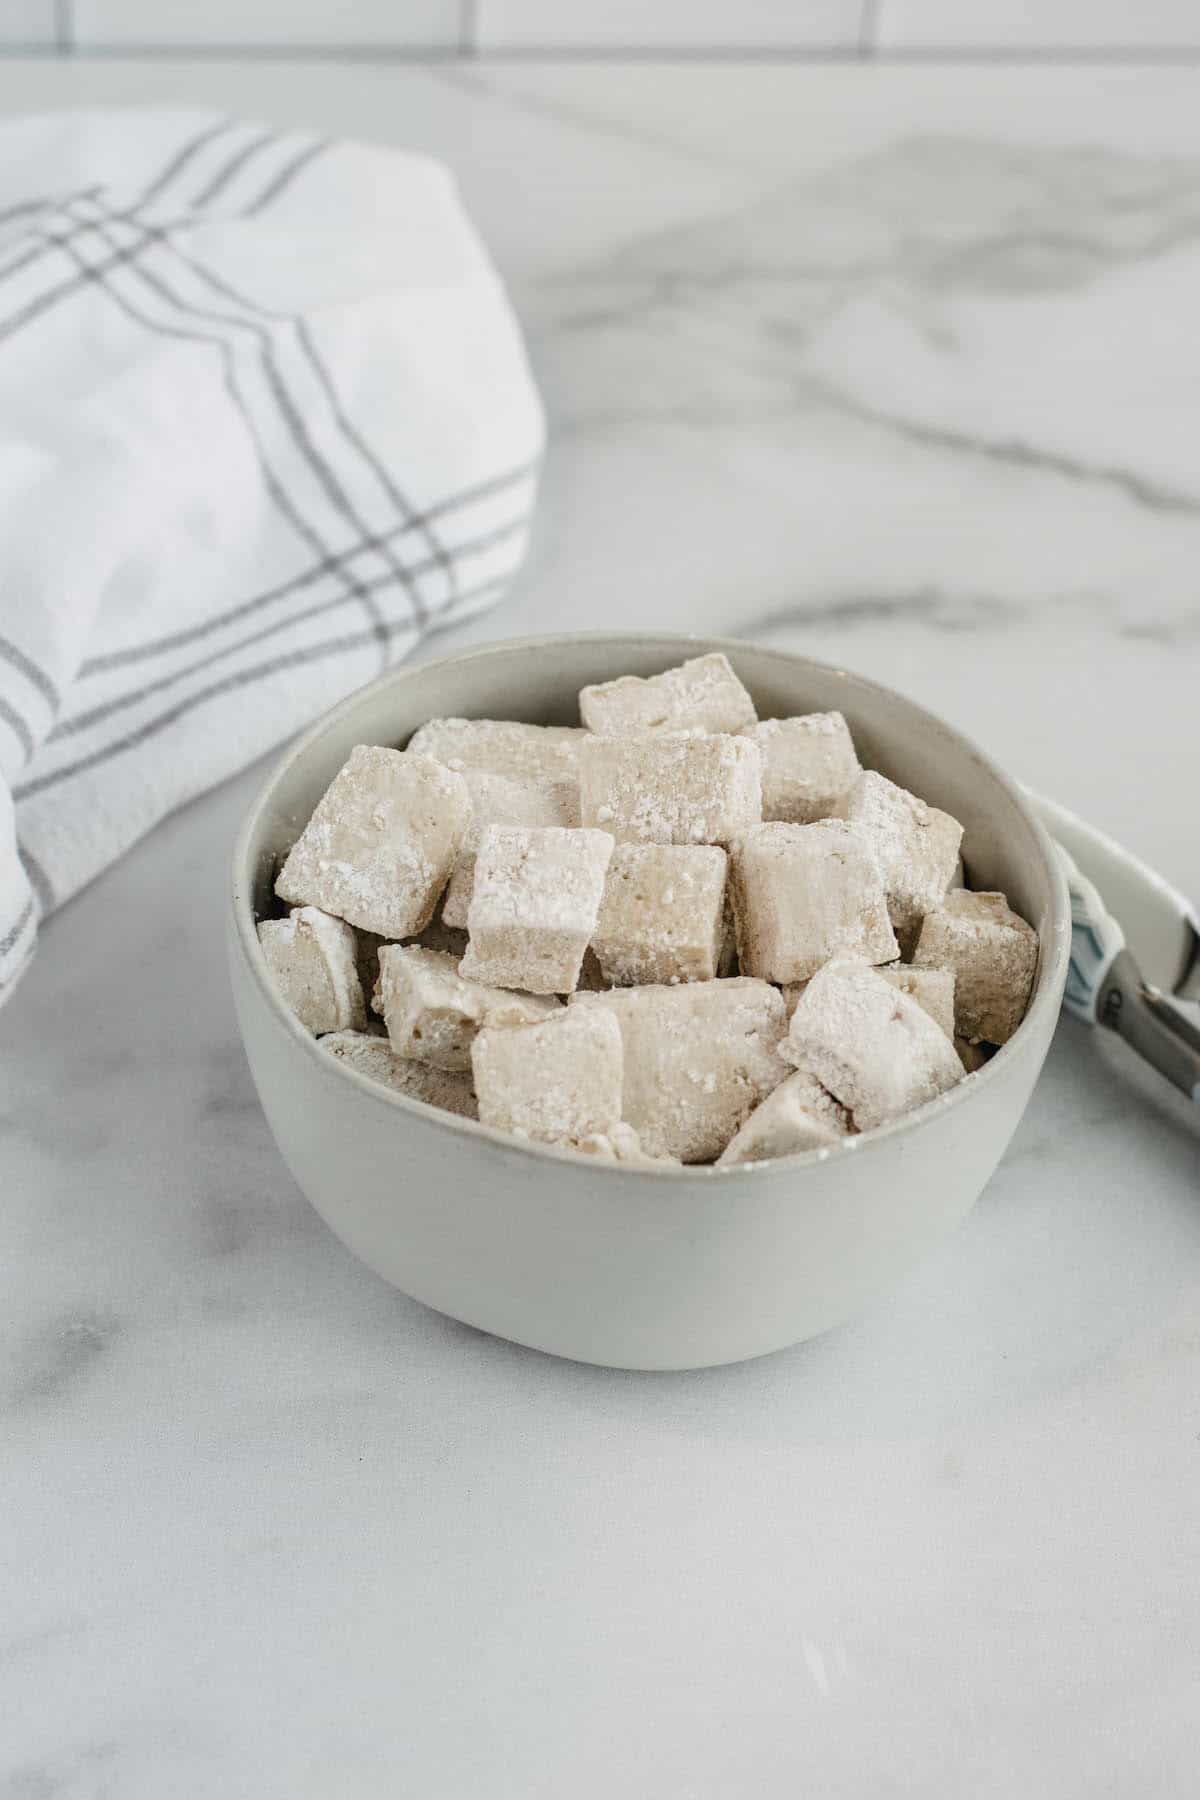
Healthy Marshmallows (sweetened with honey)
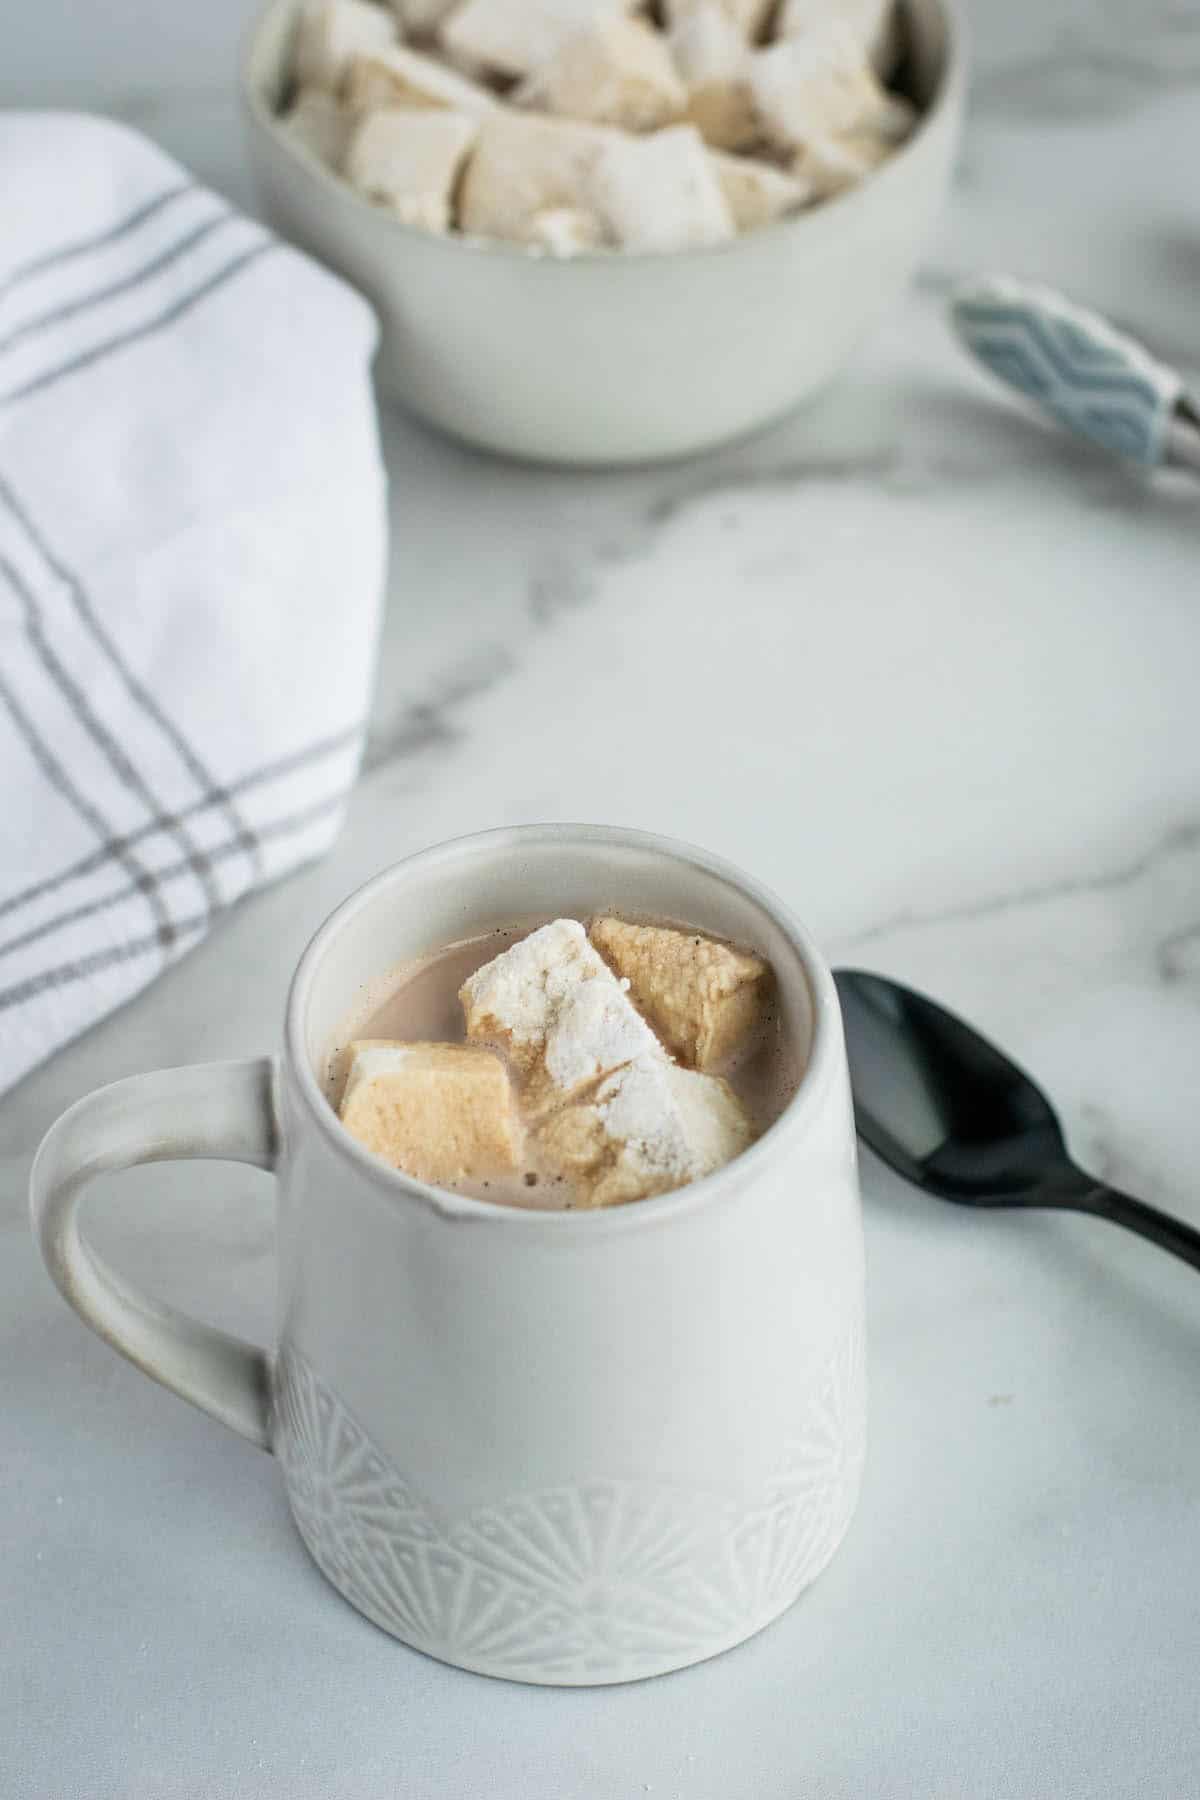
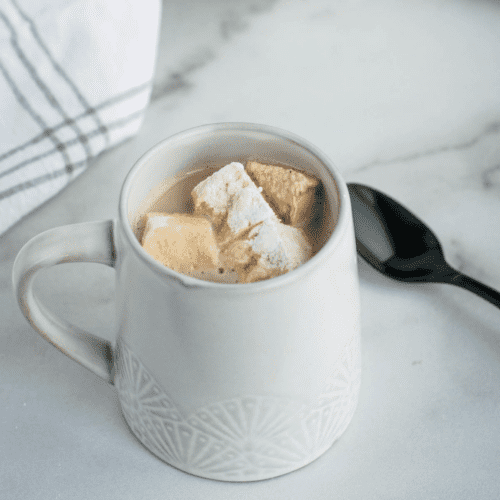
These healthy marshmallows are a snowy, soft, and puffy treat that is a great for the holidays and any time of the year.
And they are surprisingly simple to make.
Healthy marshmallow recipe
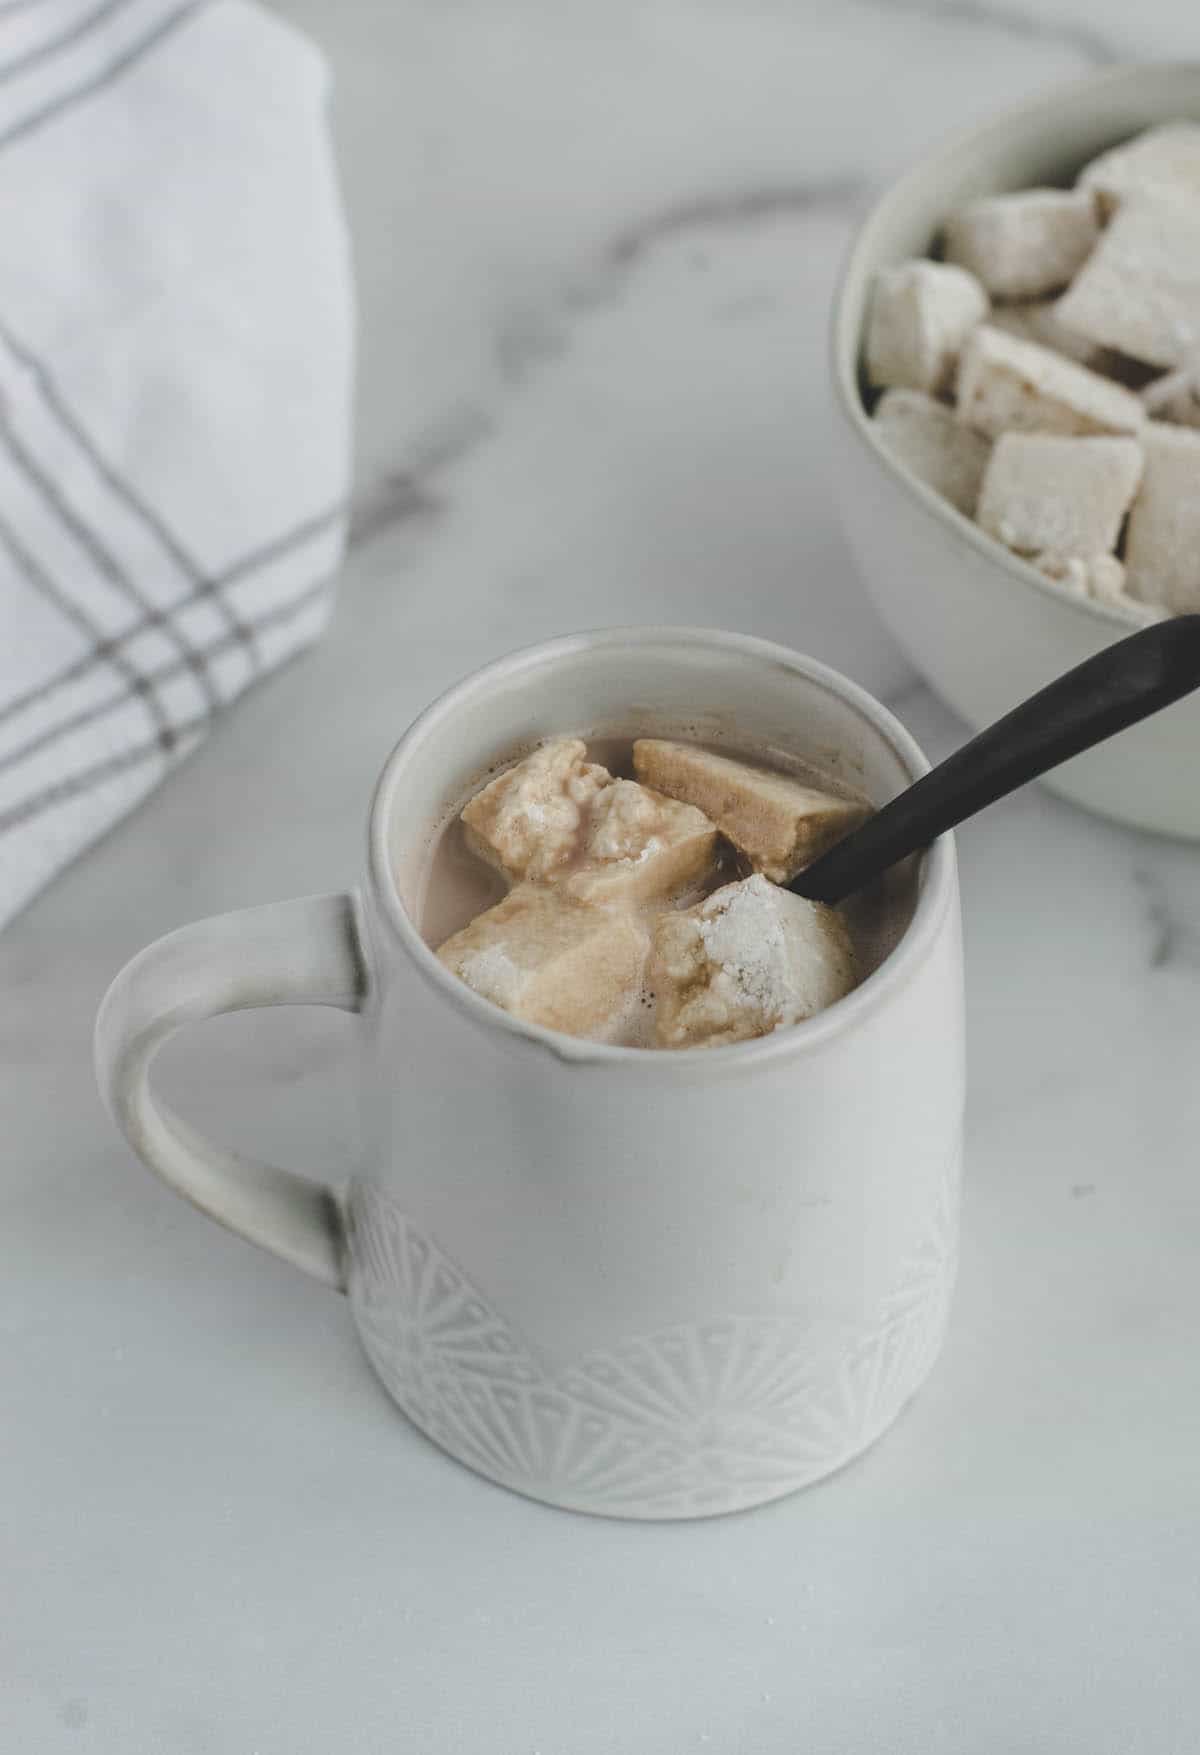
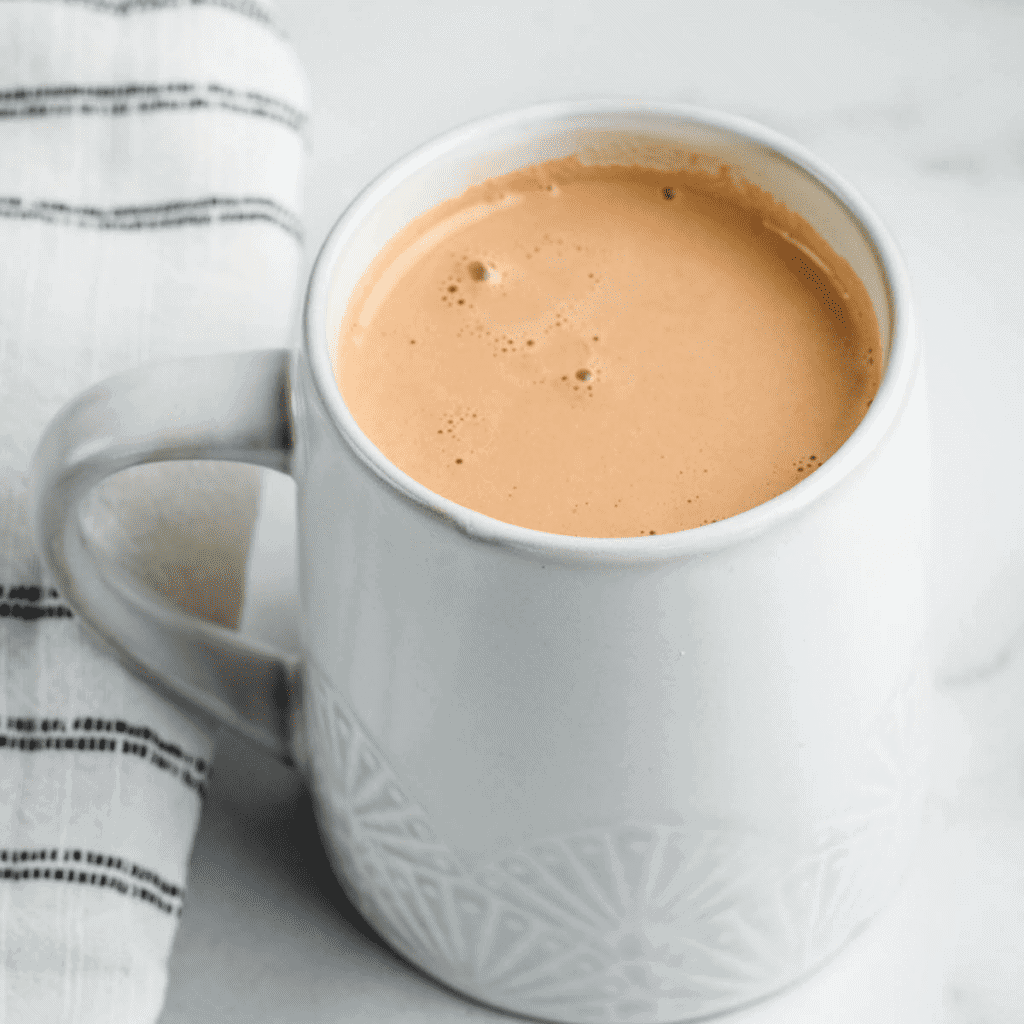
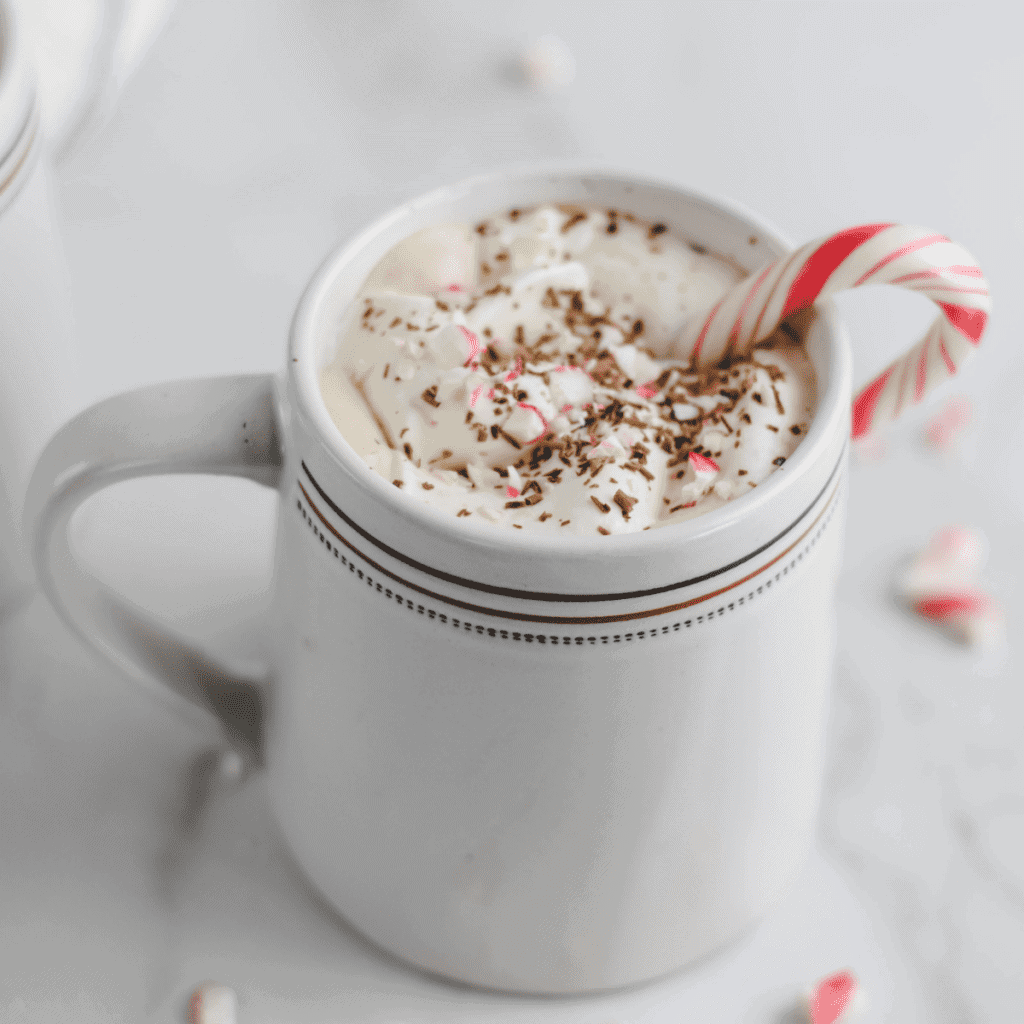
I love this recipe because it’s a much healthier version of the classic store bought marshmallows. And it makes an excellent addition to this healthy hot chocolate recipe or this healthy peppermint mocha.
You know those store-bought marshmallows — they’re colorful, they’re sugary, and they’re kinda delicious. But the ingredients in the marshmallows you buy at the store may be too unhealthy for your liking.
This version doesn’t use corn syrup or processed sugars, instead it is naturally sweetened with honey. It has the same taste and texture as conventional marshmallows, but without the unwanted ingredients!
Learn how to make healthy homemade marshmallows here.
Ingredients
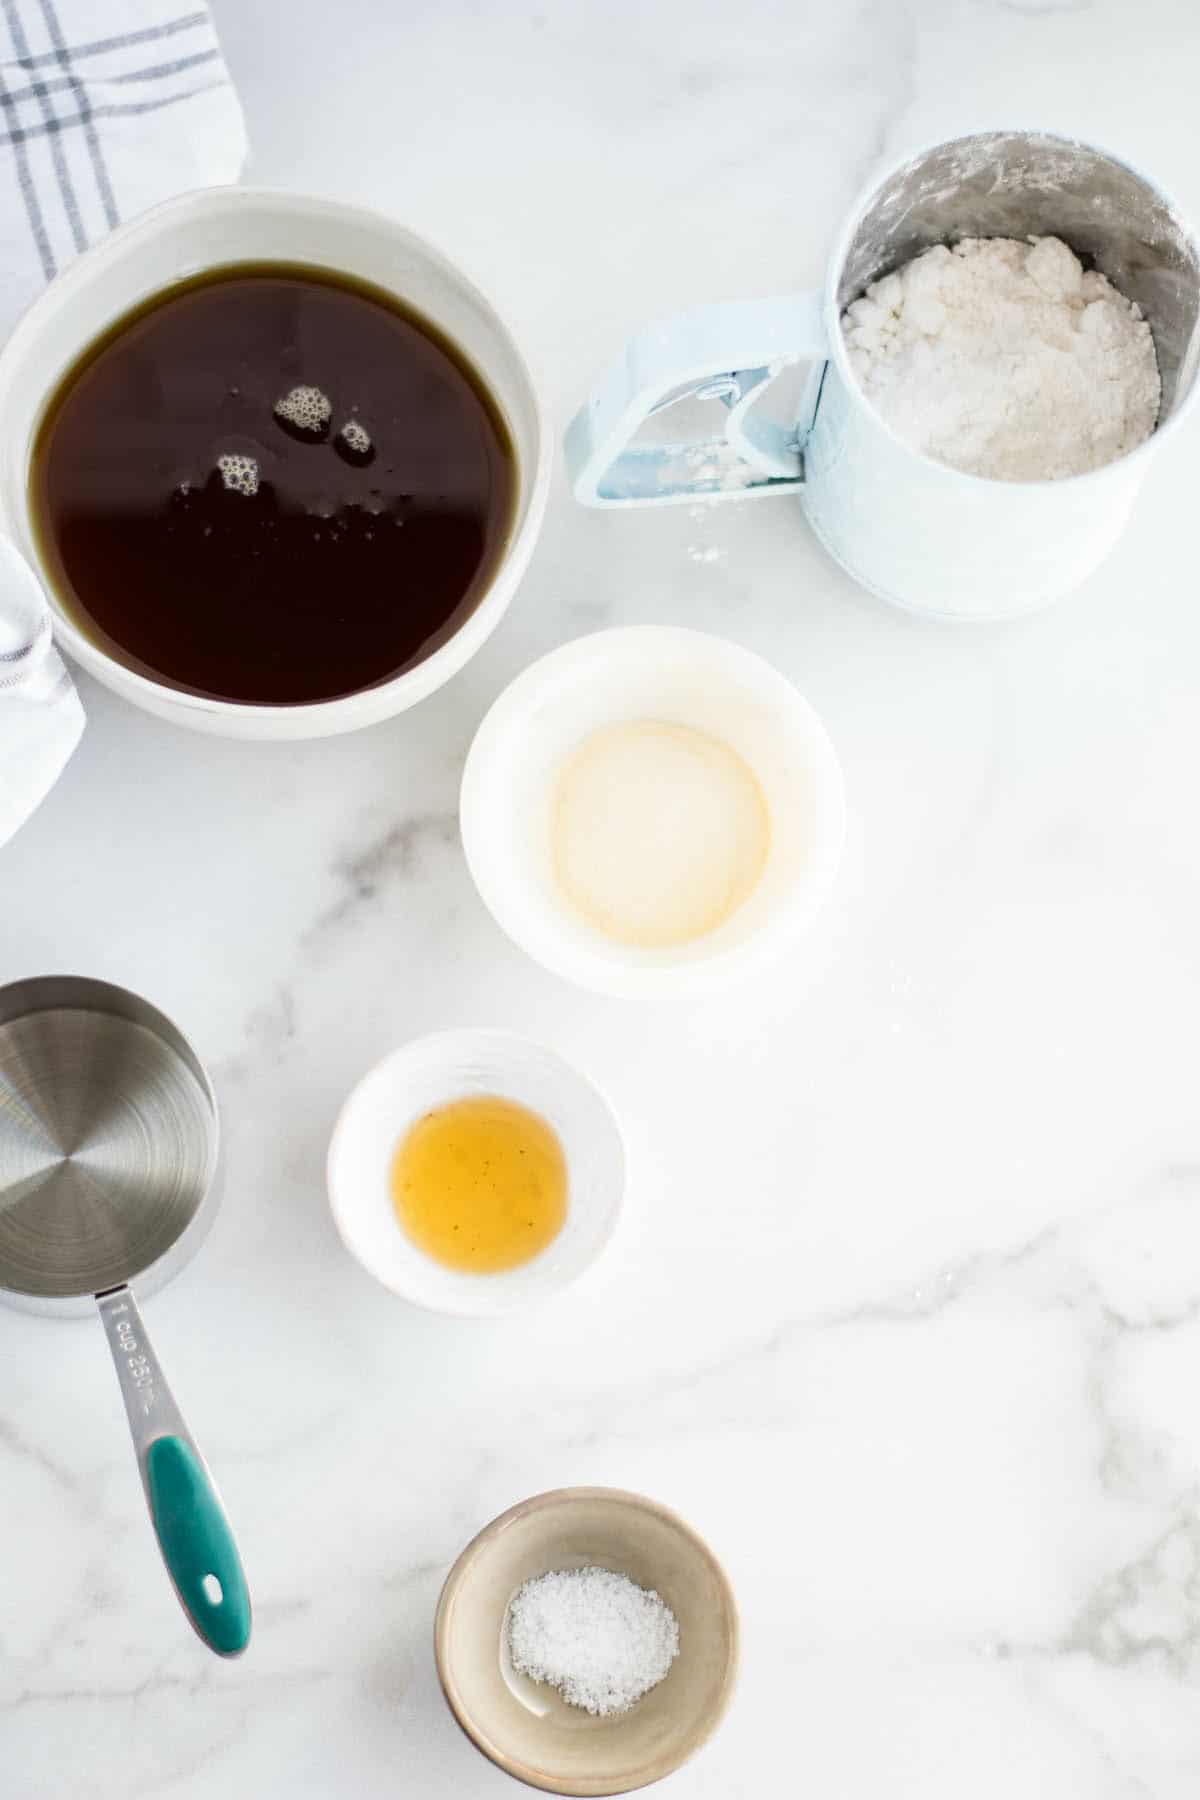
You can make your own homemade marshmallows with just a few simple ingredients.
Here’s what you’ll need:
- filtered water – I like to use our Berkey water filter for clean filtered water
- powdered grass-fed gelatin – we like to use Vital Proteins beef gelatin. <— great for gut health & a great source of absorbable protein.
- maple syrup – you can also substitute with honey or half cup honey and half maple syrup. But I really love using a pure maple syrup for this recipe.
- vanilla extract – use a pure, unprocessed version – homemade is great, too! This gives the marshmallows a light vanilla flavor and is so good!
- pinch of salt
- powdered sugar to coat the outsides of the marshmallows. You could also substitute with arrowroot powder or tapioca starch if desired.
Instructions
Line a rectangular casserole dish with parchment paper. The marshmallows will be sticky, so leave some length to create flaps over the sides of the baking dish. These will act as handles for removing the finished marshmallows once they are cured.
Sprinkle the parchment paper with a light layer of powdered sugar or coating of choice.
In the bowl of the stand mixer, sprinkle the gelatin evenly over half of the water. Allow to hydrate or bloom for a few minutes.

While the gelatin is blooming, pour the other half of water in a sauce pan, along with the maple syrup and the salt. Turn the burner on to medium heat.
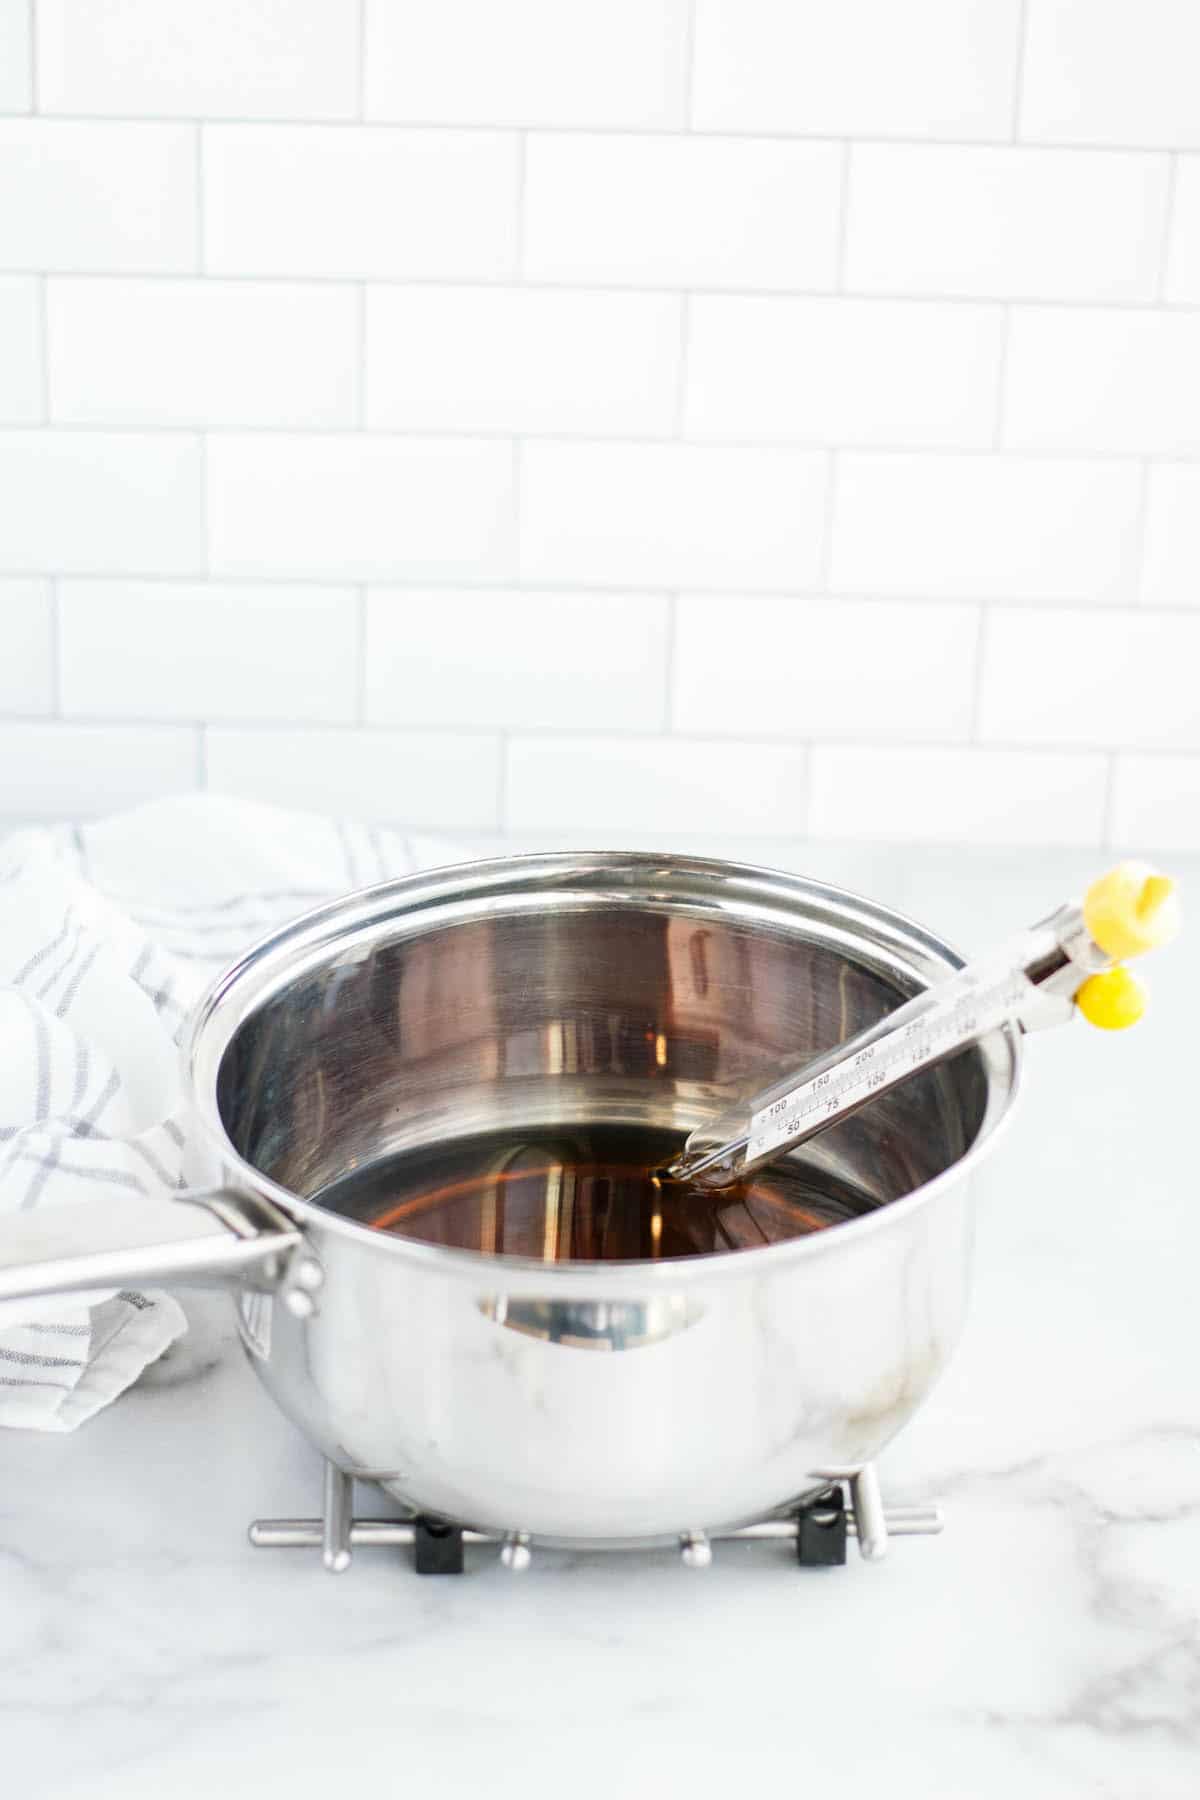
Bring the mixture to a boil and keep an eye so it doesn’t boil over.
Place a candy thermometer in the sauce pan and continue to boil the mixture until it reaches 235-240 degrees. This is known as the soft ball stage of candy making and usually takes around 15 minutes.
Use the whisk attachment on the stand mixer, turn the stand mixer or hand beaters on to medium. Carefully pour the syrup mixture into the bowl in a steady stream as you combine it with the soft gelatin.
Be careful not to pour it on the beaters as it’s very hot and can splatter. Also avoid pouring it on to the sides of the bowl of a stand mixer they’ll harden quickly.
Turn the mixer up to high and mix until it triples in volume. It will become light in color and the marshmallow cream will be cool to the touch.
When the marshmallow cream is sufficiently whipped, it will have volume and hold its shape for a moment before falling back.
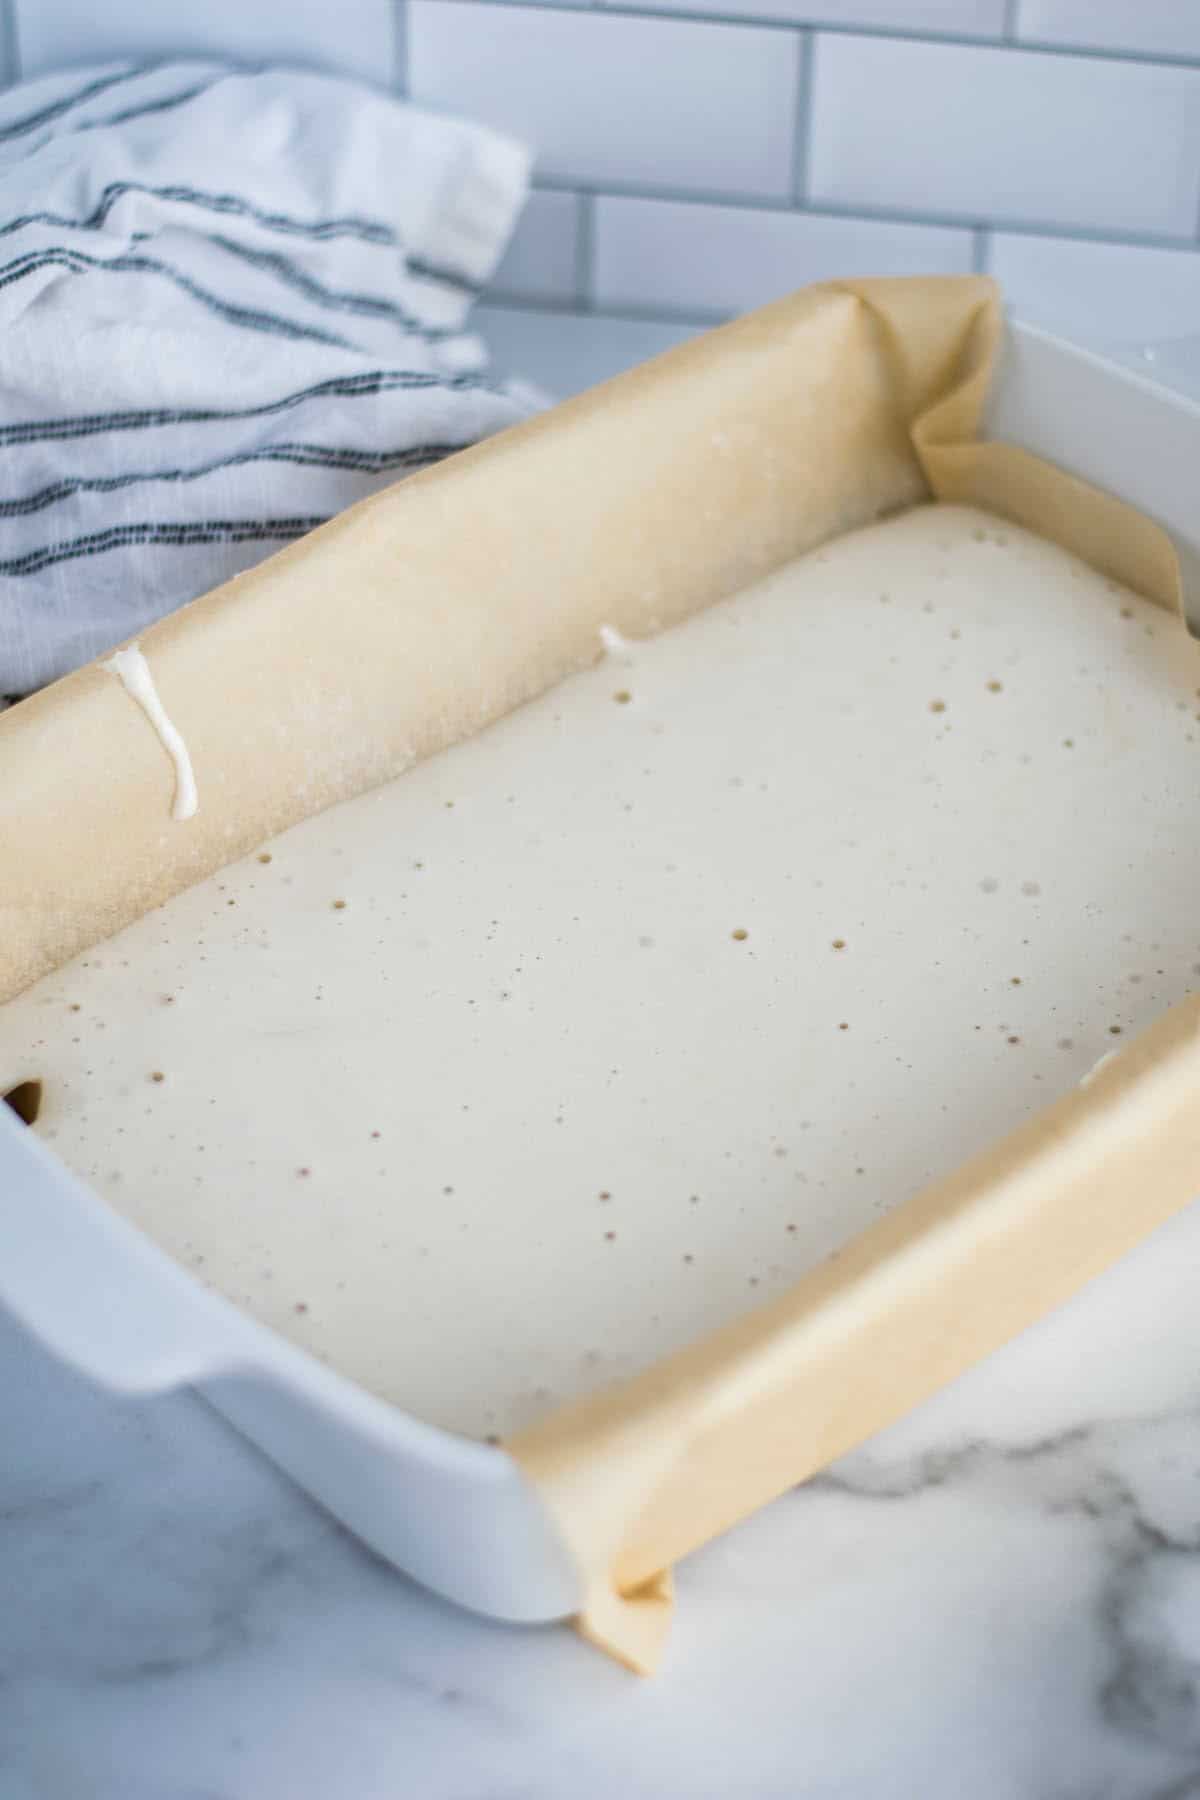
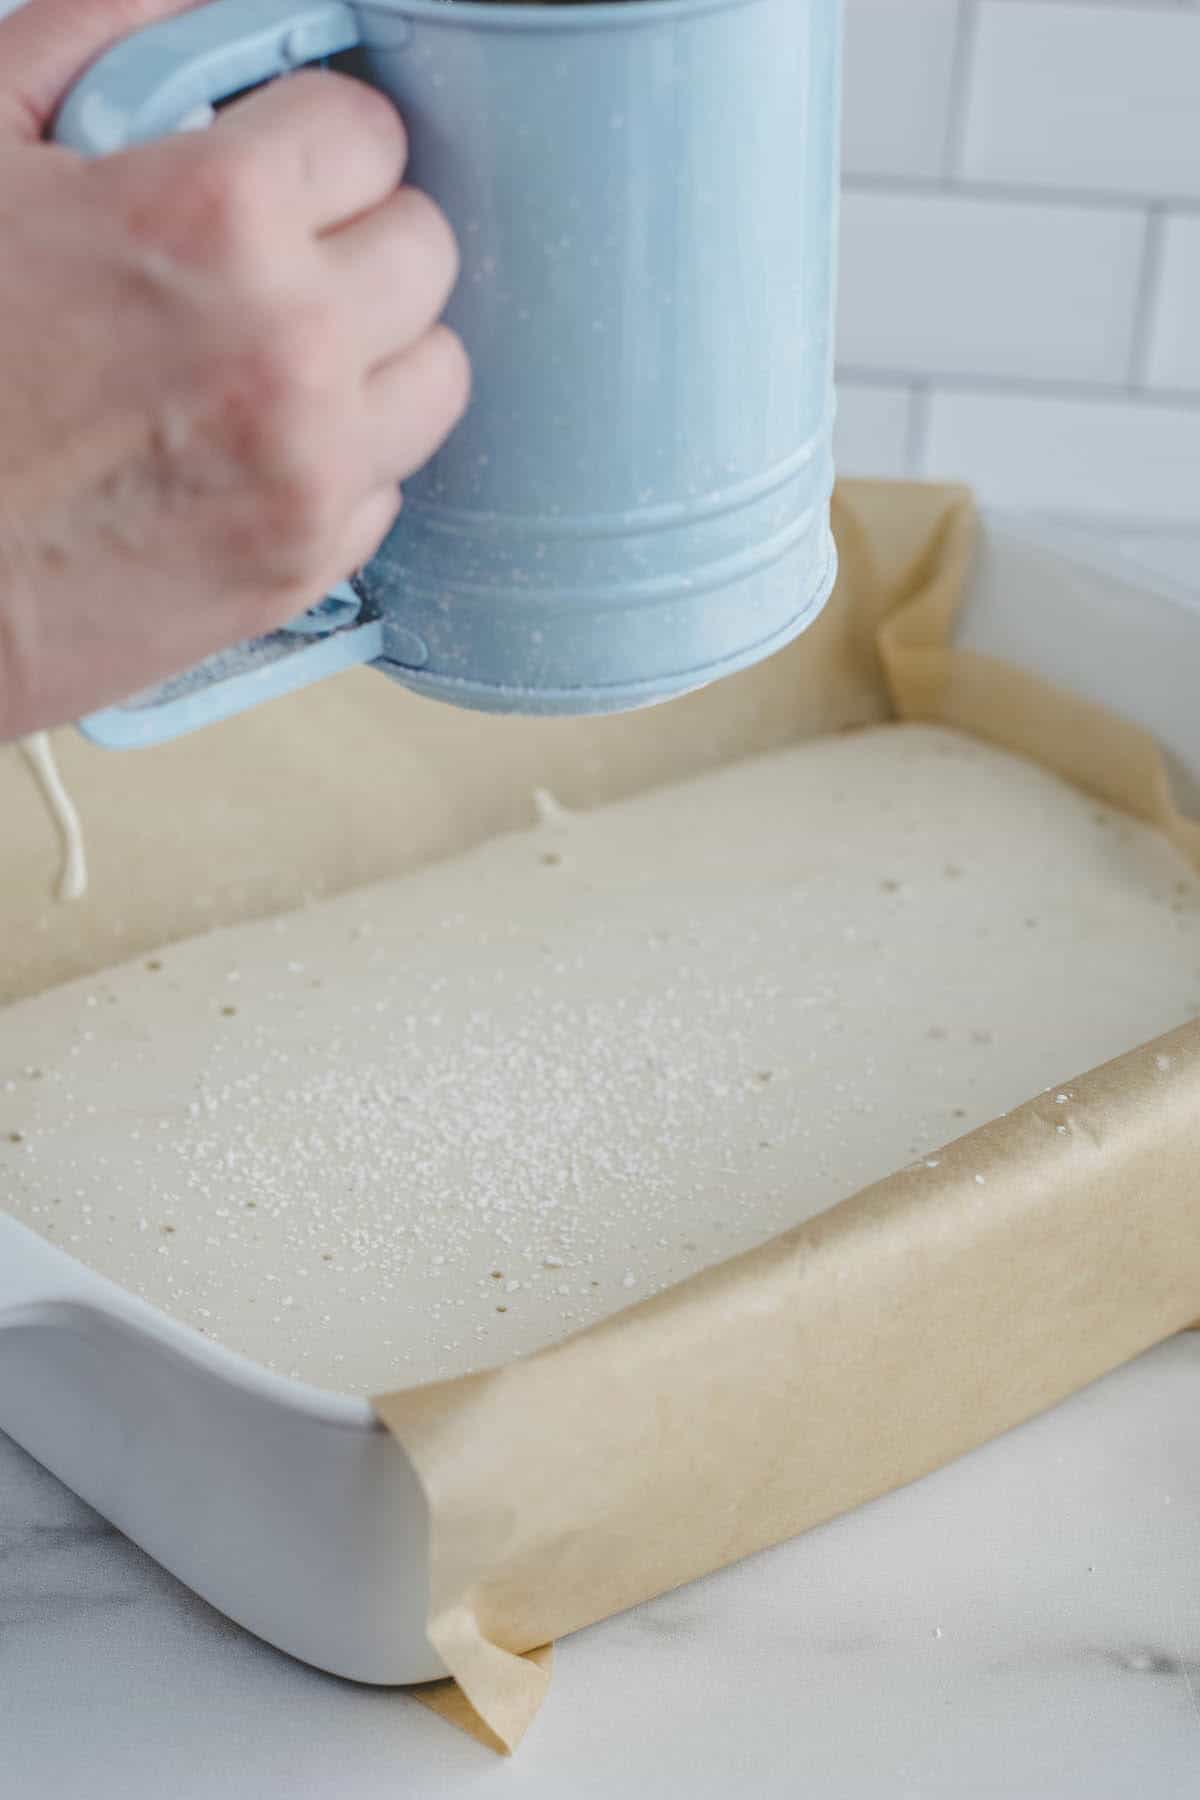
Immediately pour the marshmallow fluff into the prepared casserole dish and spread with a spatula. Sprinkle the powdered sugar evenly over the top. I like to use a sifter for this.
Allow the marshmallows to rest and cure for about 4-6 hours.
Once set, remove the marshmallows by lifting the parchment paper flaps. Carefully peel away the sides, dusting with powdered sugar or other coating, as needed.
Cut the marshmallows to desired size and shapes.
Add more coating if needed and toss them again to coat once they are cut to prevent sticking together.
🧁 Recipe tips
I wholeheartedly believe that good quality ingredients make for the best recipes! I don’t recommend any fake or overly processed ingredients and will usually recommend organic / non-gmo ingredients whenever possible.
Sourcing good quality ingredients can be difficult sometimes. Did you know that most of the olive oil in grocery stores aren’t truly authentic? Or that most seafood is farmed and sourced from China? These are just a couple of examples of confusing product labels.
How do we find the BEST ingredients? If you’re like me, then sourcing clean ingredients is important to you! So, I’ve created a favorite shop page with all of my recommendations. Here you can find all of the best places to source good quality ingredients!
How to store homemade marshmallows
Store the finished and coated marshmallows in an airtight container at room temperature. It is not recommended to store them in a refrigerator or freezer. If properly stored, they should last a few weeks.
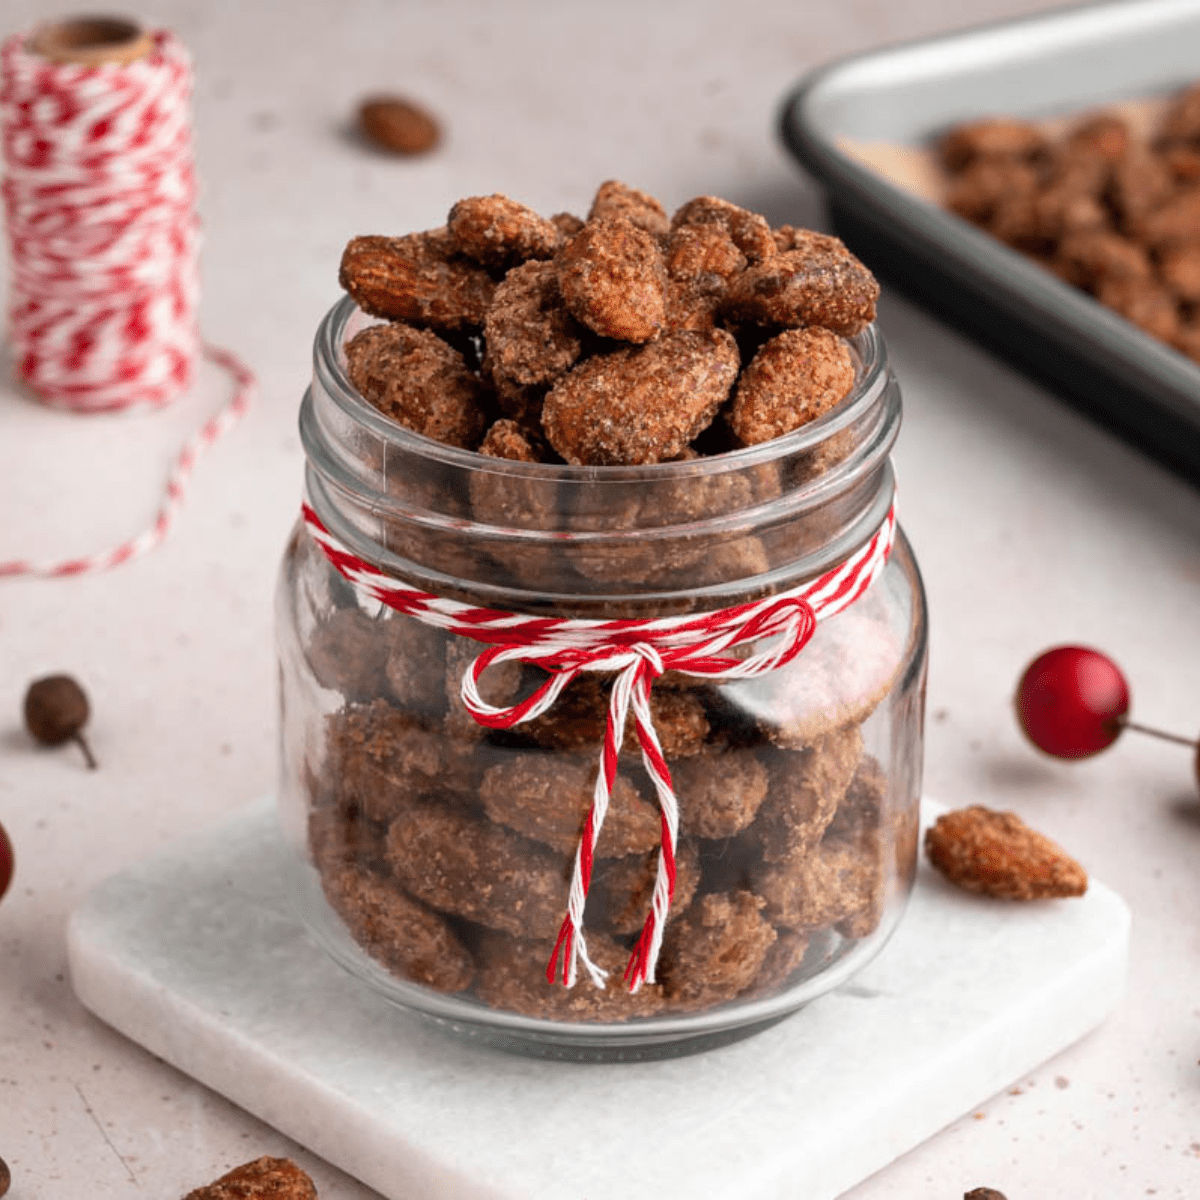
More favorite desserts
Here’s a few of our favorite dessert recipes that we think you’ll love too! All of these delicious desserts have a healthy spin on them.

FAQ (frequently asked questions)
You could use arrowroot powder or tapioca starch instead of the powdered sugar to coat the sides of the marshmallows. Cocoa powder, cinnamon, and coconut are also fun alternatives to coat the marshmallows.
Try making homemade marshmallows with gut friendly grass-fed beef gelatin and with a natural sweetener like raw honey or pure maple syrup. These are the real deal and are a much healthier alternative to store bought options. And you can avoid corn syrup, dyes, and other highly processed ingredients.
want more recipes?
Check out the recipe index where you can discover more homemade recipes from my homestead!
Healthy Marshmallow Recipe
Ingredients
- 1 cup filtered water divided
- 2 ½ tablespoons grass-fed beef gelatin 225 bloom strength
- 1 ¼ cup pure maple syrup
- 1 teaspoon pure vanilla extract
- pinch salt
Instructions
- Line a rectangular casserole dish with parchment paper. The marshmallows will be sticky, so leave some length to create flaps over the sides of the baking dish. These will act as handles for removing the finished marshmallows once they are cured. Sprinkle the parchment paper with a light layer of powdered sugar or coating of choice.
- In the bowl of the stand mixer, sprinkle the gelatin evenly over half a cup of the filtered water. Allow to hydrate or bloom for about 5 minutes.
- While the gelatin is blooming, whisk together the other half a cup of water in a sauce pan, along with the maple syrup and the salt. Turn the burner on to medium heat. Bring the mixture to a boil and keep an eye so it doesn’t boil over. It will have a tendency to foam and boil over. Whisk the mixture often to prevent boiling over and keep the burner on medium heat.
- Place a candy thermometer in the sauce pan and continue to boil the mixture until it reaches 235-240 degrees. This is known as the soft ball stage of candy making and usually takes around 15 minutes, depending on how small saucepan you use and the heat of the burner.
- Use the whisk attachment on the stand mixer, turn the stand mixer or hand beaters (if using) on to medium. Carefully pour the syrup mixture into the bowl in a steady stream as you combine it with the gelatin.
- Turn the mixer up to high speed and mix until the cream triples in size. It will become light in color and the marshmallow cream will be cool to the touch.
- Immediately pour the marshmallow fluff into the prepared casserole dish and spread the top smooth with a spatula. Sprinkle the powdered sugar evenly over the top. I like to use a sifter for this.
- Allow the marshmallows to rest for about 4-6 hours. Once set, remove the marshmallows by lifting the parchment paper flaps. Carefully peel away the sides, dusting with powdered sugar or other coating, if needed. Cut to desired size and shapes. Enjoy!